Delete Files After Conversion
How to delete original files after conversion?
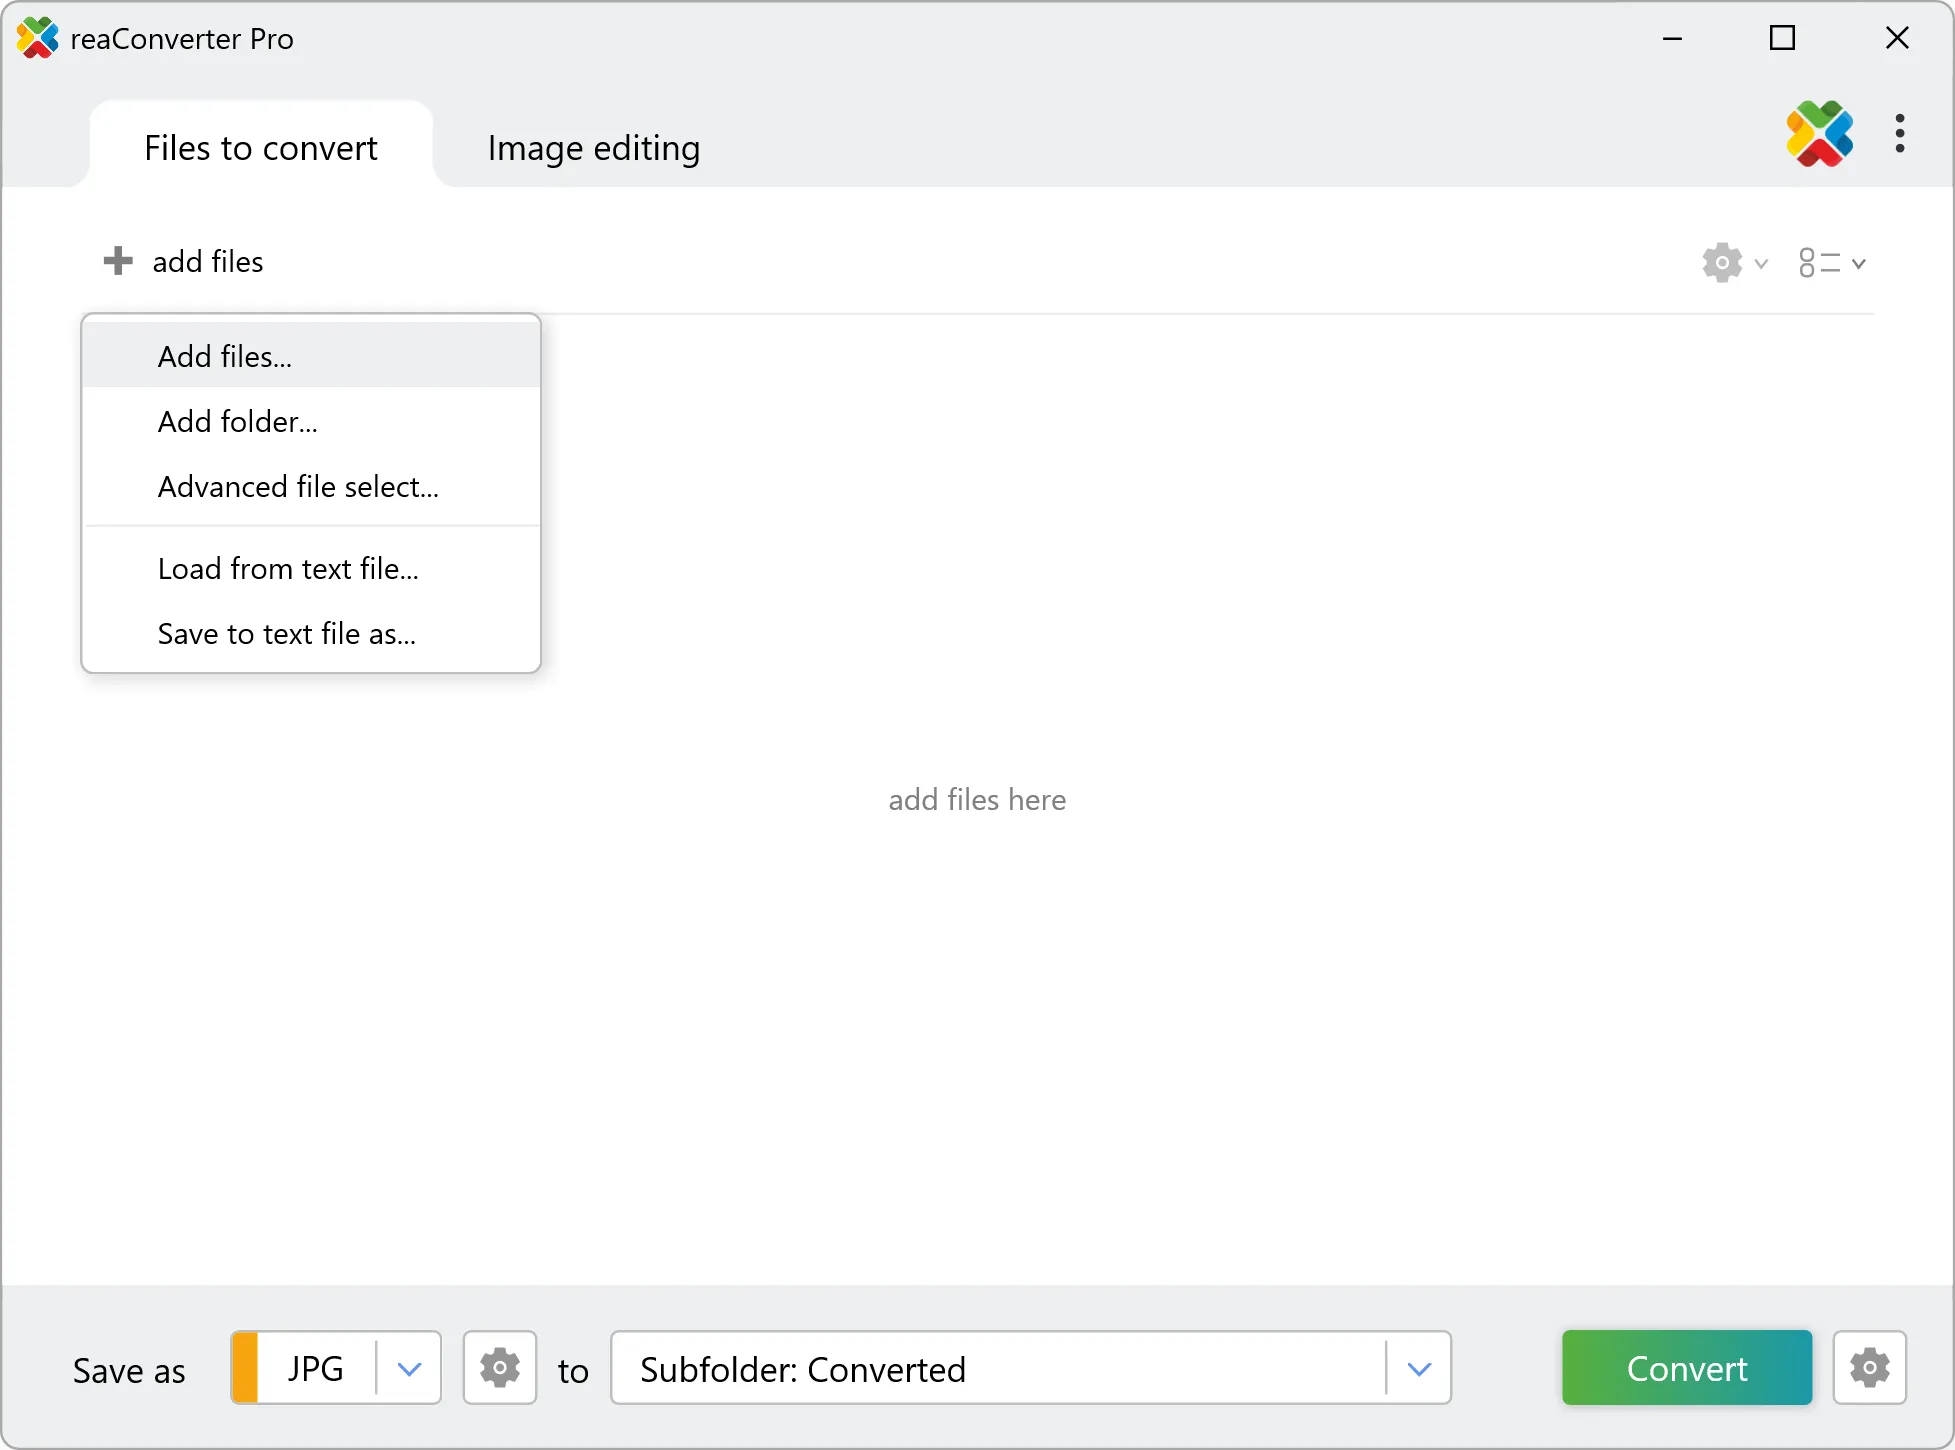
1. Open Images
Load all the images you intend to convert. You can add them manually, use the drag-and-drop tool or even load file list from text files.
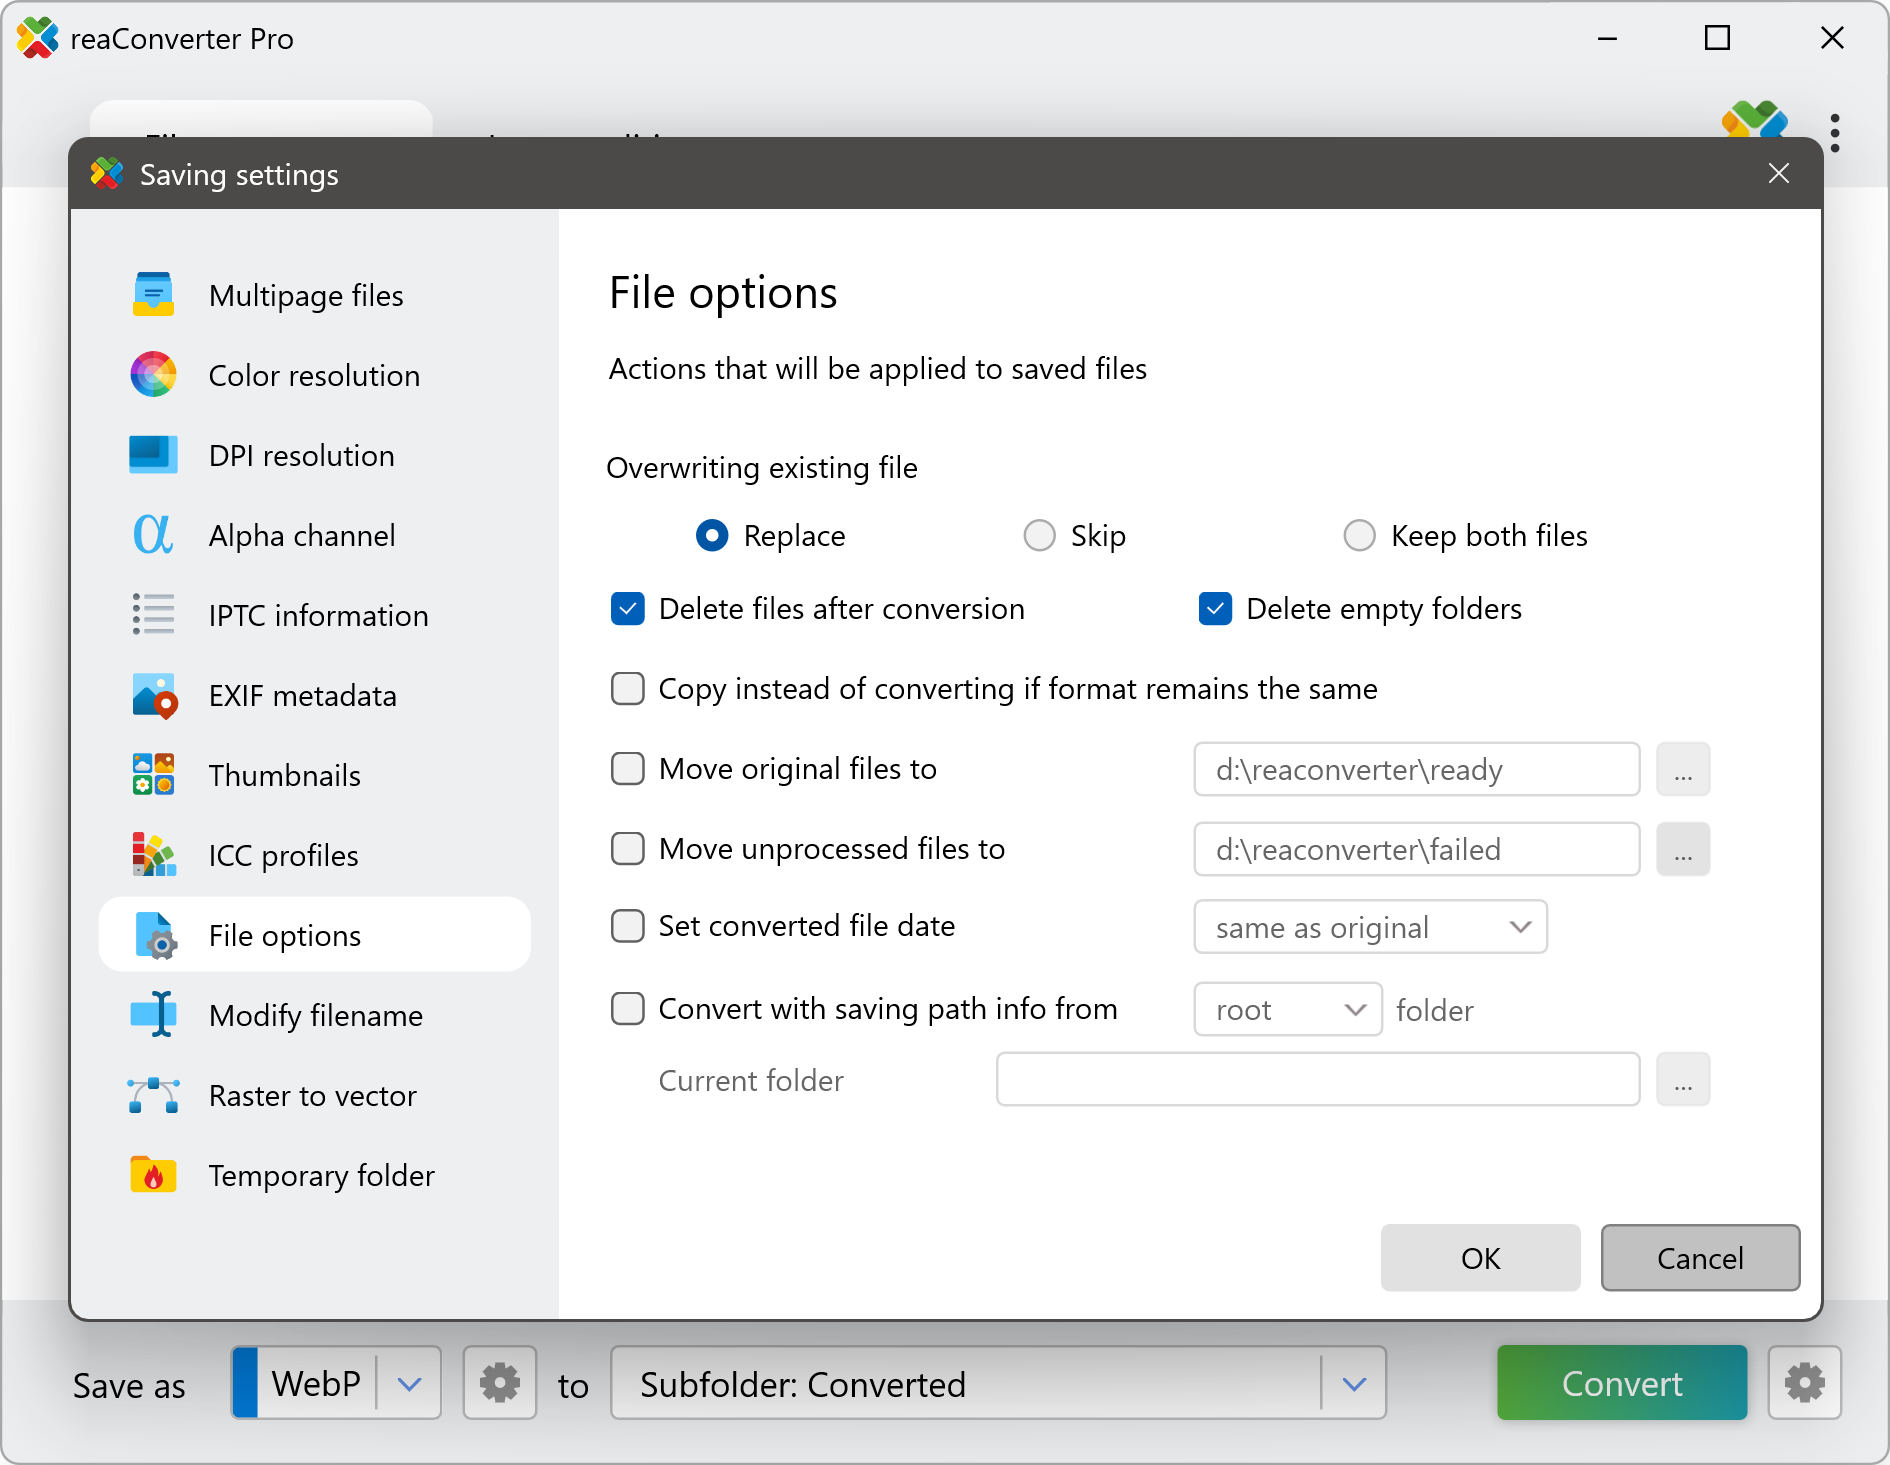
2. Delete Files after Conversion
Go to the Menu button and click Saving settings
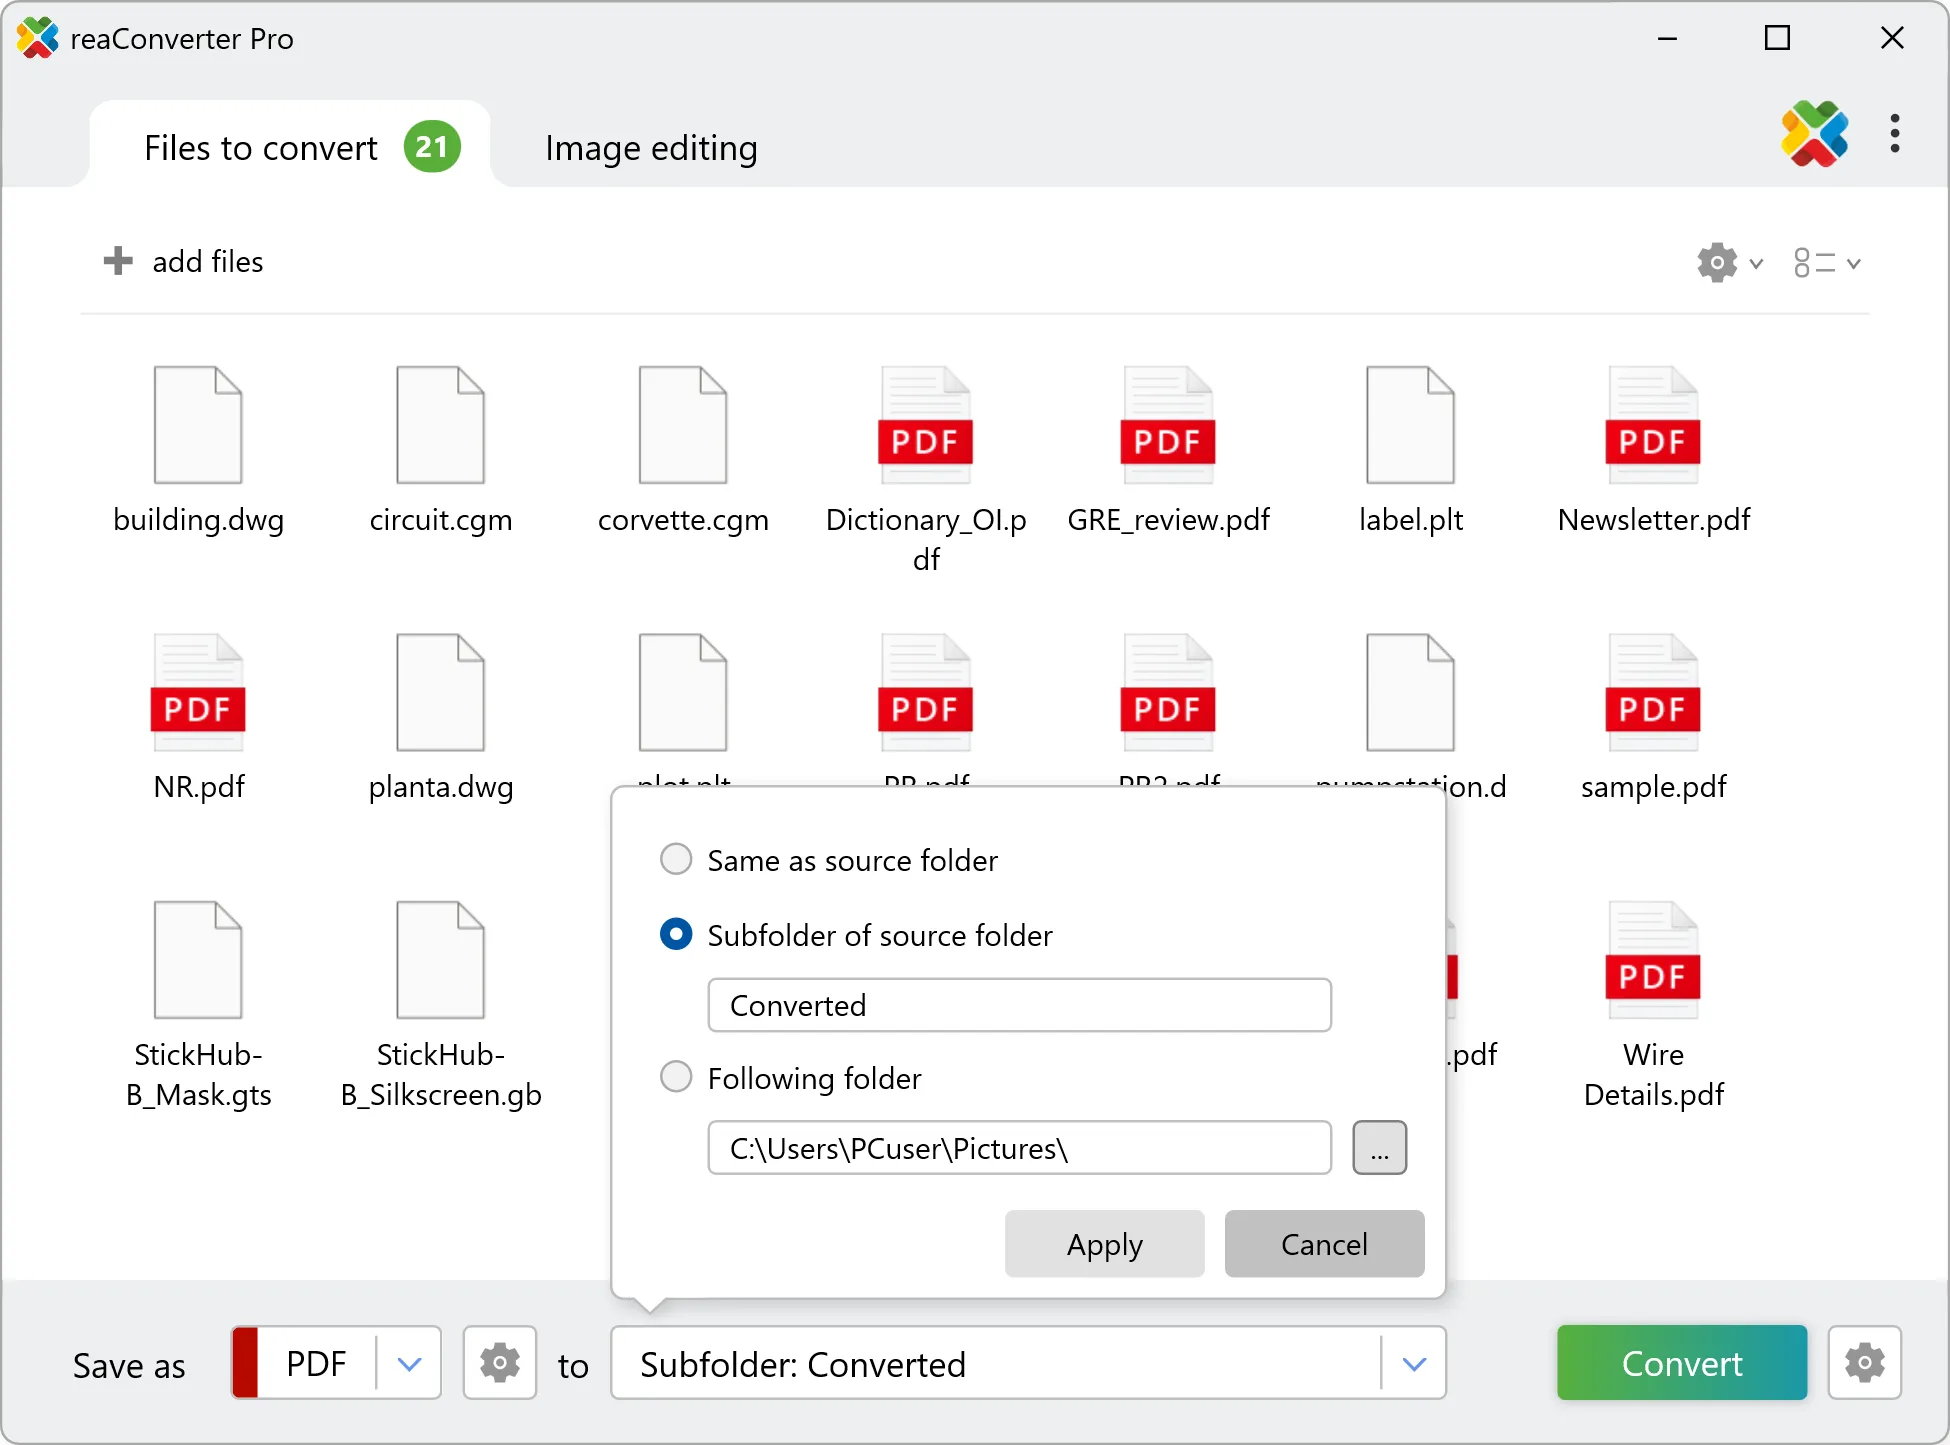
3. Save the Result
In case you don't want to add any image editing to your files (including Watermarking, Resizing, Cropping and many more), go directly to the saving options and pick a location for your new images. You can save them in the source folder, in a subfolder or in a newly created one.
Video tutorial
reaConverter allows you to automatically delete original files after conversion.
Delete files after conversion with command-line tool
You can delete original files after conversion with command-line interface, either manually or through automated scripts. reaConverter Pro includes a command-line tool called cons_rcp.exe — an advanced feature designed for professional use, available exclusively in the Pro edition.
Conversion example:
cons_rcp.exe -source_folder "C:\Path_to\input_folder\" -source_ext heic -dest_path "C:\Path_to\output_folder\" -dest_ext jpg -delete_files 1

Manual
-delete_files
  where value = 1 if you want to delete successfully processed (source) files and = 0 otherwise. Note, it will not delete a source file if a converted file has the same name and type
-delete_empty_folders
  where value = 1 if you want to delete empty folders (works with -delete_files option) and = 0 otherwise
You are welcome to contact our technical support when you have any questions about reaConverter.
Discover more