Context Menu

How to Convert Files Directly from Windows Explorer?
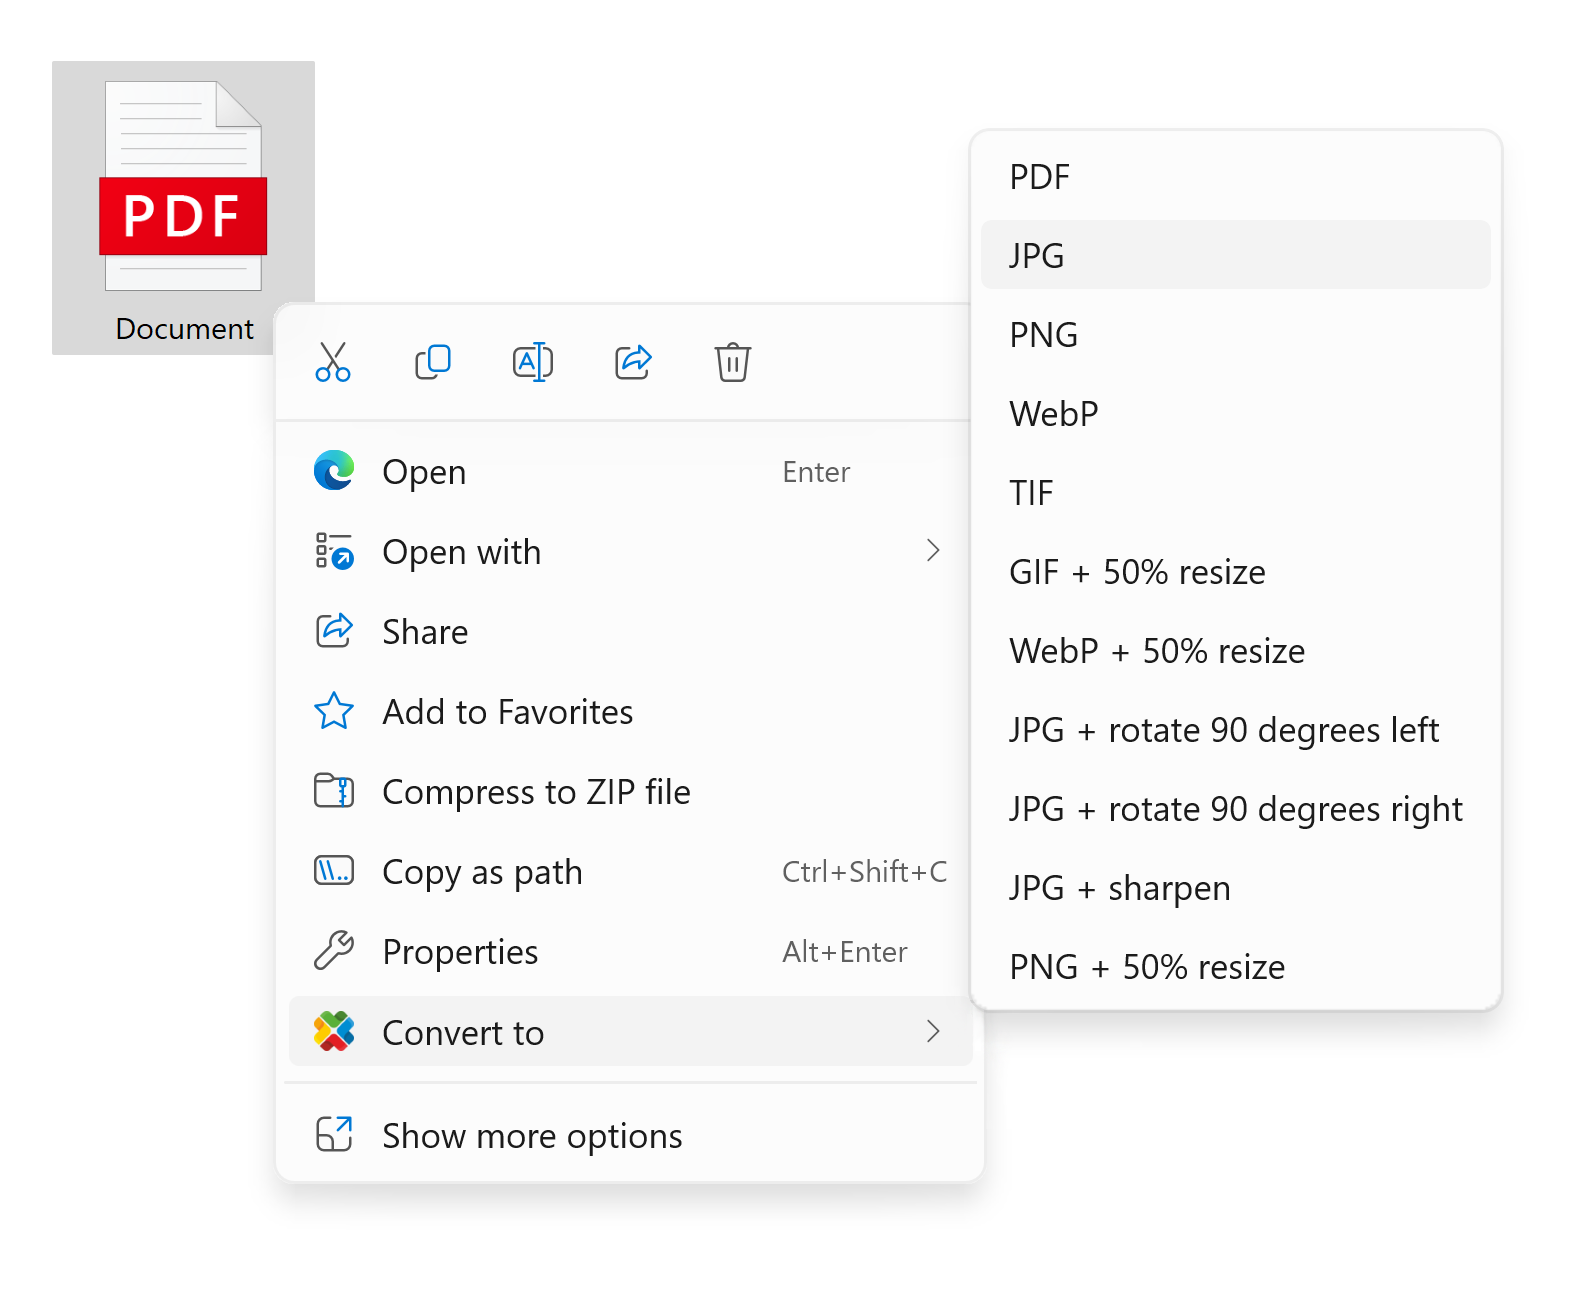
Simply select your files in Windows Explorer, right-click, and choose reaConverter from the context menu to automatically convert all selected files with your preset settings.
Activate Context Menu
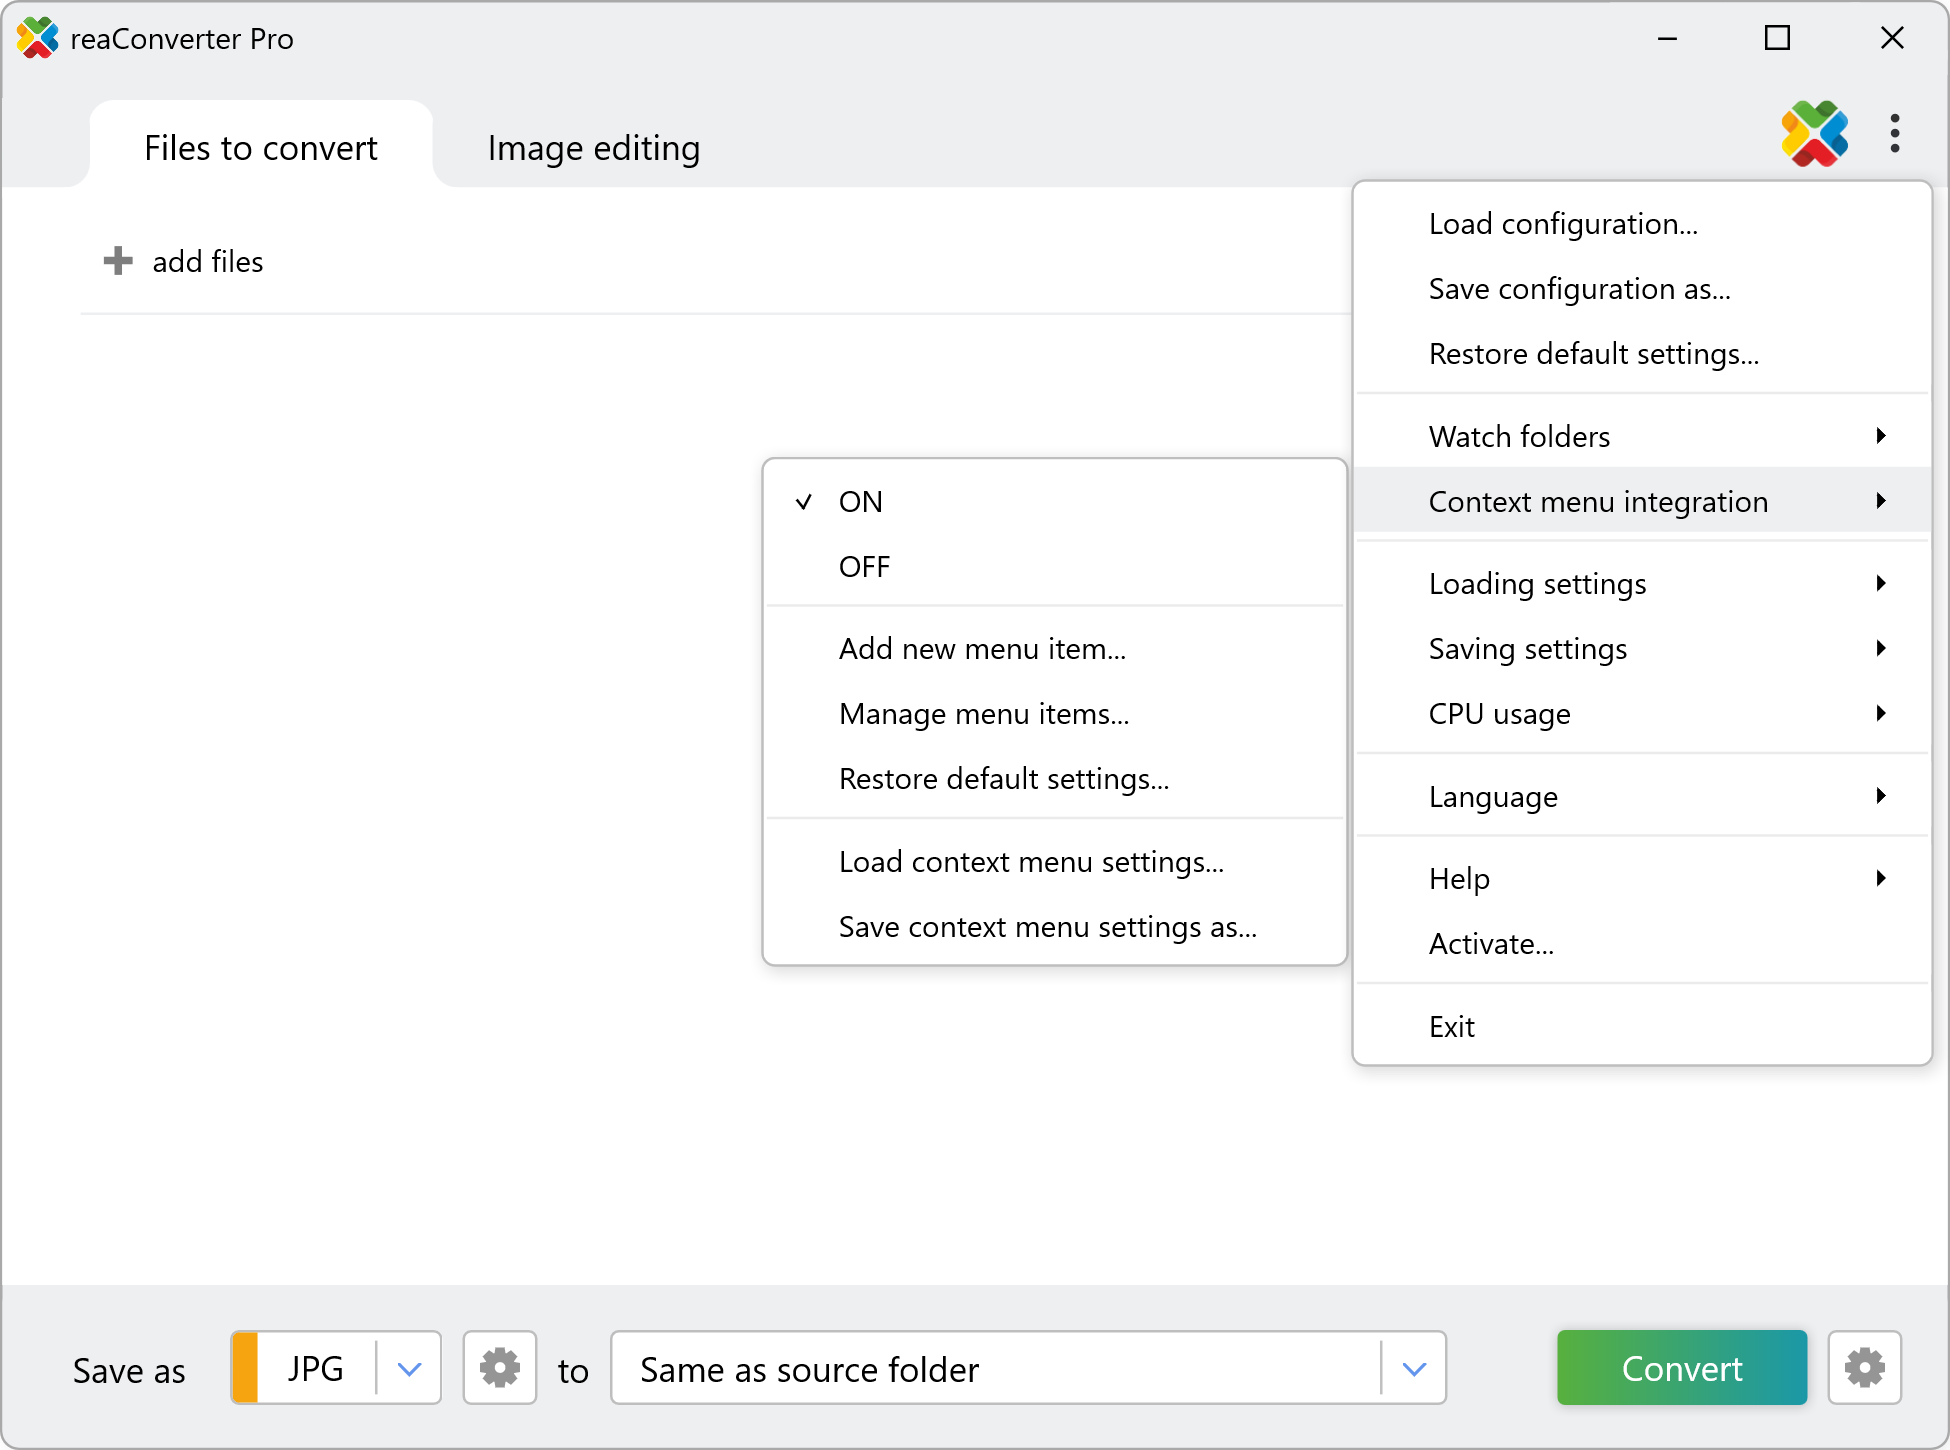
Open reaConverter, go to the Menu button and click Context menu integration. Then make sure the ON button is ticked.
Customize Right-Click Menu
You can customize these context menu items anytime in reaConverter’s Context Menu Integration settings. There, you can add or remove specific conversion - related operations by linking reaConverter configuration (.cfg) and action (.act) files. Learn more about config and action files here.
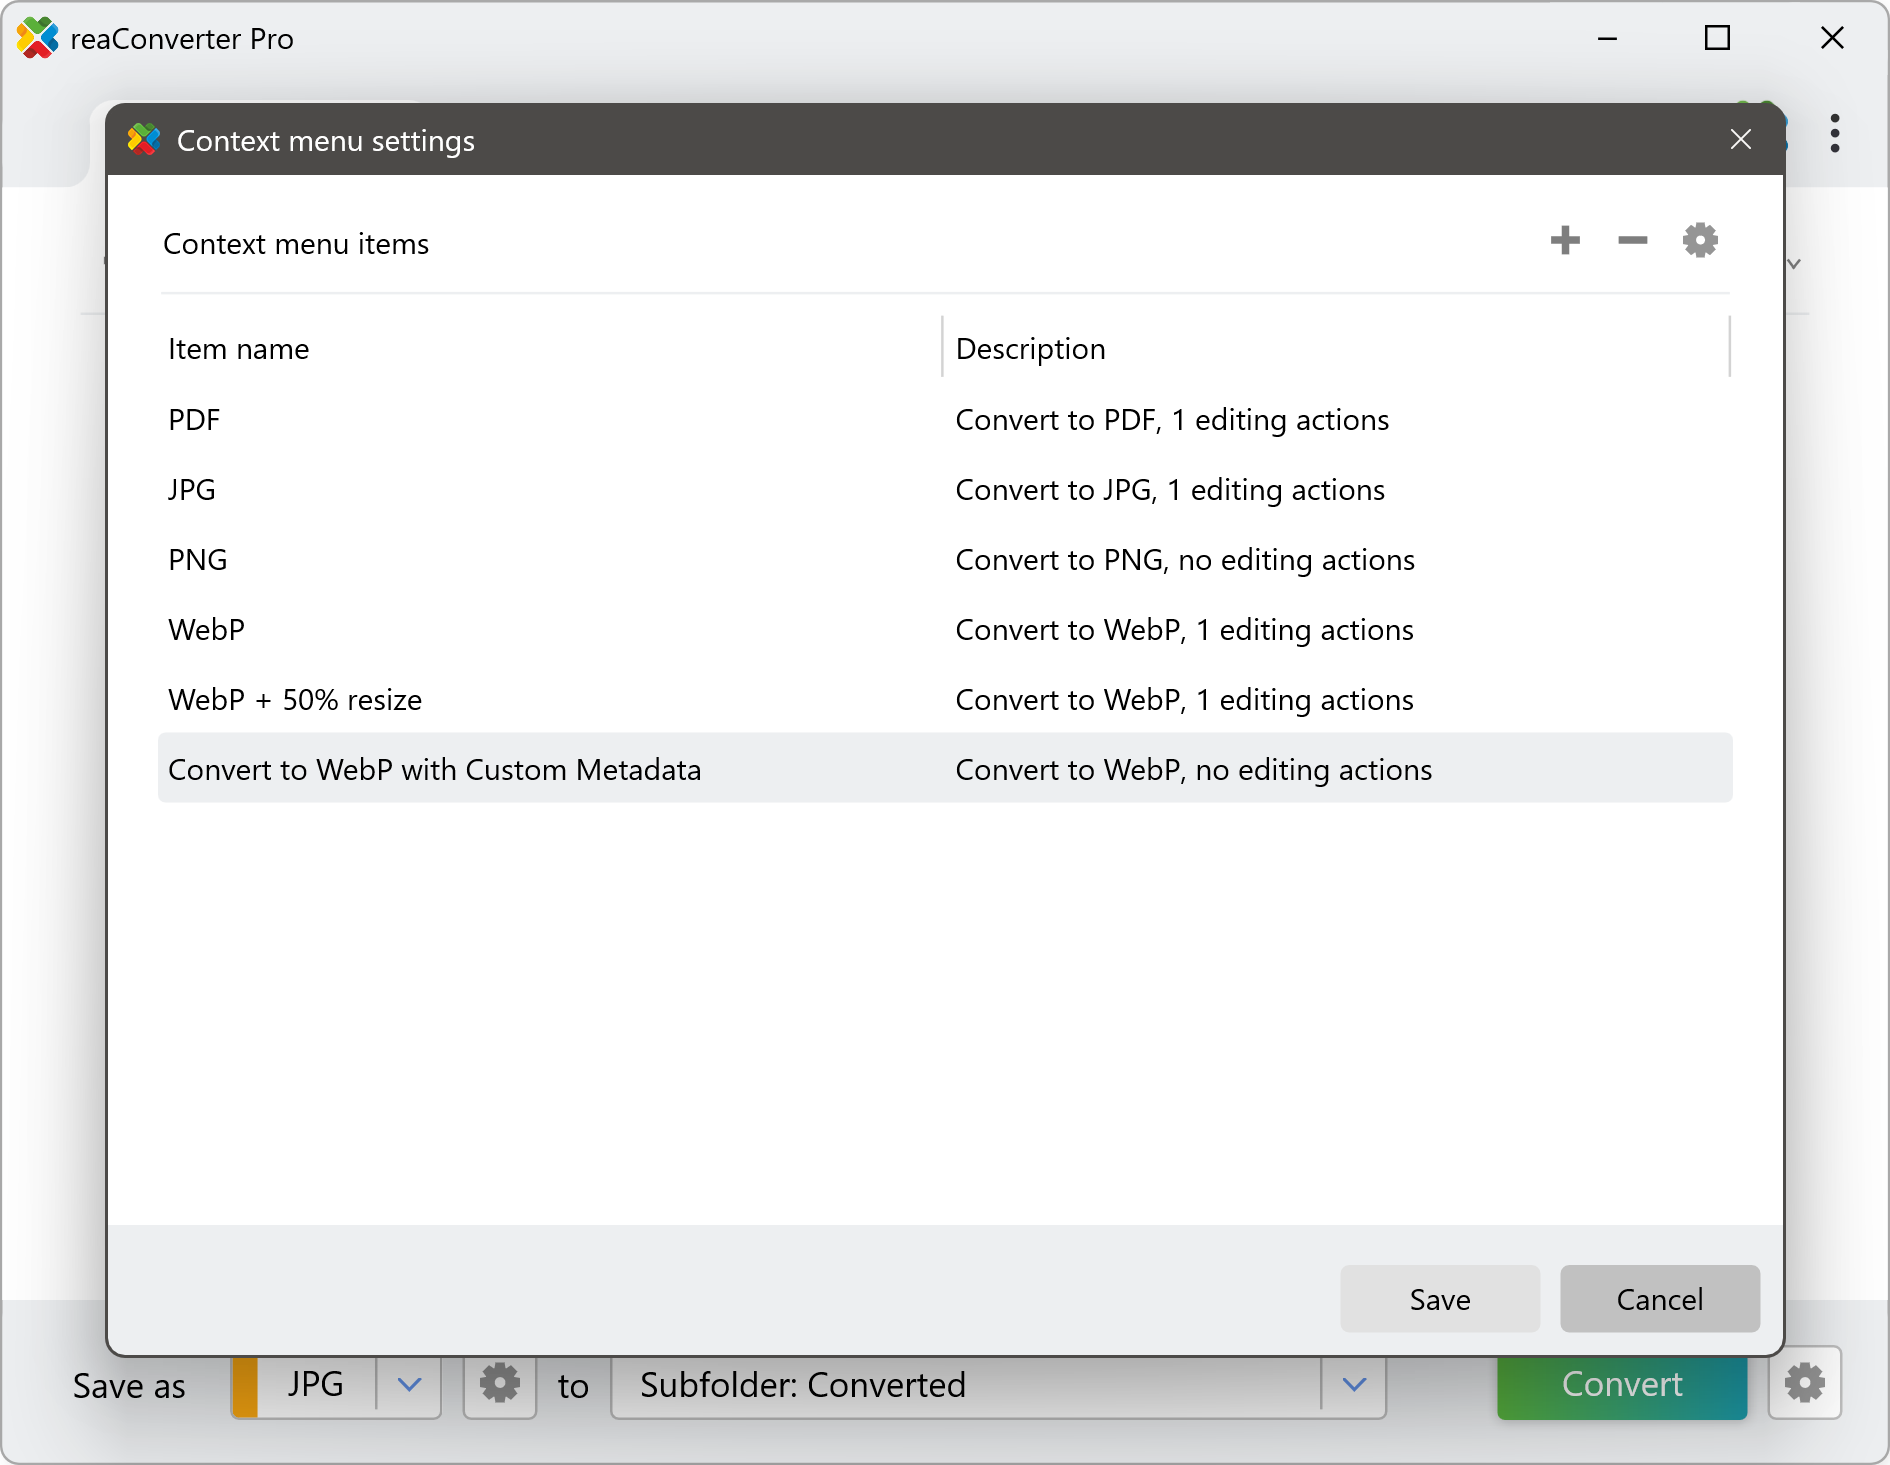
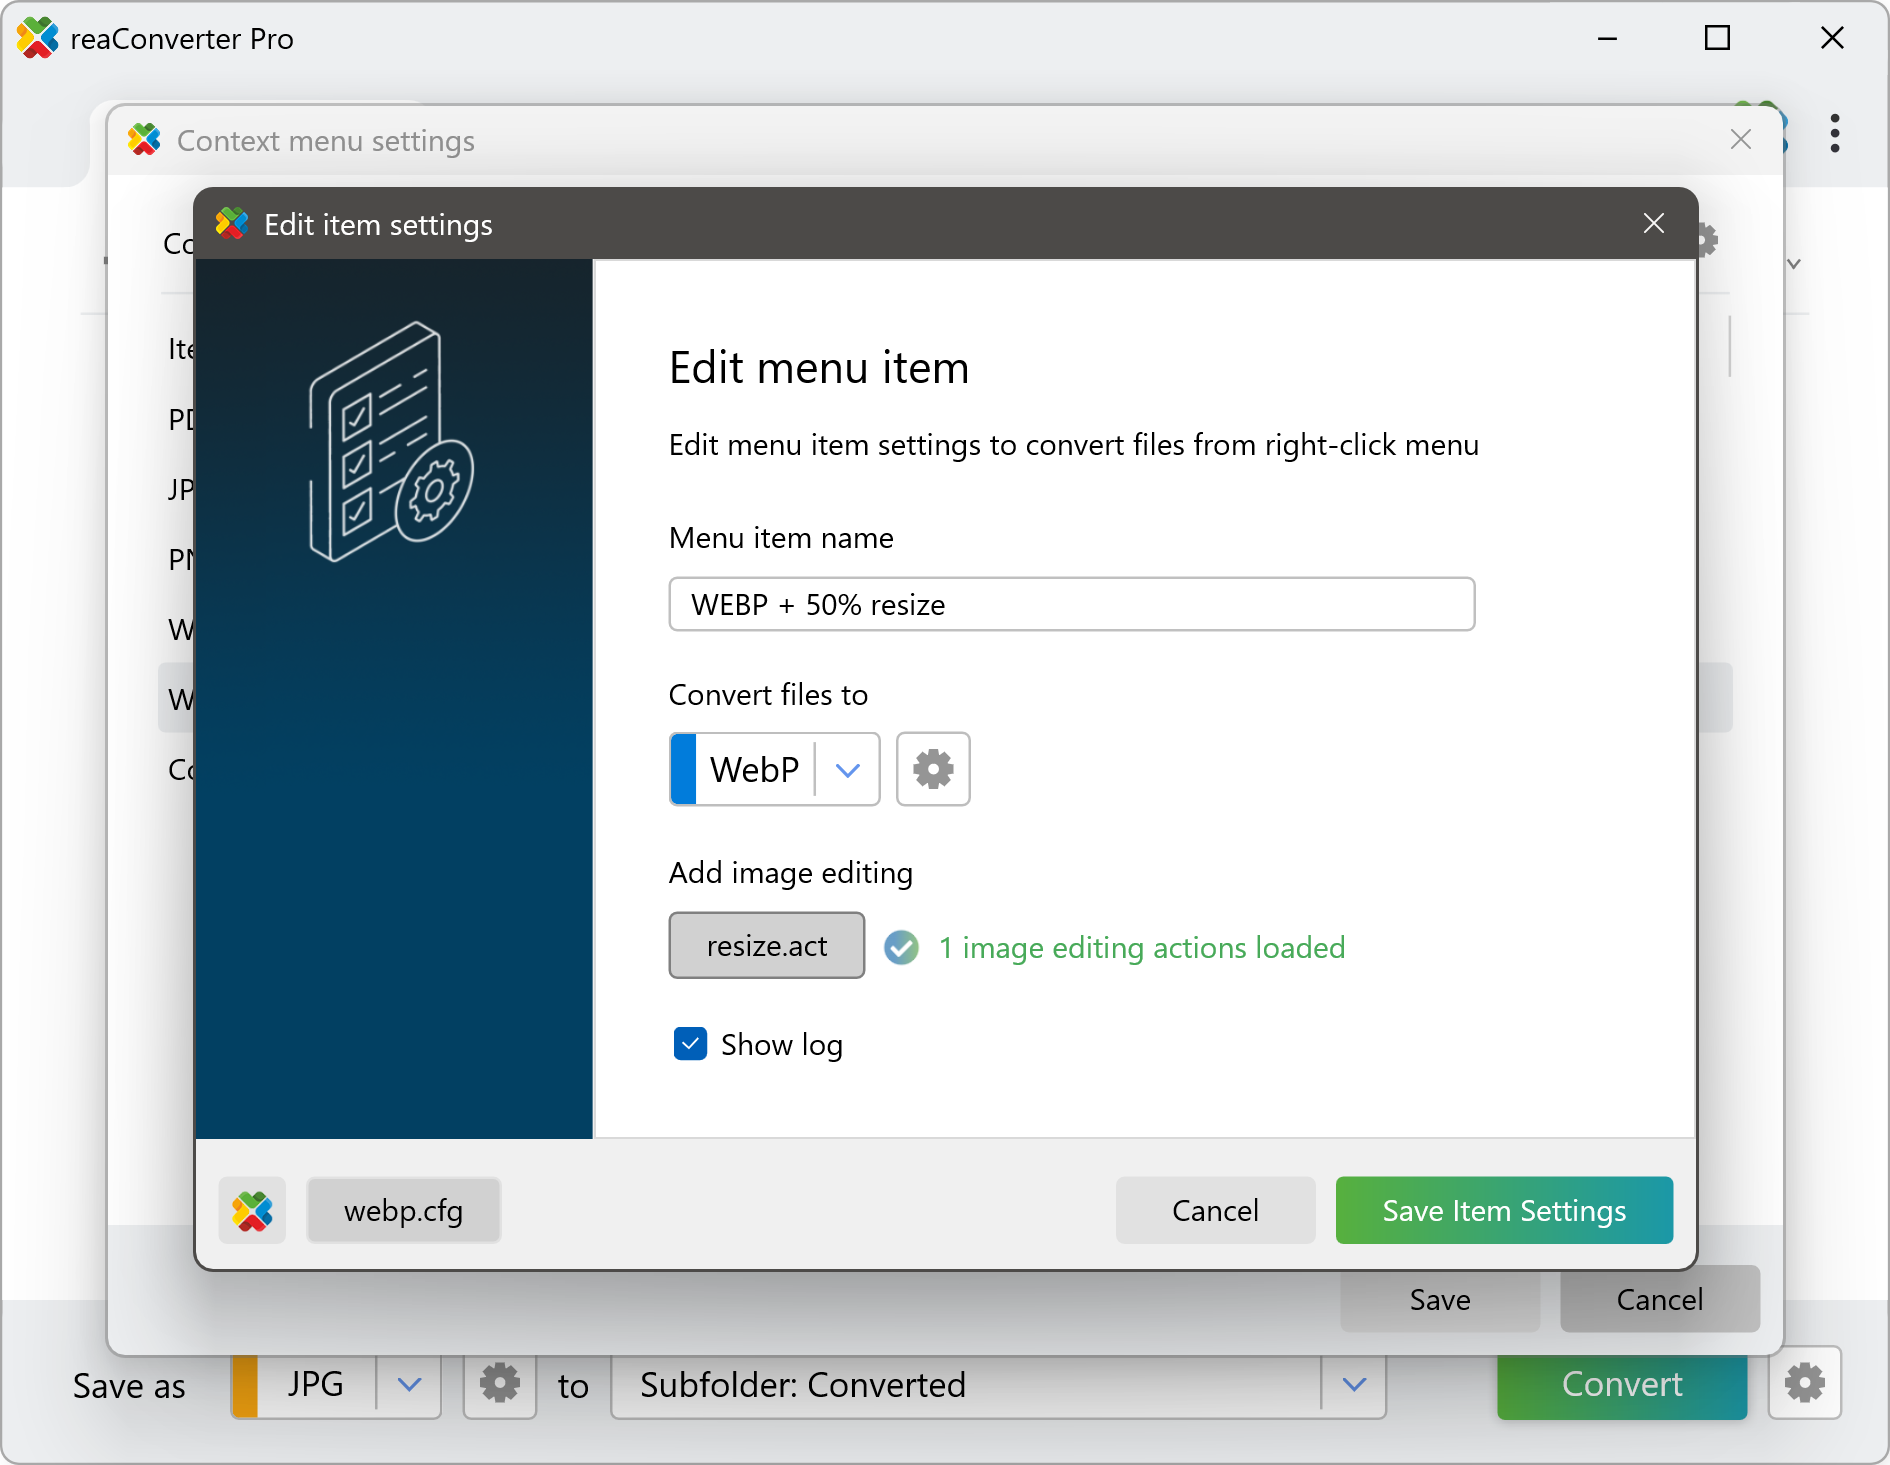
To add a new option, click the + sign and specify all the necessary settings in the window that appears: give your new item a name and browse for the prepared configuration and action files.
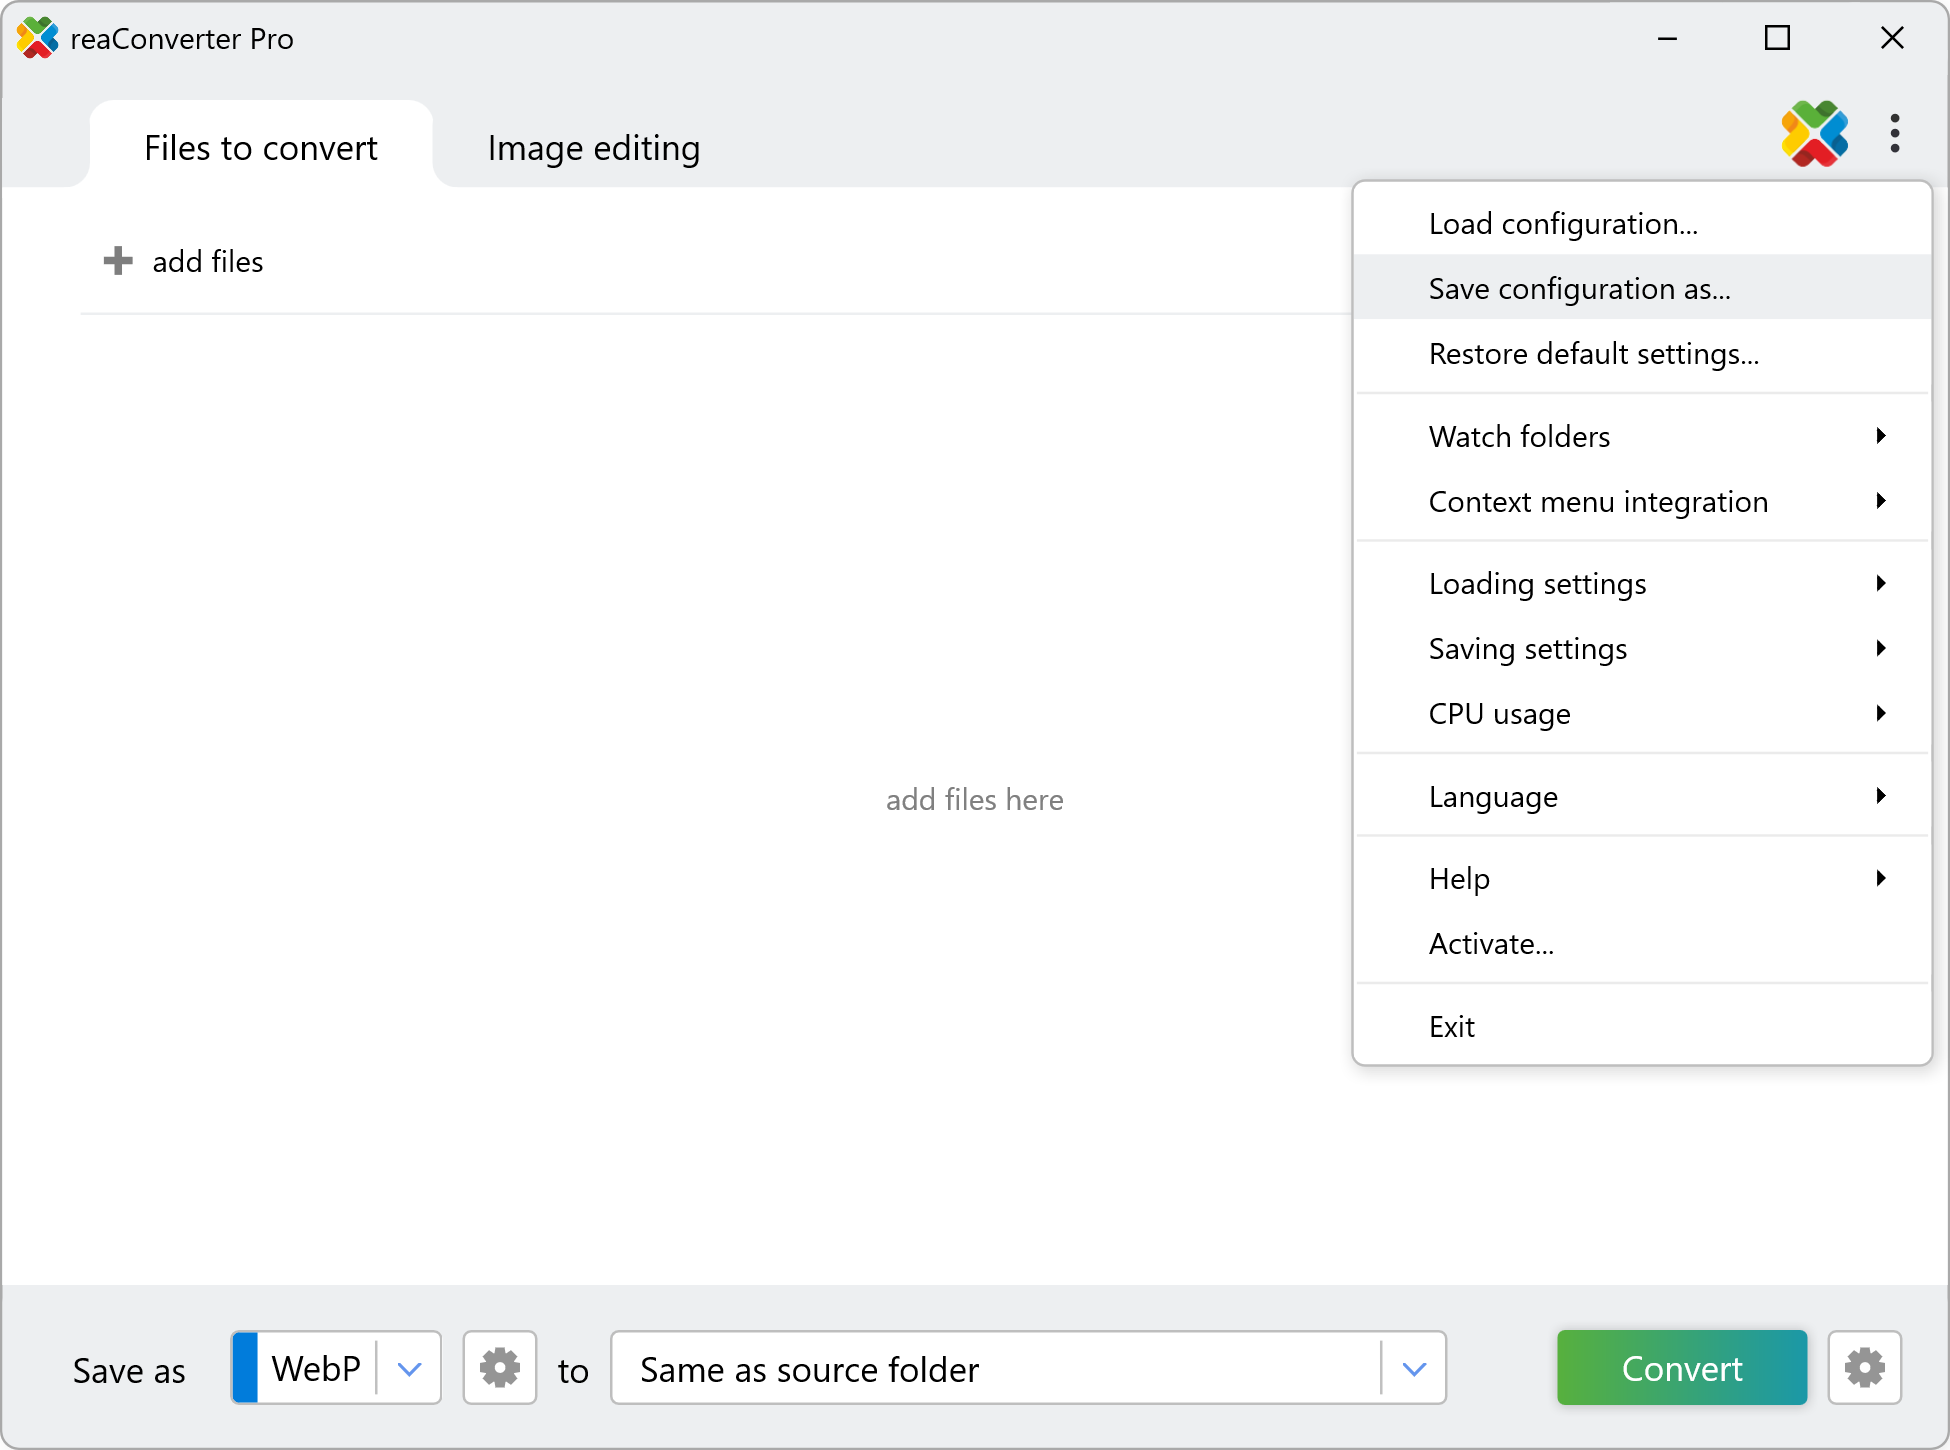
Create Config .cfg File
A .cfg file saves all your conversion settings — like output format, destination folder, and all advanced options (e.g., quality, file options). Configure everything in reaConverter’s interface, then export to .cfg for future use.
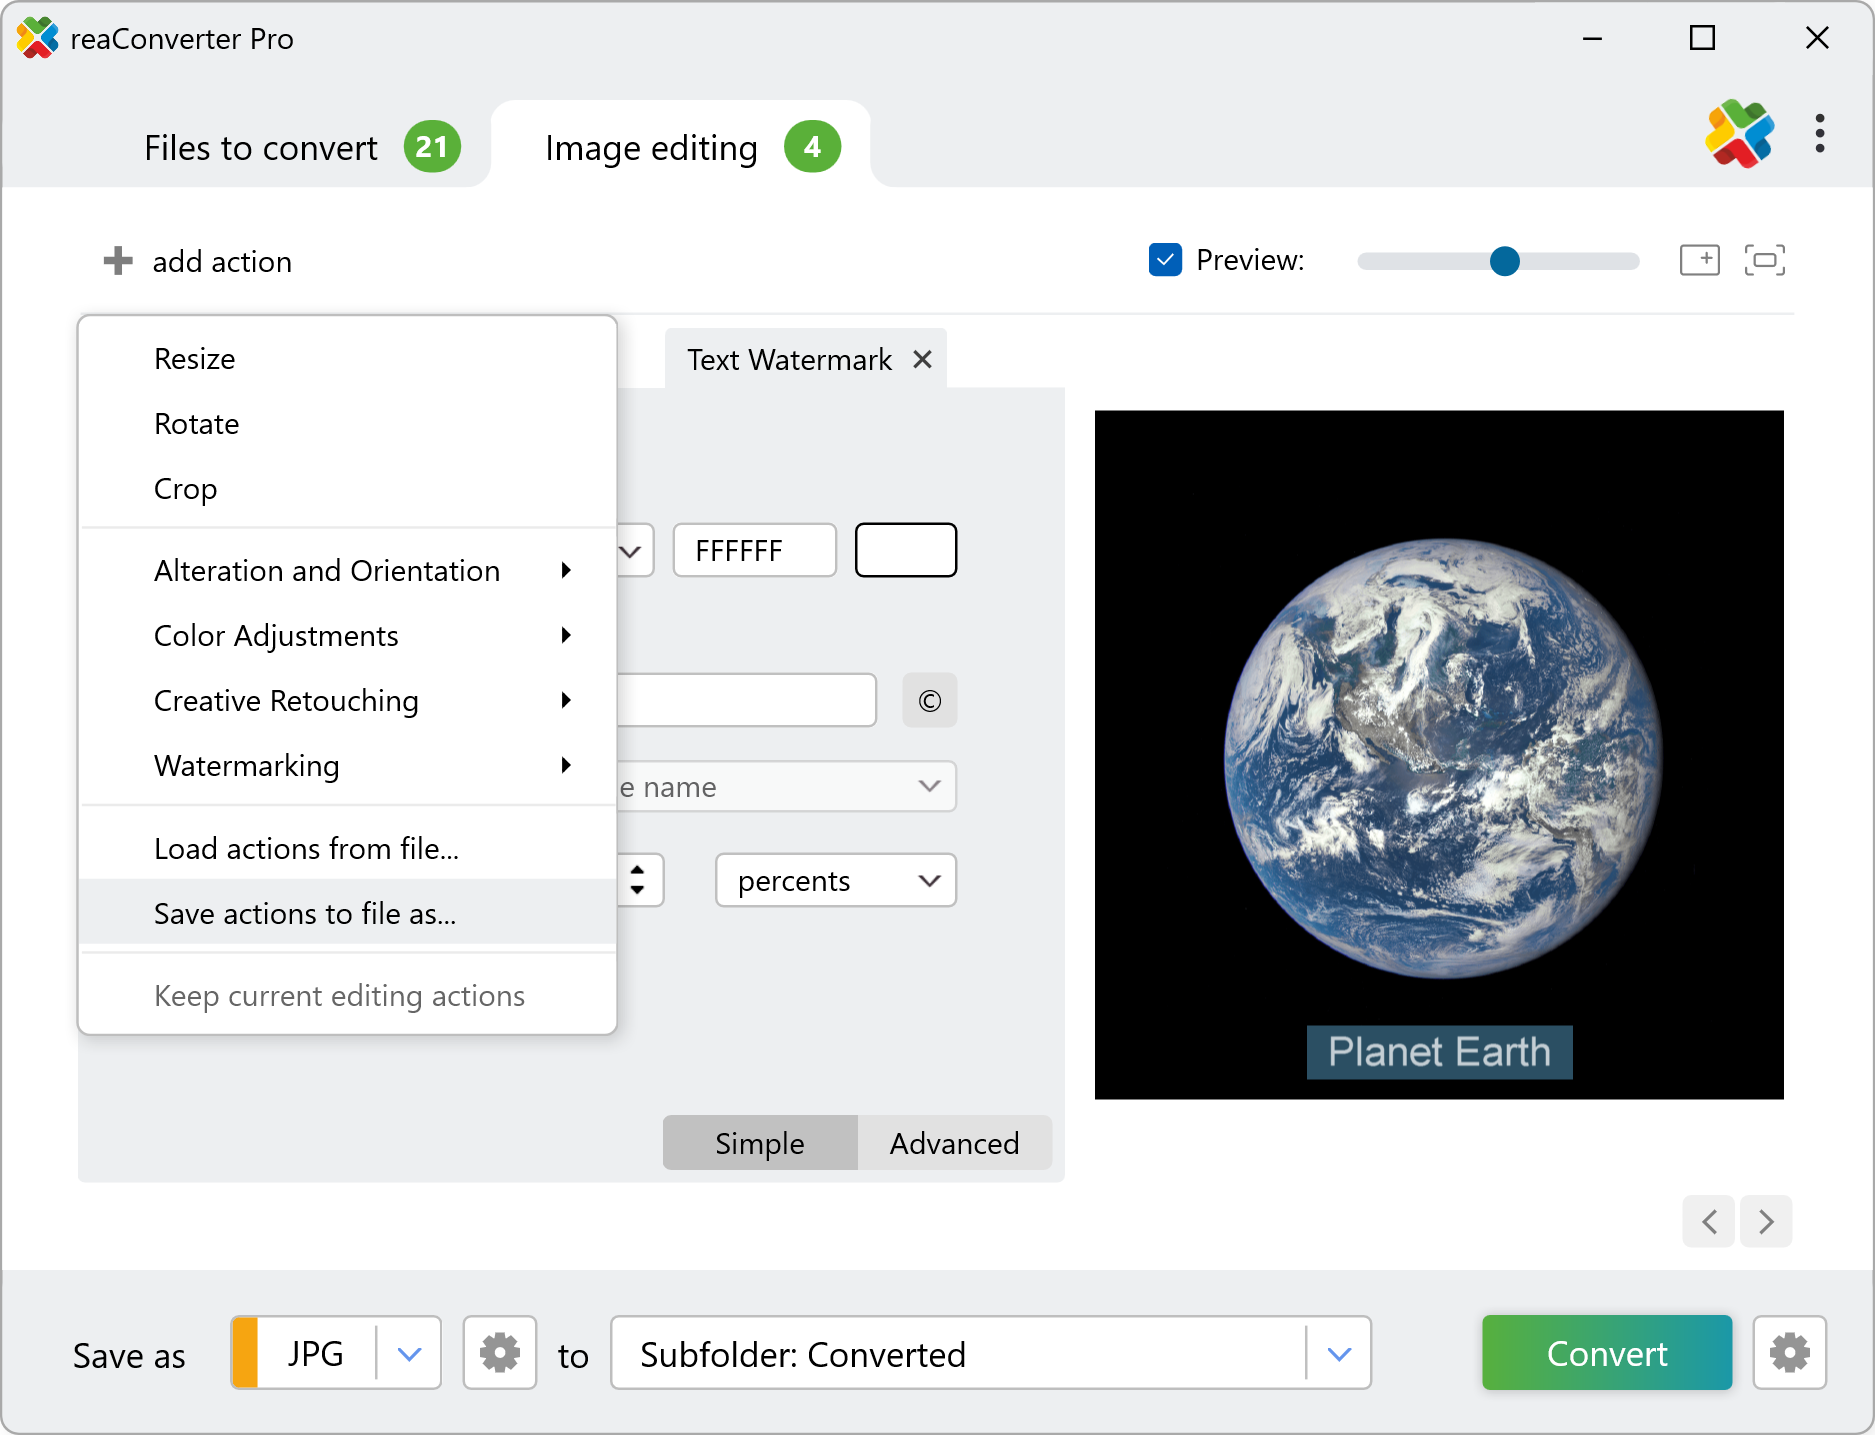
Create Action .act File
An .act file saves your image editing steps (like watermarking, cropping or color changes). Set up your edits in reaConverter, then save them to an .act file to apply later.
Your setup is complete! You can now right-click files for instant conversion, with results saved to the output folder you selected in your config file.
You are welcome to contact our technical support when you have any questions about reaConverter.
Right-click to convert files on your PC
The fastest way to process your files — just right-click and convert instantly with reaConverter’s context menu integration.