Anti-aliasing

How to Apply Anti-aliasing to a Group of Files?
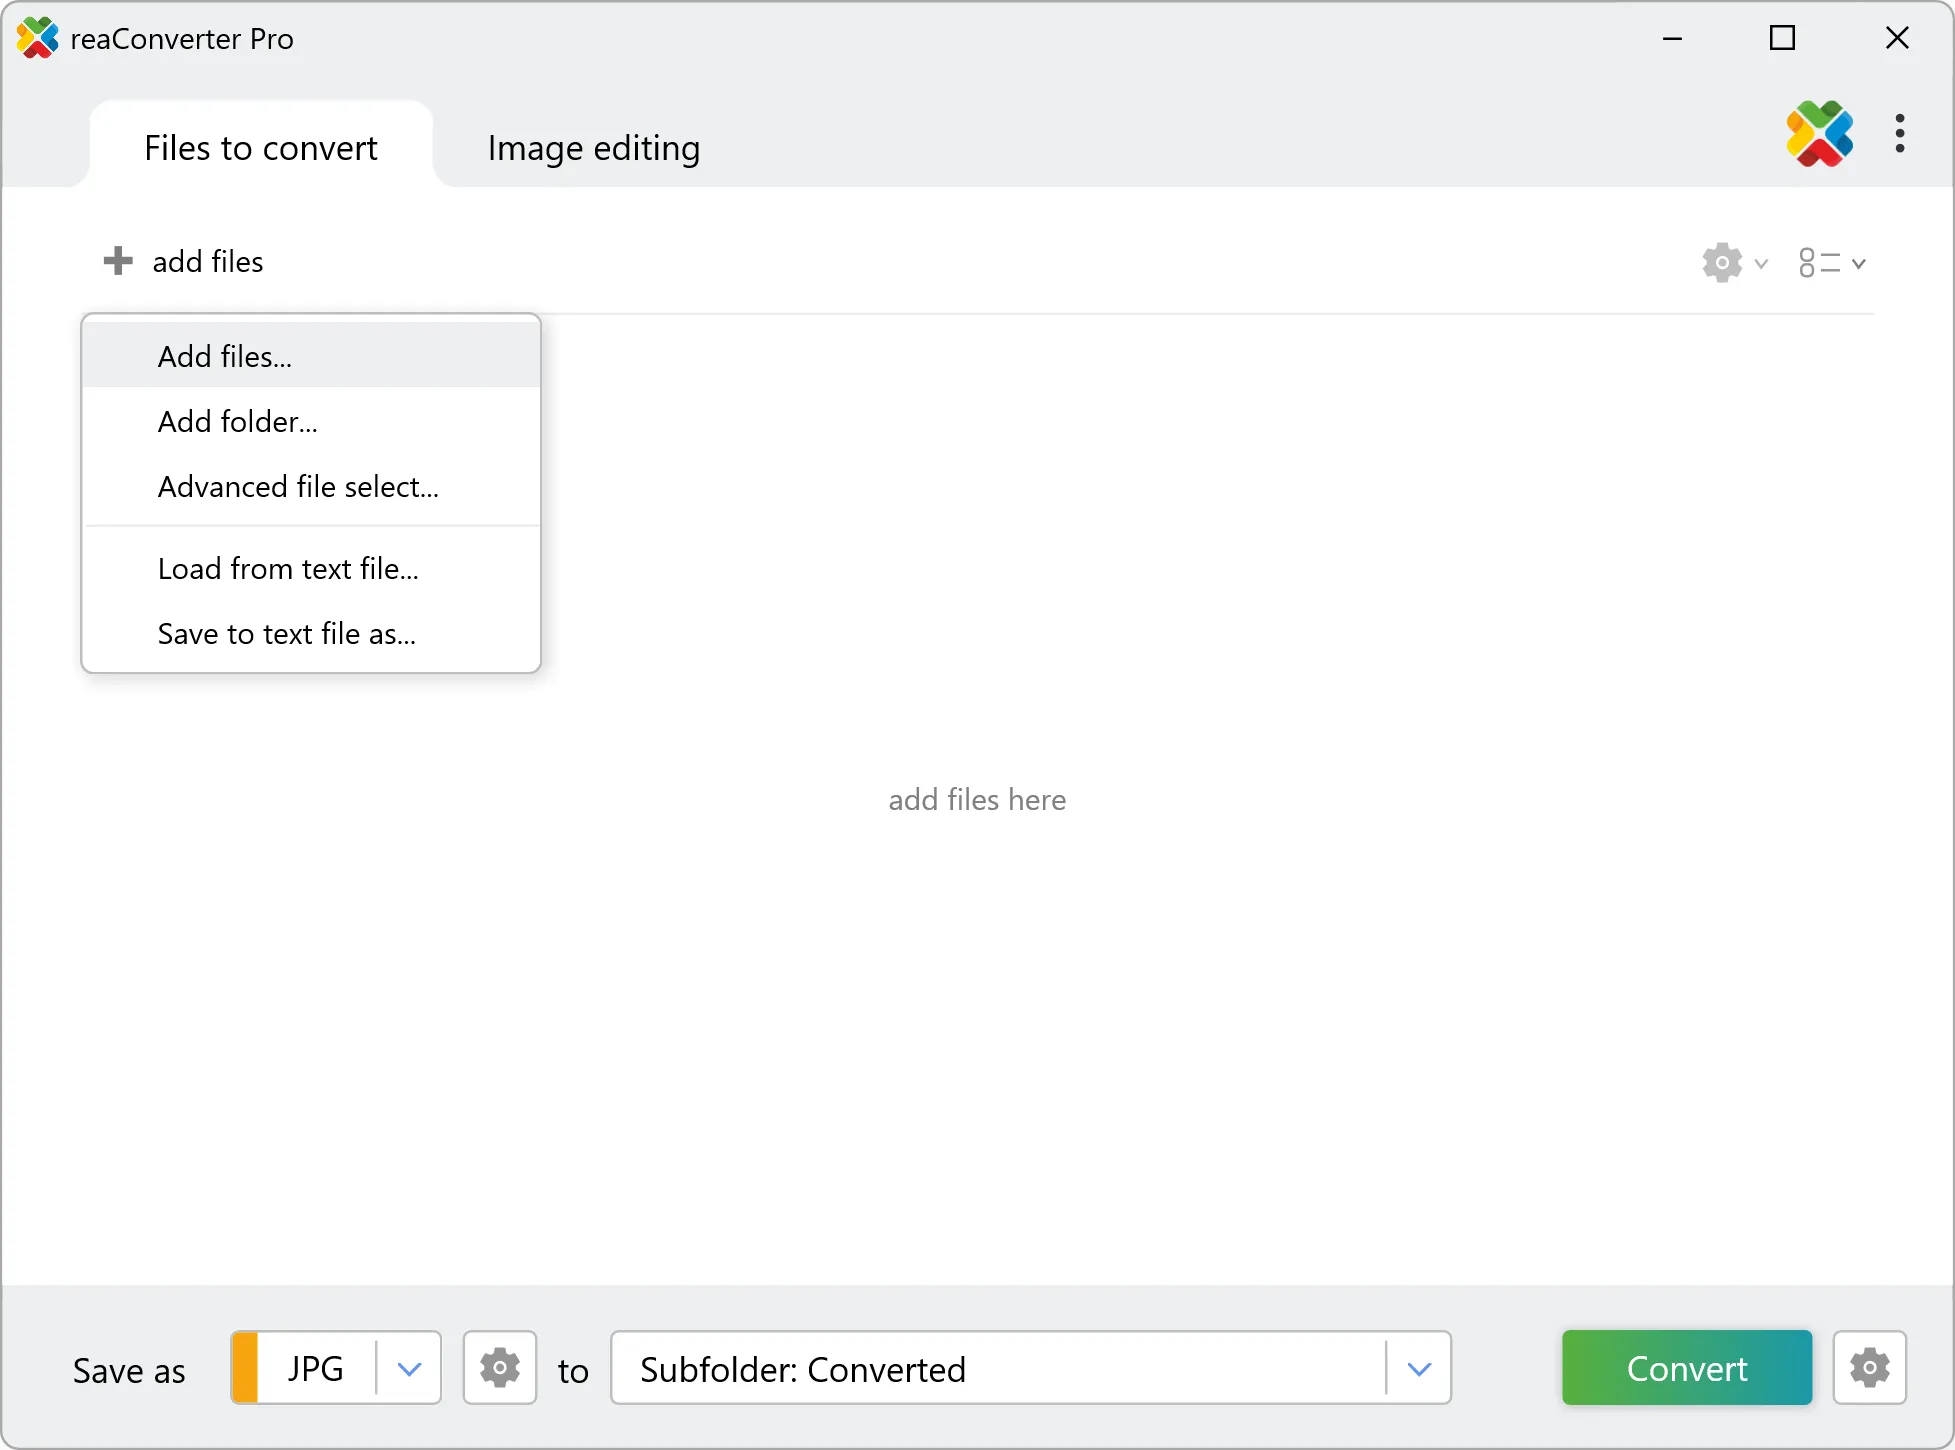
1. Open Images
Load all the images you intend to edit by selecting them from your computer or by using the drag-and-drop tool.
2. Add Anti-aliasing Action
In the Image editing tab, go to Add action → Creative Retouching → Anti-aliasing
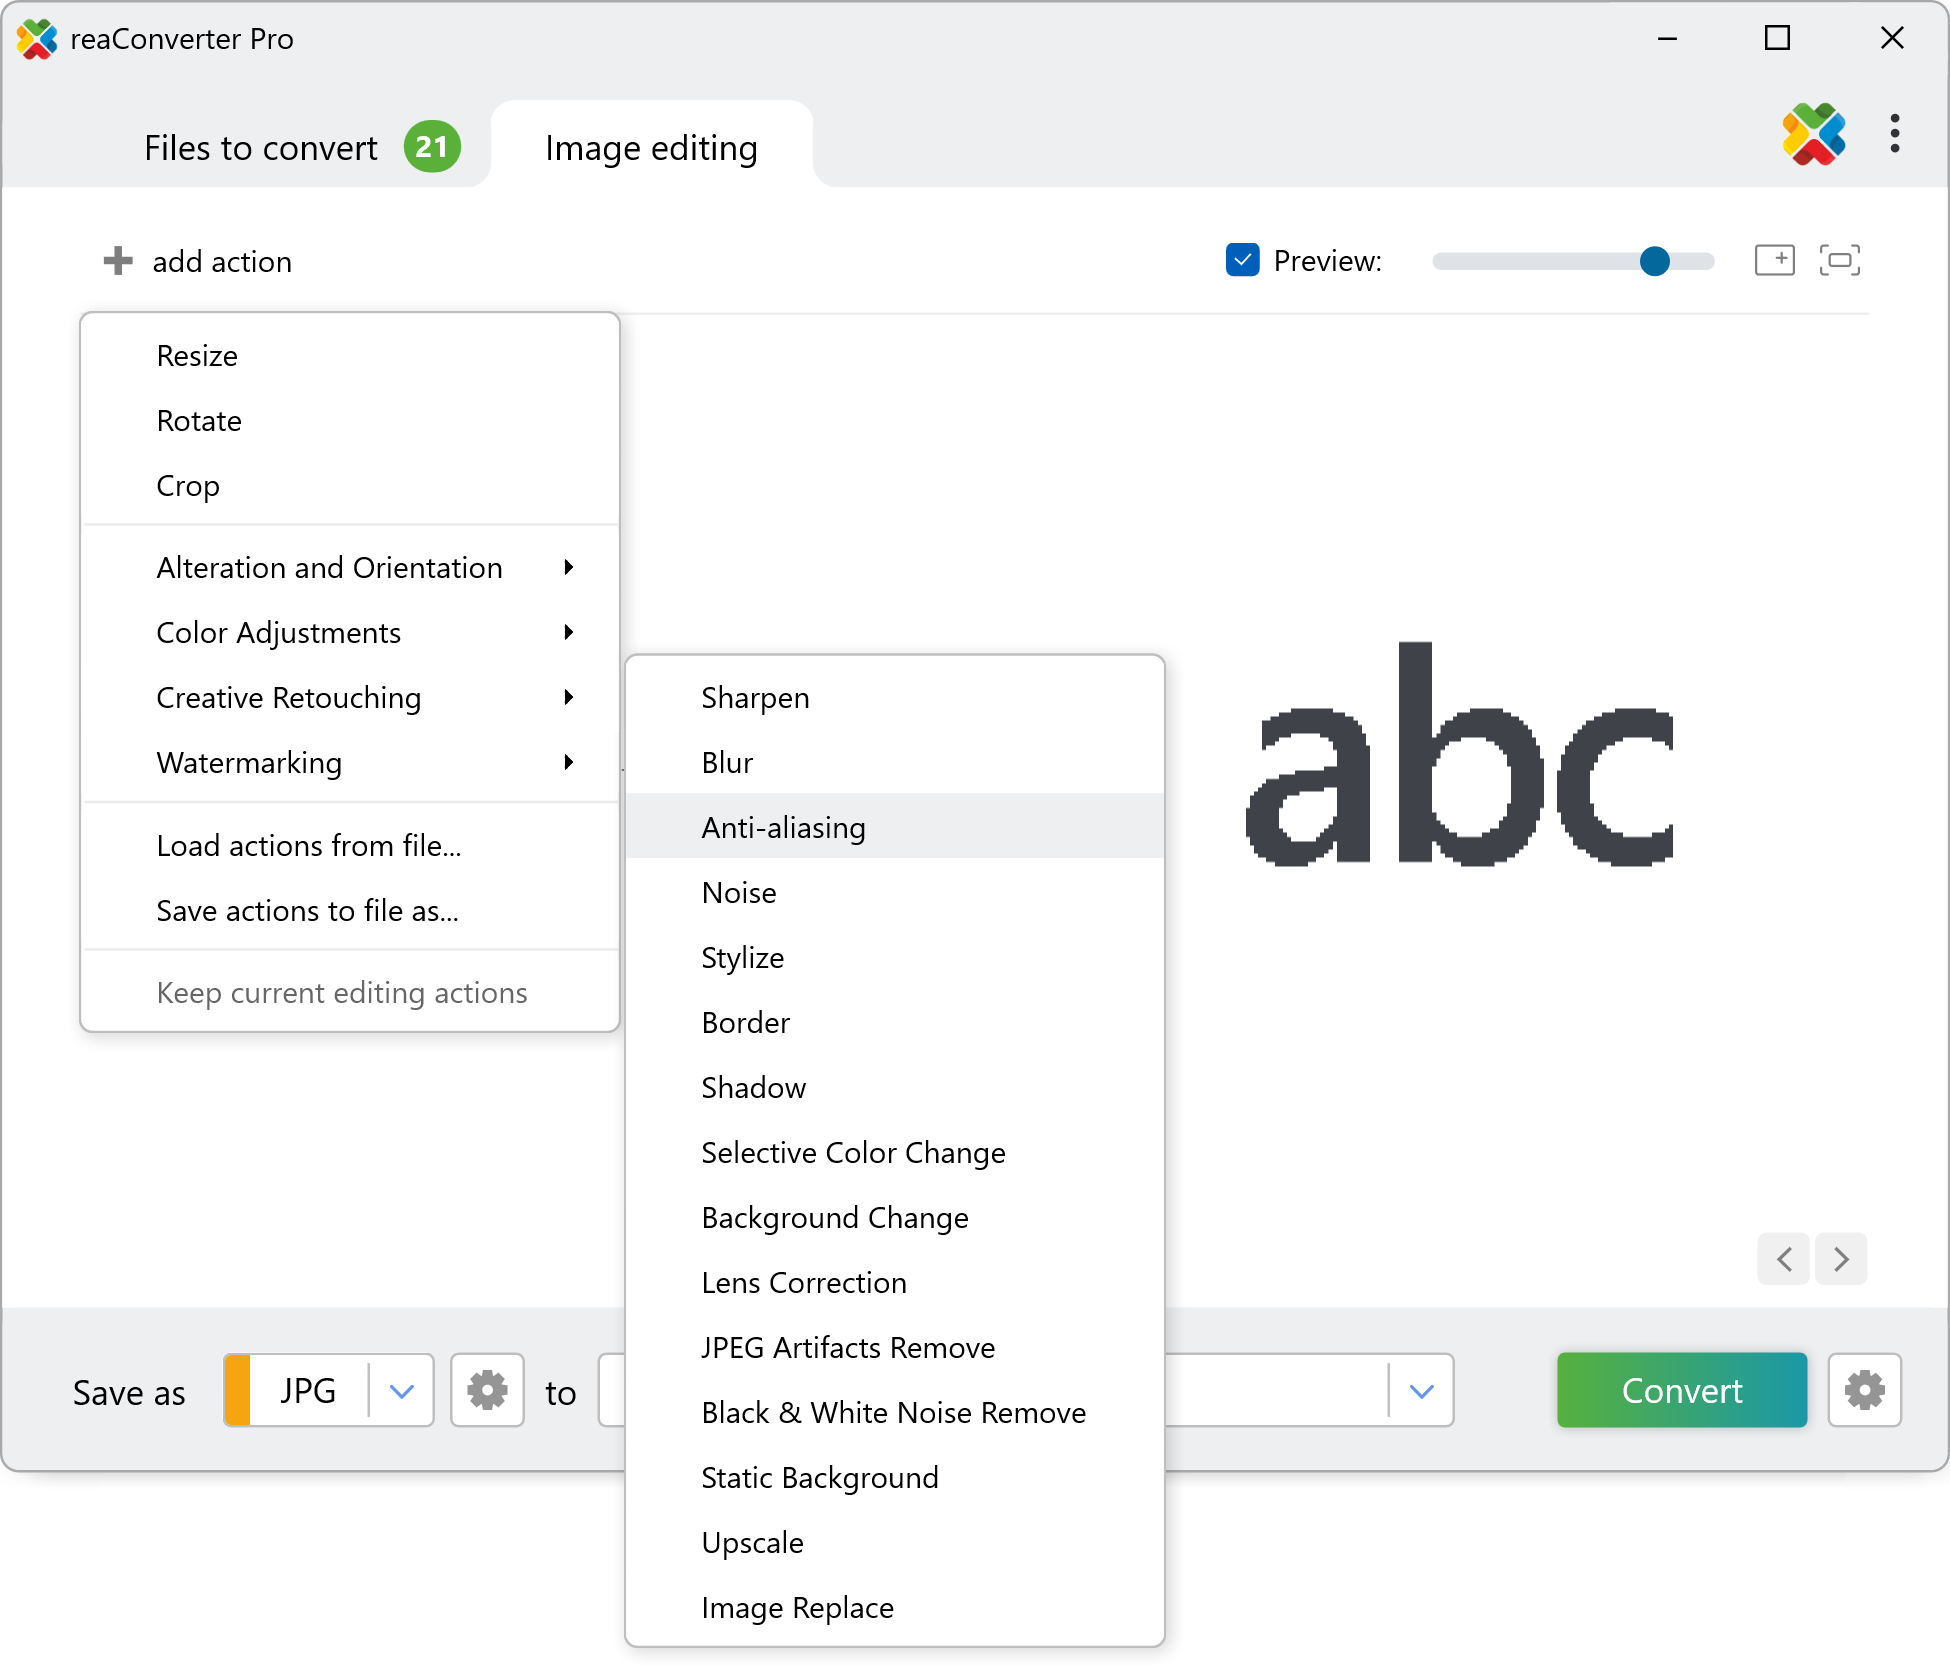
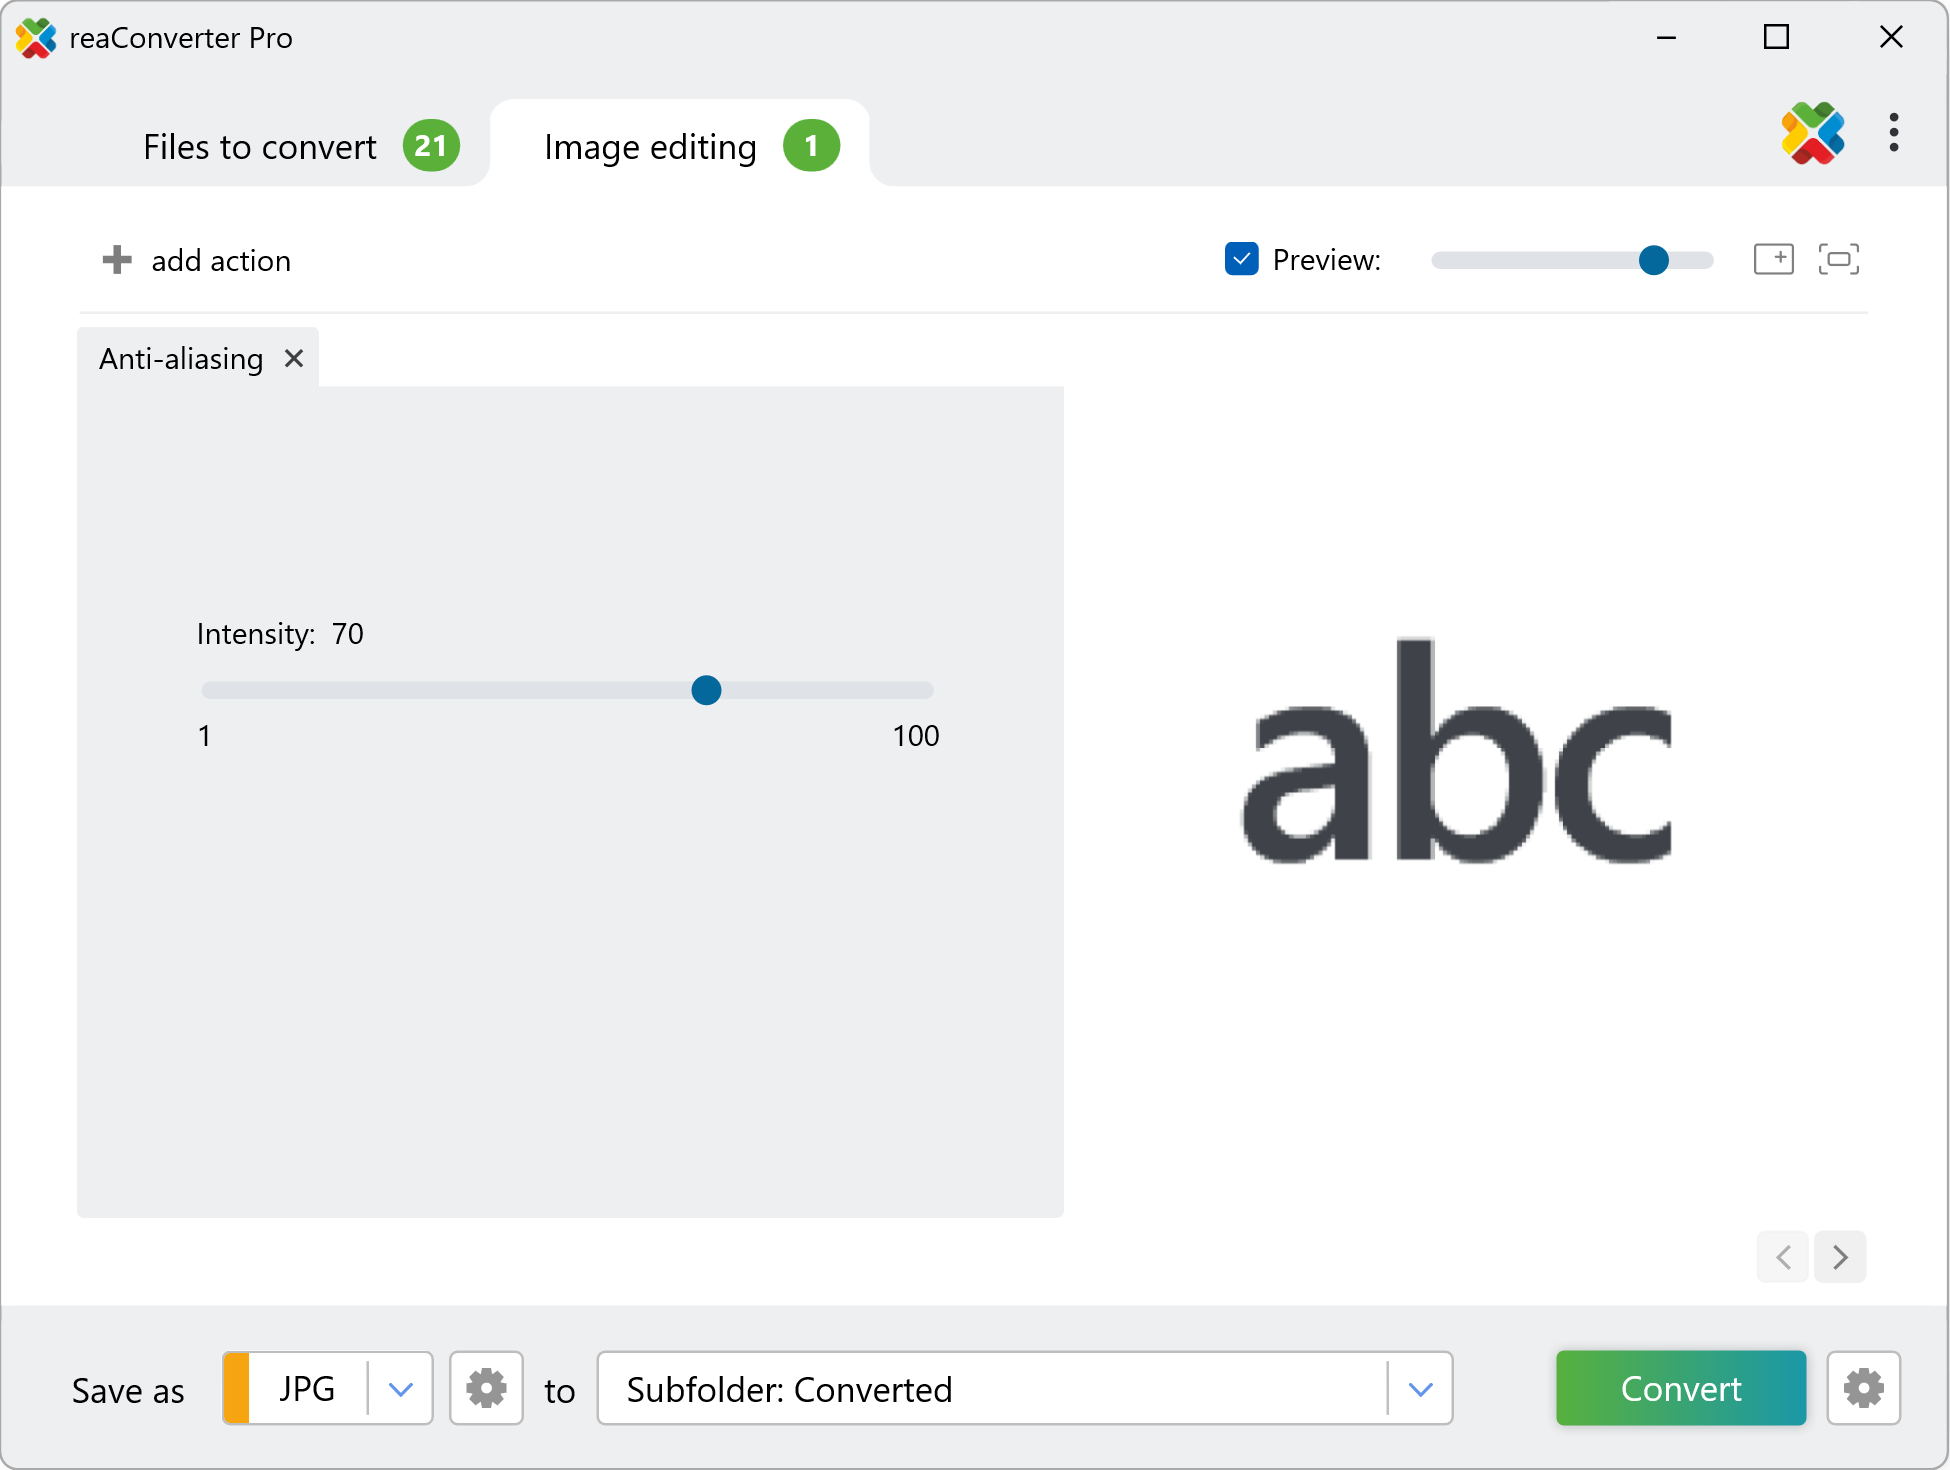
Here you can customize the intensity of the anti-aliasing feature using a handy scroll bar. Check the effect of your selection in real time, in the right part of the window, after ticking the Preview button.
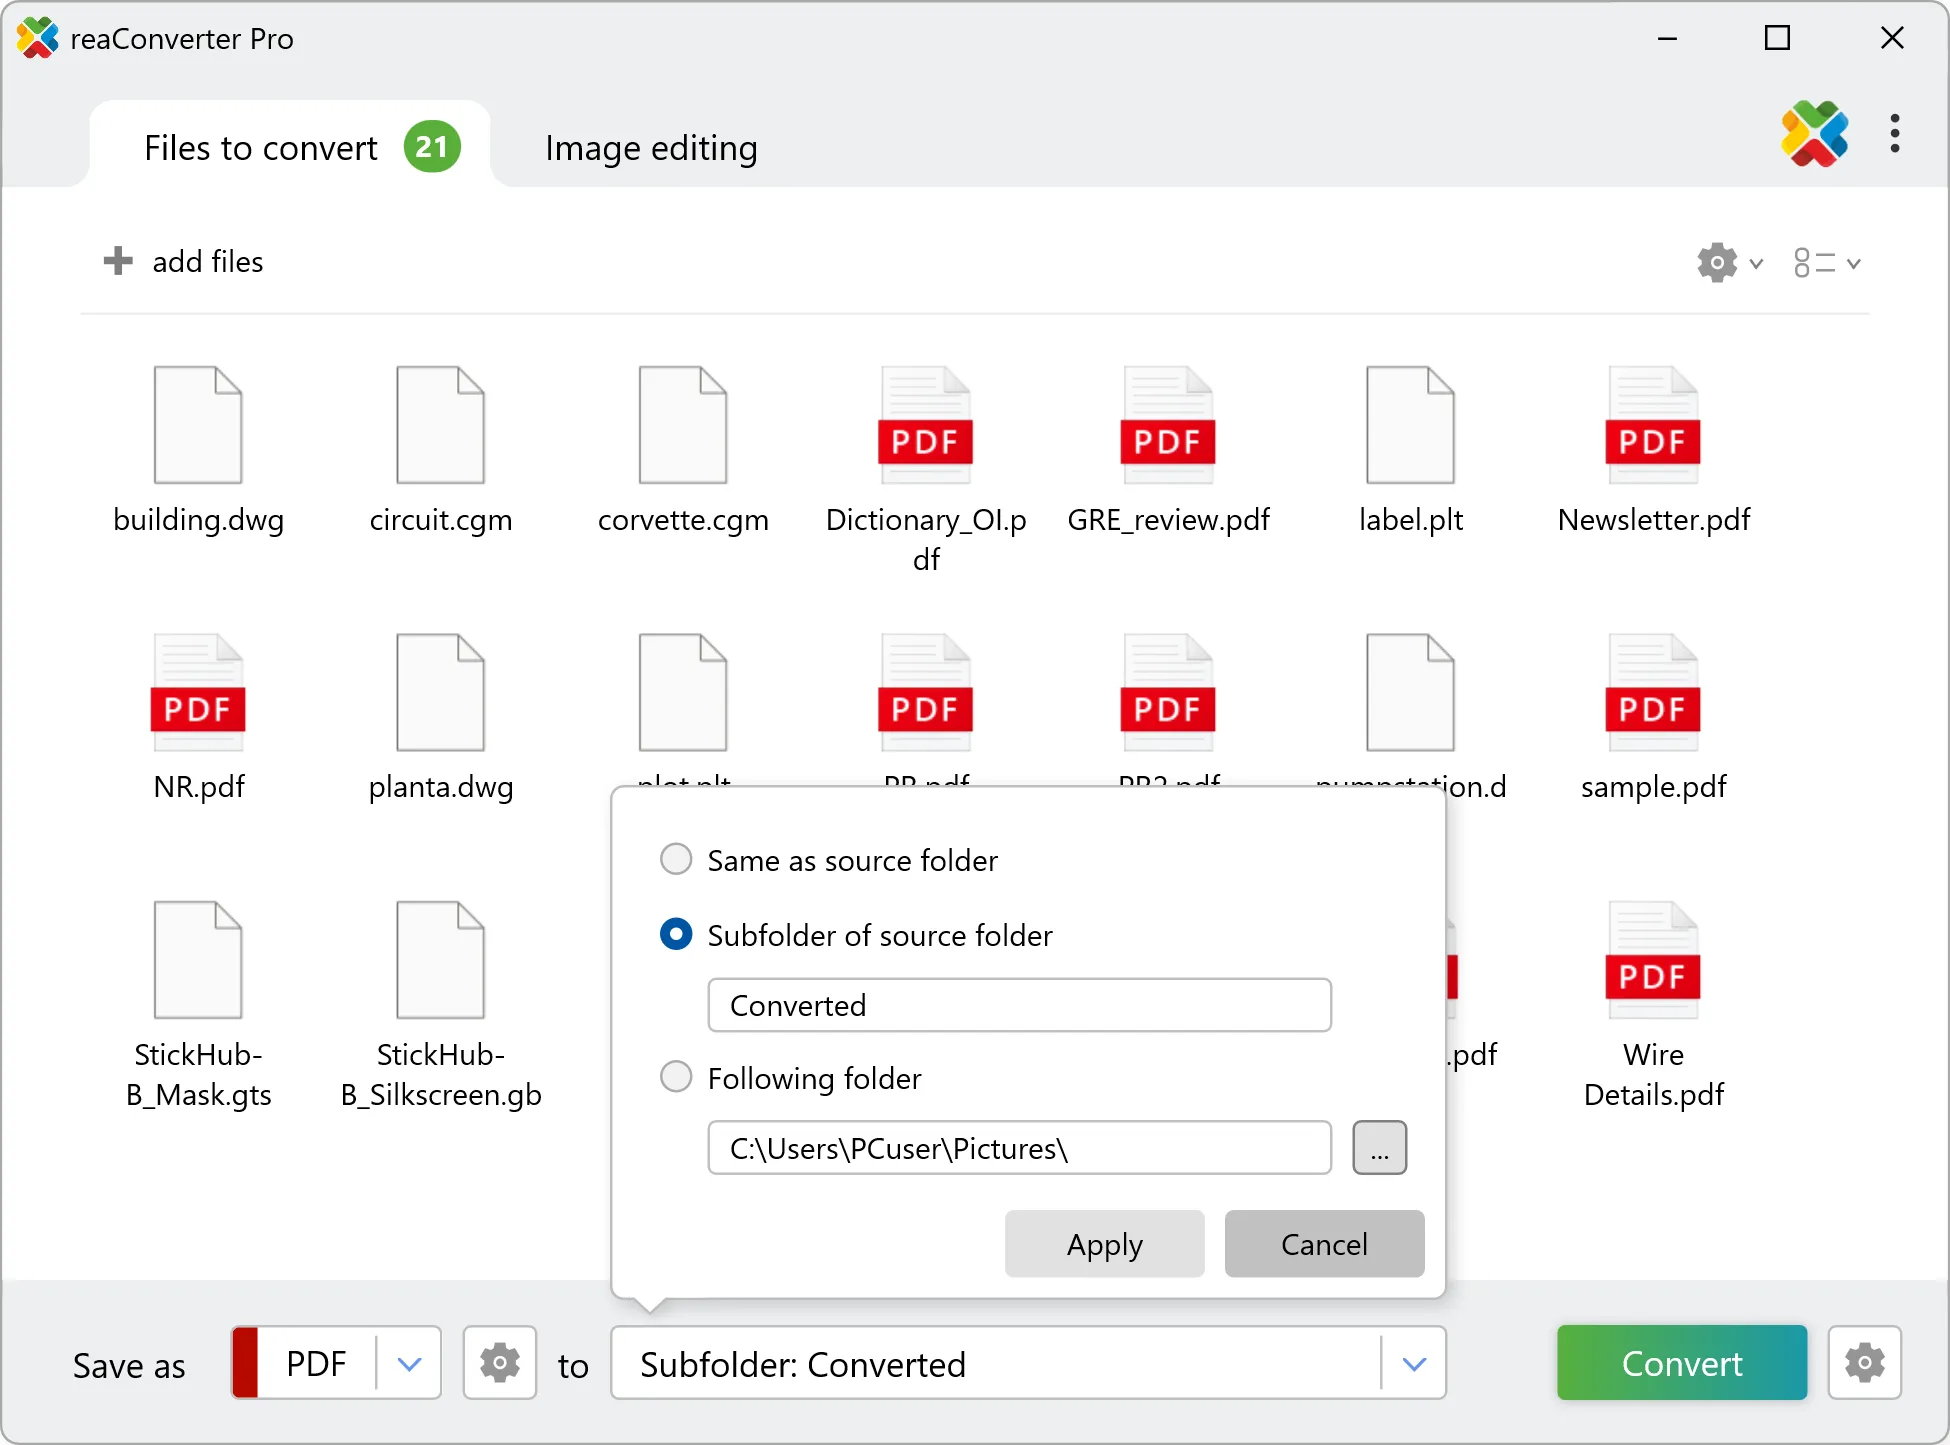
3. Save the Result
Pick a location for your edited image files. Last but not least, decide whether you want to preserve the format of your images or opt for a new one. reaConverter supports conversion in and from a large number of extensions including PDF, WebP, Avif and many more.
After this is done too, just press Convert and your new images will soon be ready!
Anti-aliasing on your PC
The fast and easy way to apply anti-aliasing on your PC is to use reaConverter. The software runs completely offline, keeping your files safe and private.
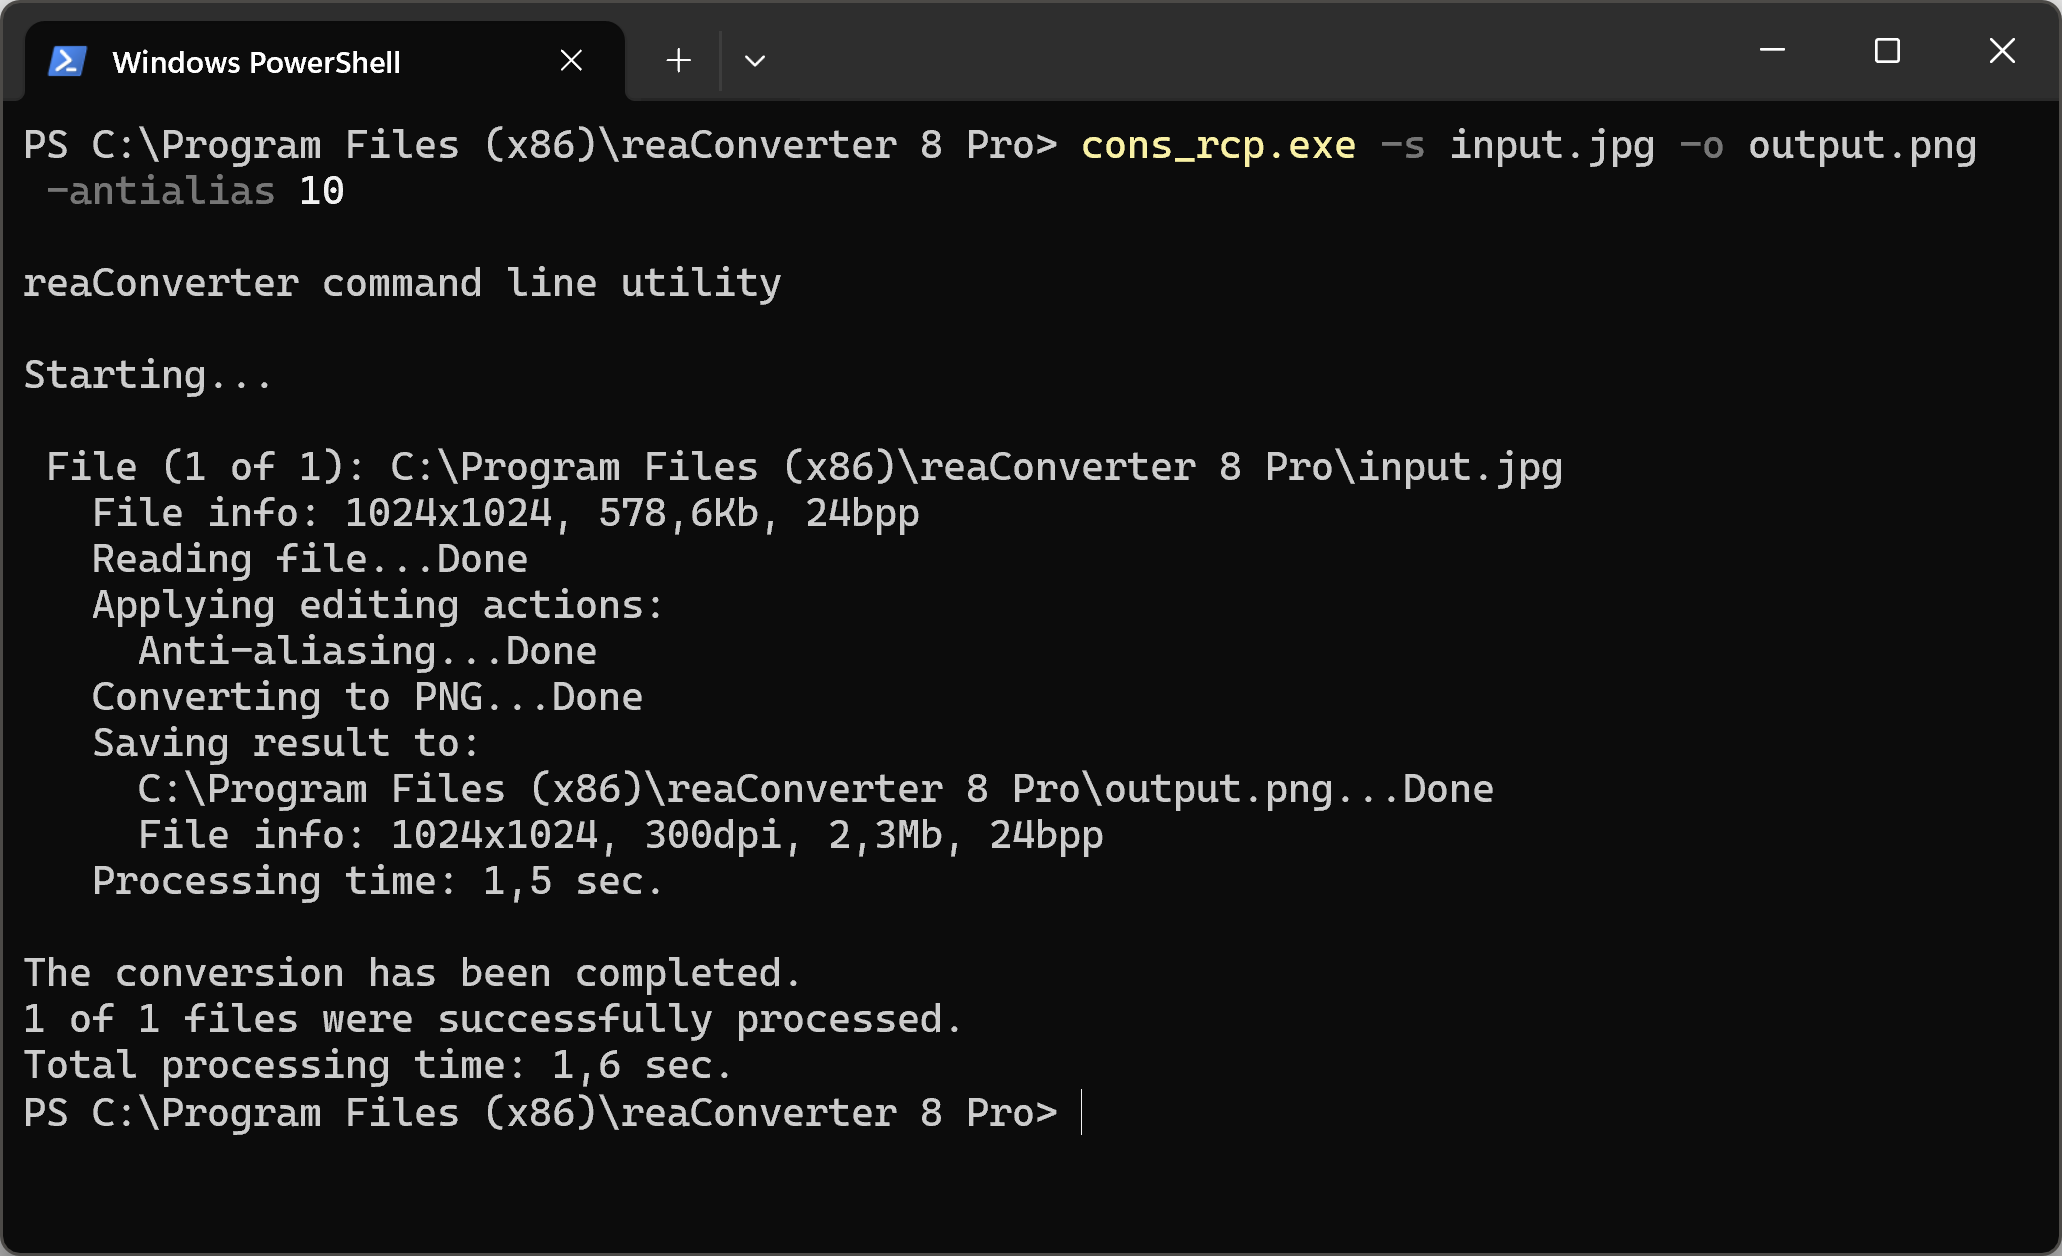
Anti-aliasing with command-line tool
You can also apply anti-aliasing using command-line interface, either manually or through automated scripts. reaConverter Pro includes a command-line tool called cons_rcp.exe — an advanced feature designed for professional use, available exclusively in the Pro edition.
Anti-aliasing example:
cons_rcp.exe -s "C:\Path_to\input_file.jpg" -o "C:\Path_to\output_file.jpg" -antialias 10
Manual
-antialias (applies antialias filter)
  Optional parameter:
	  1. Intensity (Syntax: 20, integer from 0 to 100)
  Example:
    -antialias 30
You are welcome to contact our technical support when you have any questions about reaConverter.
Discover more