Border

How to Add Border to a Batch of Images?
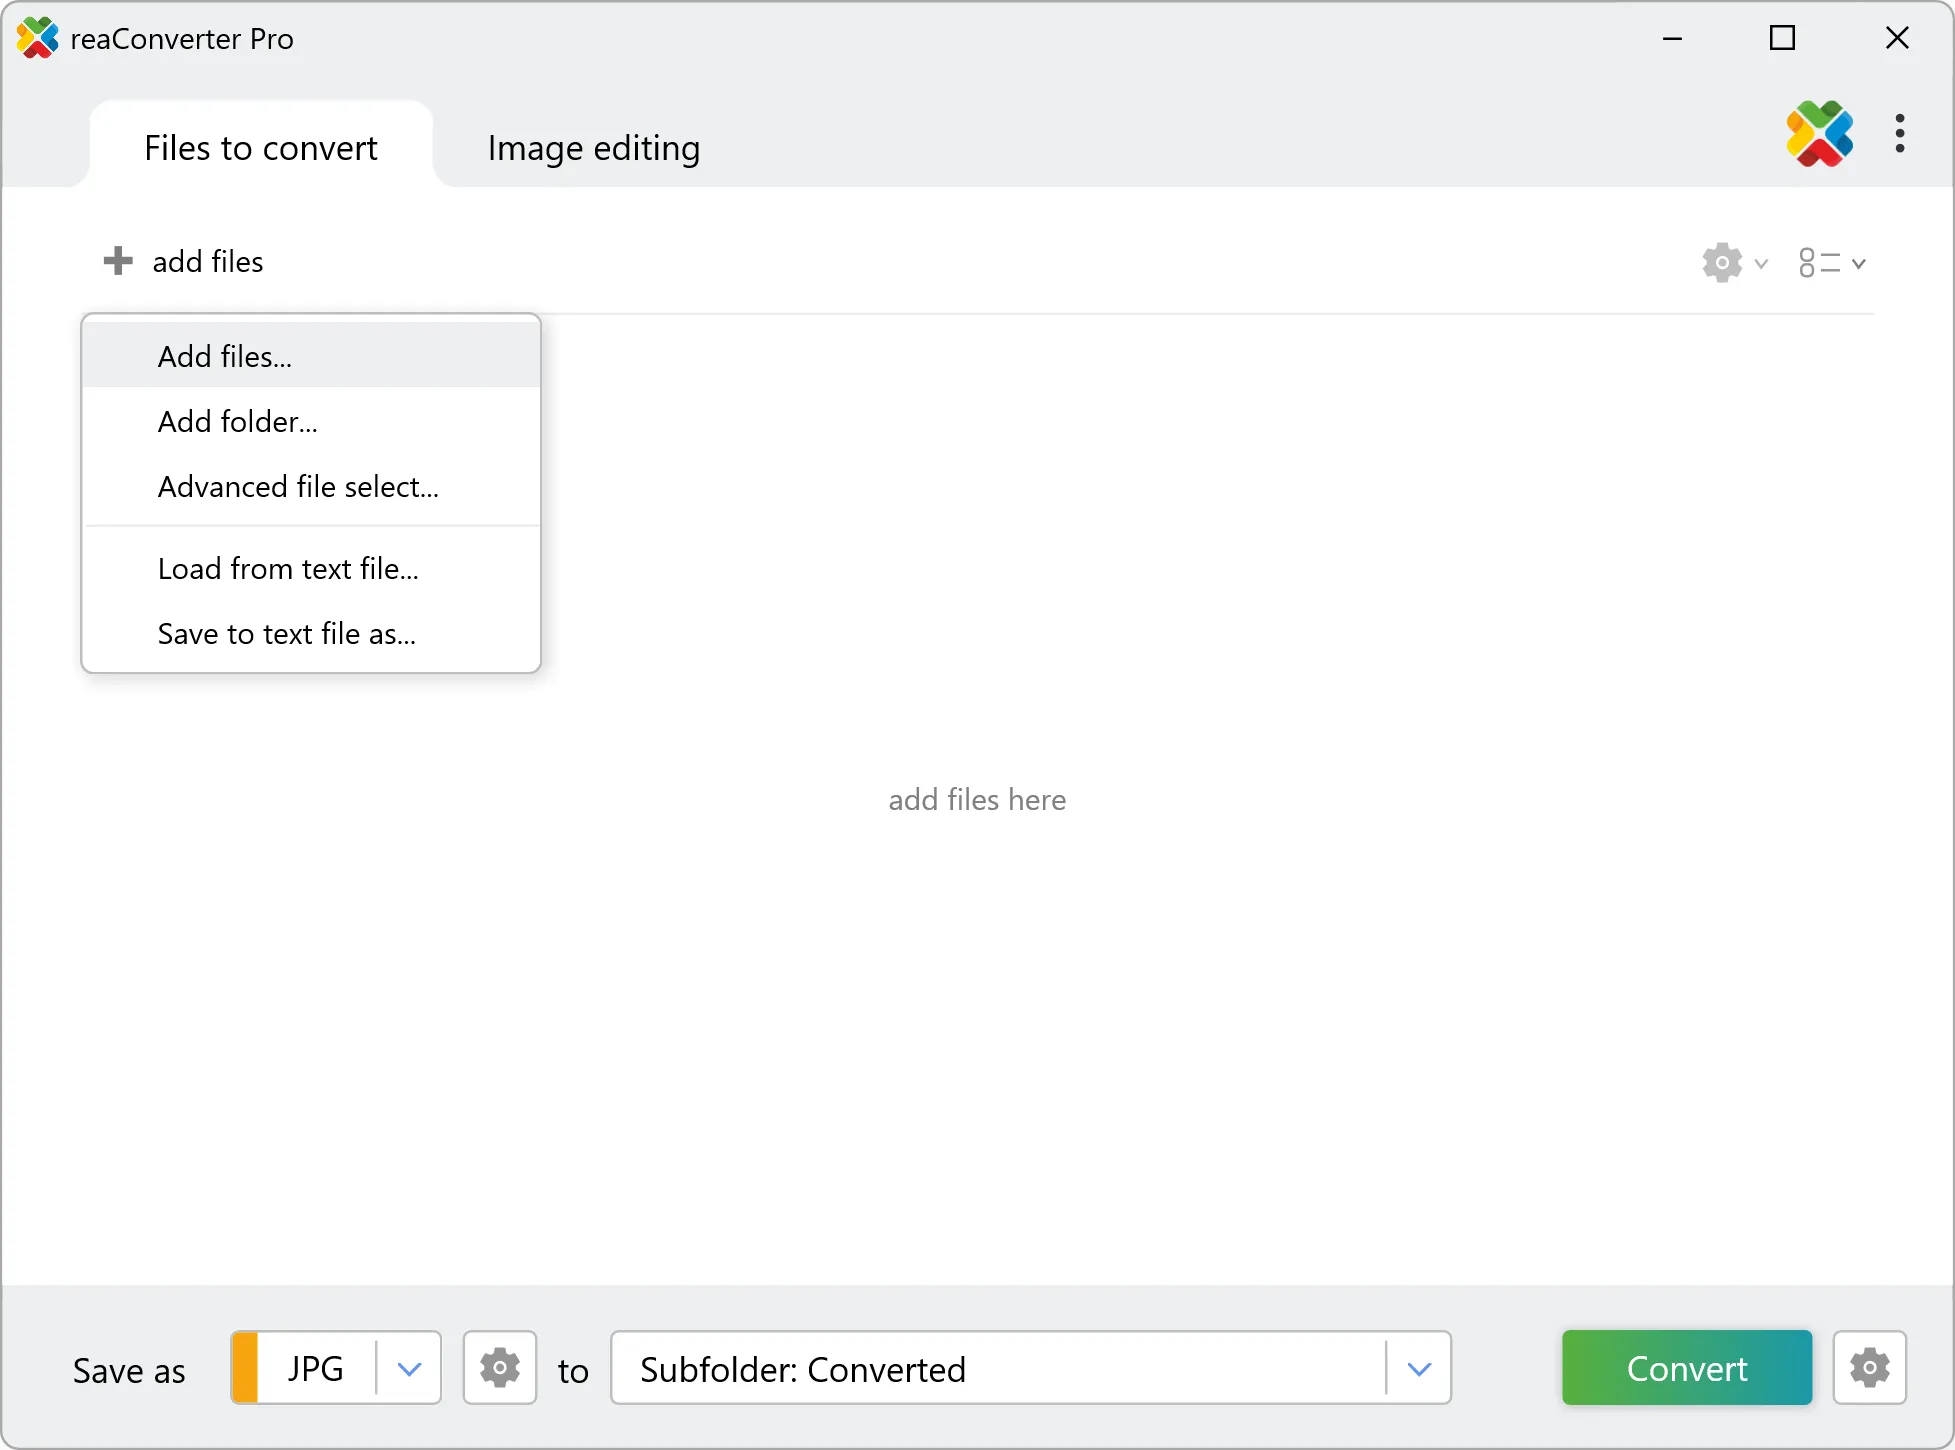
1. Open Images
Add all the images you intend to border by picking them manually from a local folder, adding an entire folder or using reaConverter's handy drag-and-drop feature.
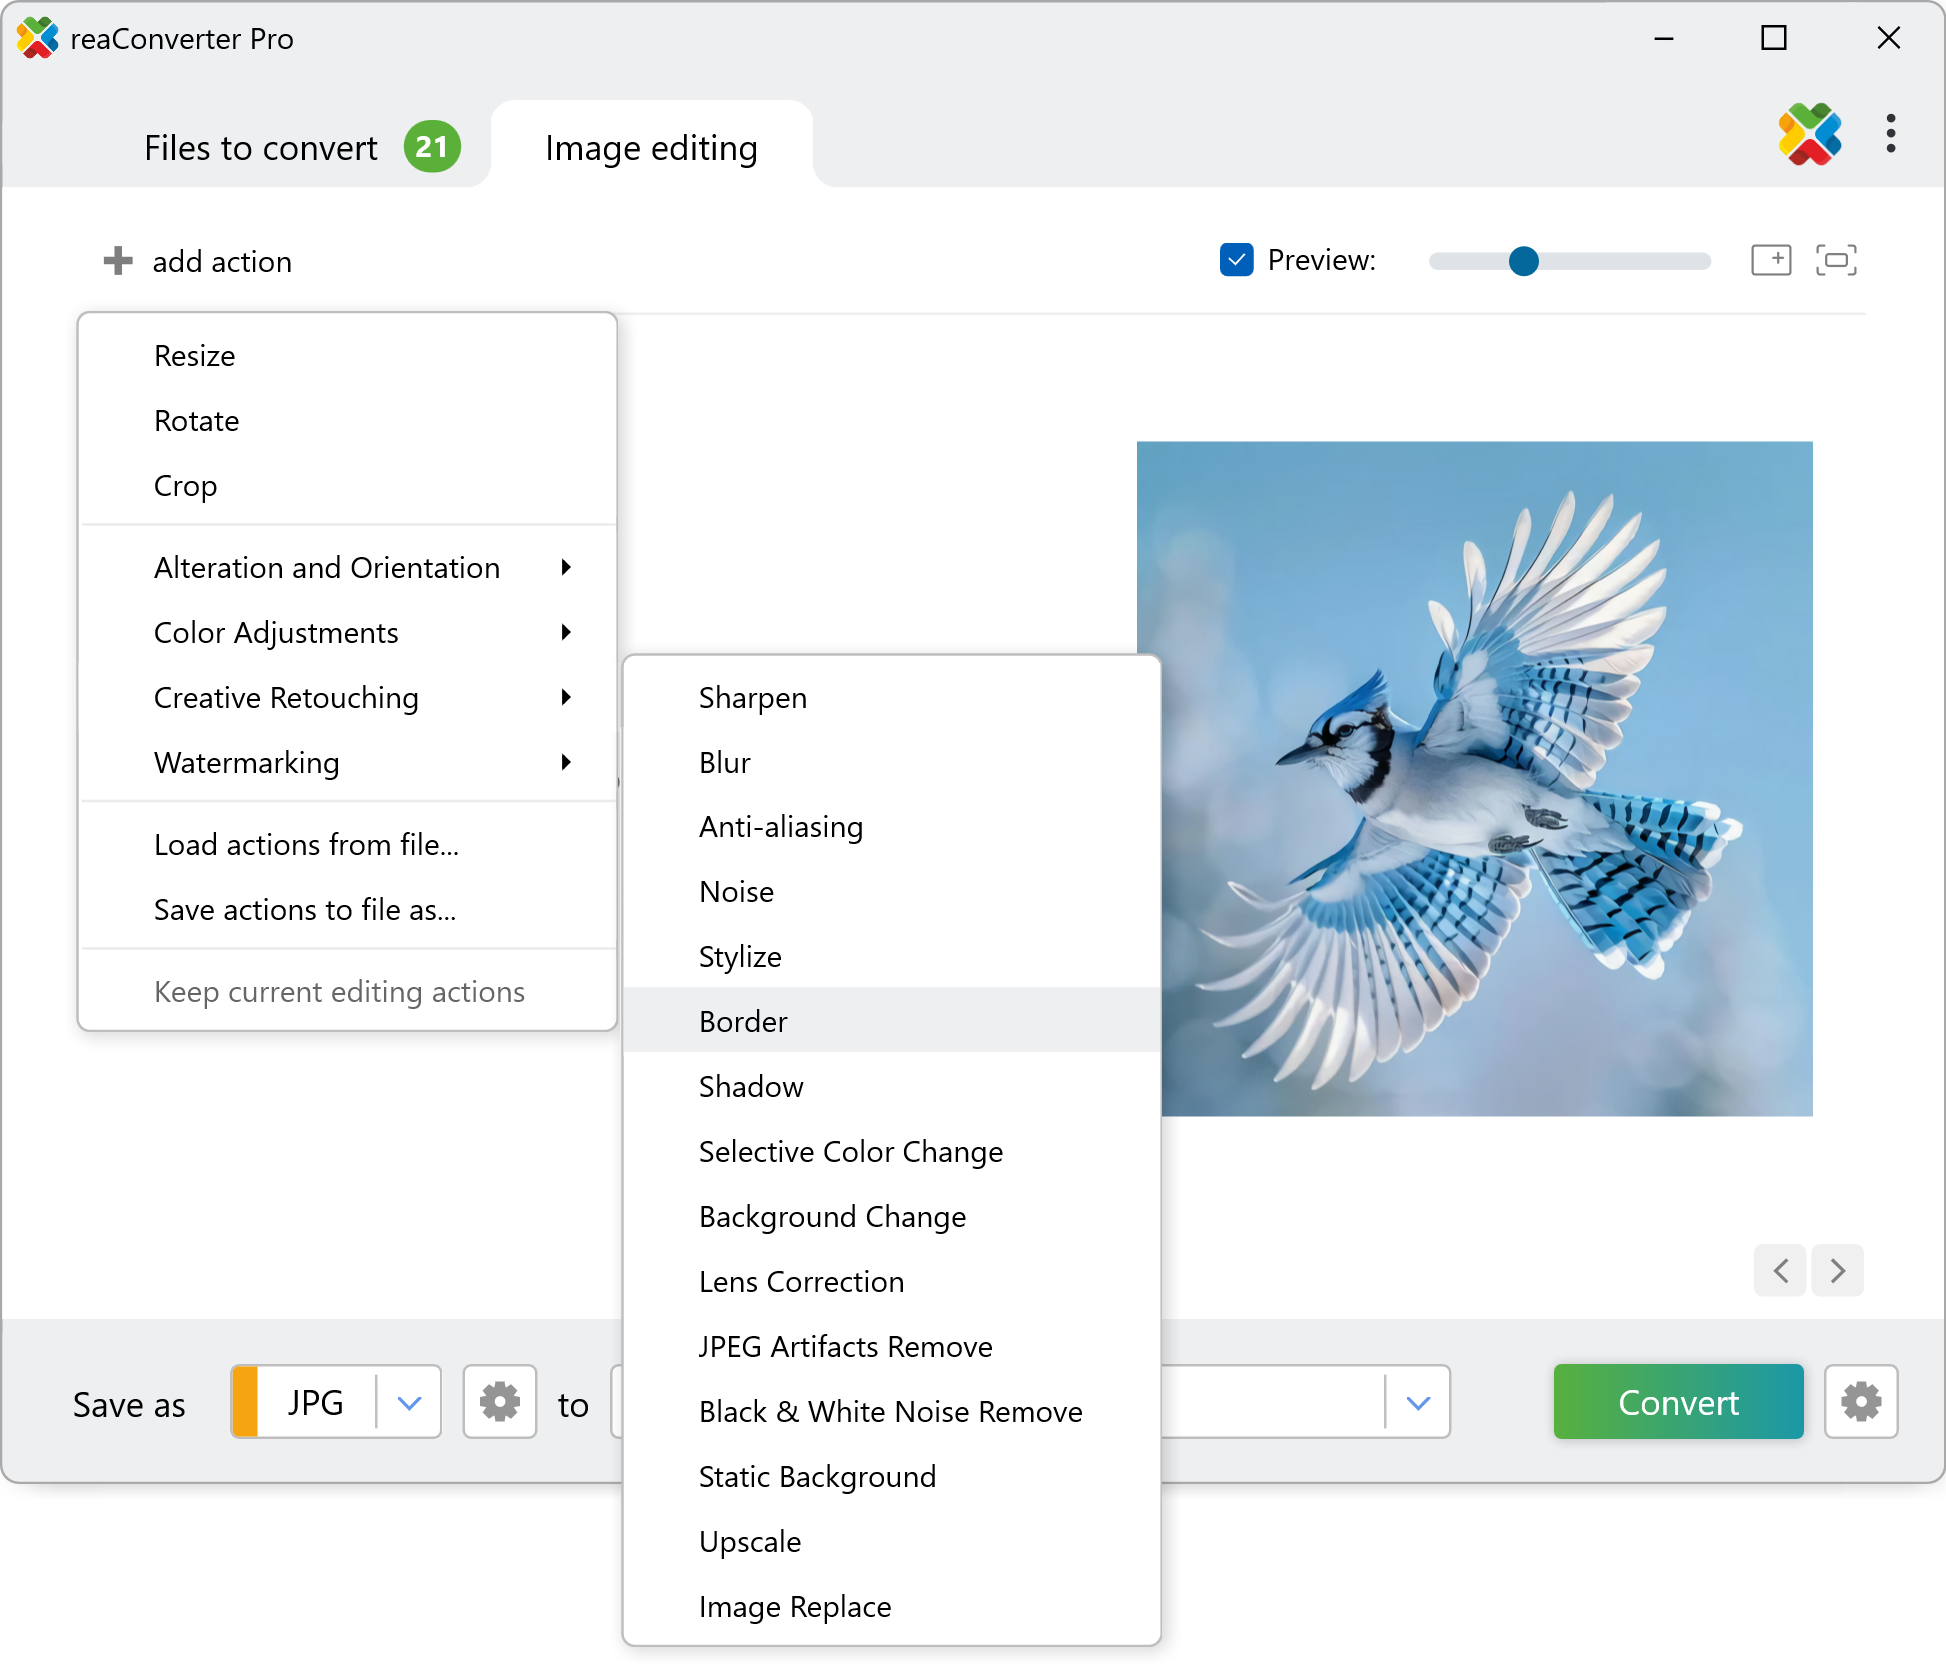
2. Add Border Action
Go to the Image editing tab and click Add action → Creative Retouching → Border
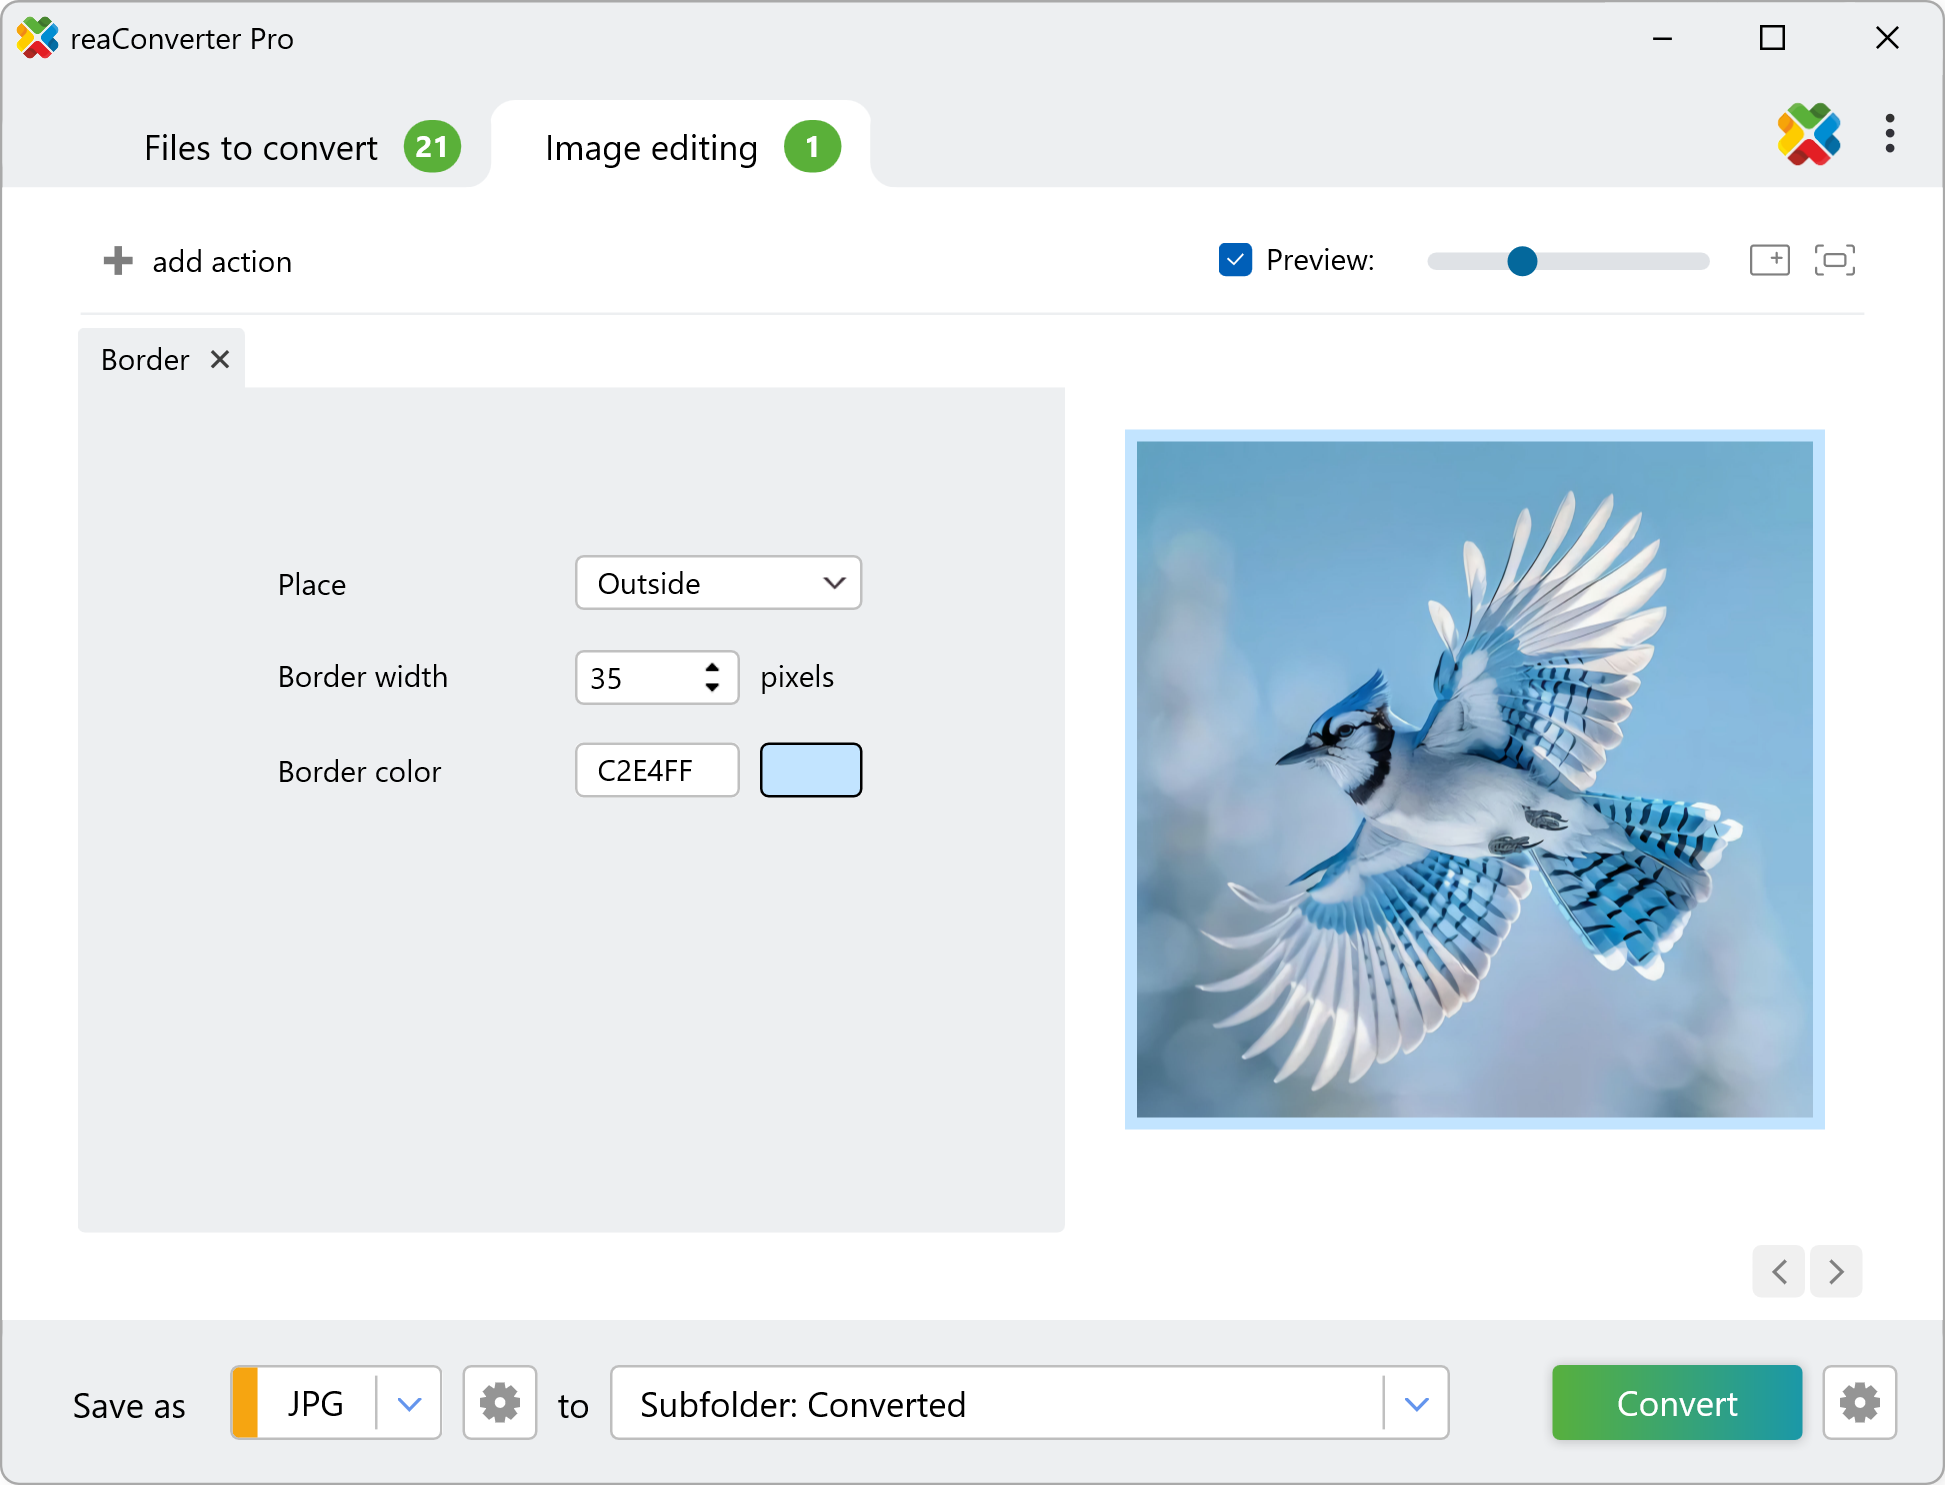
Here you can decide if you want to have an inside or an outside border to your photos, and pick its color and width. The former can be chosen using a color picker directly on the preview image on the right, which you can see when you tick the Preview button.
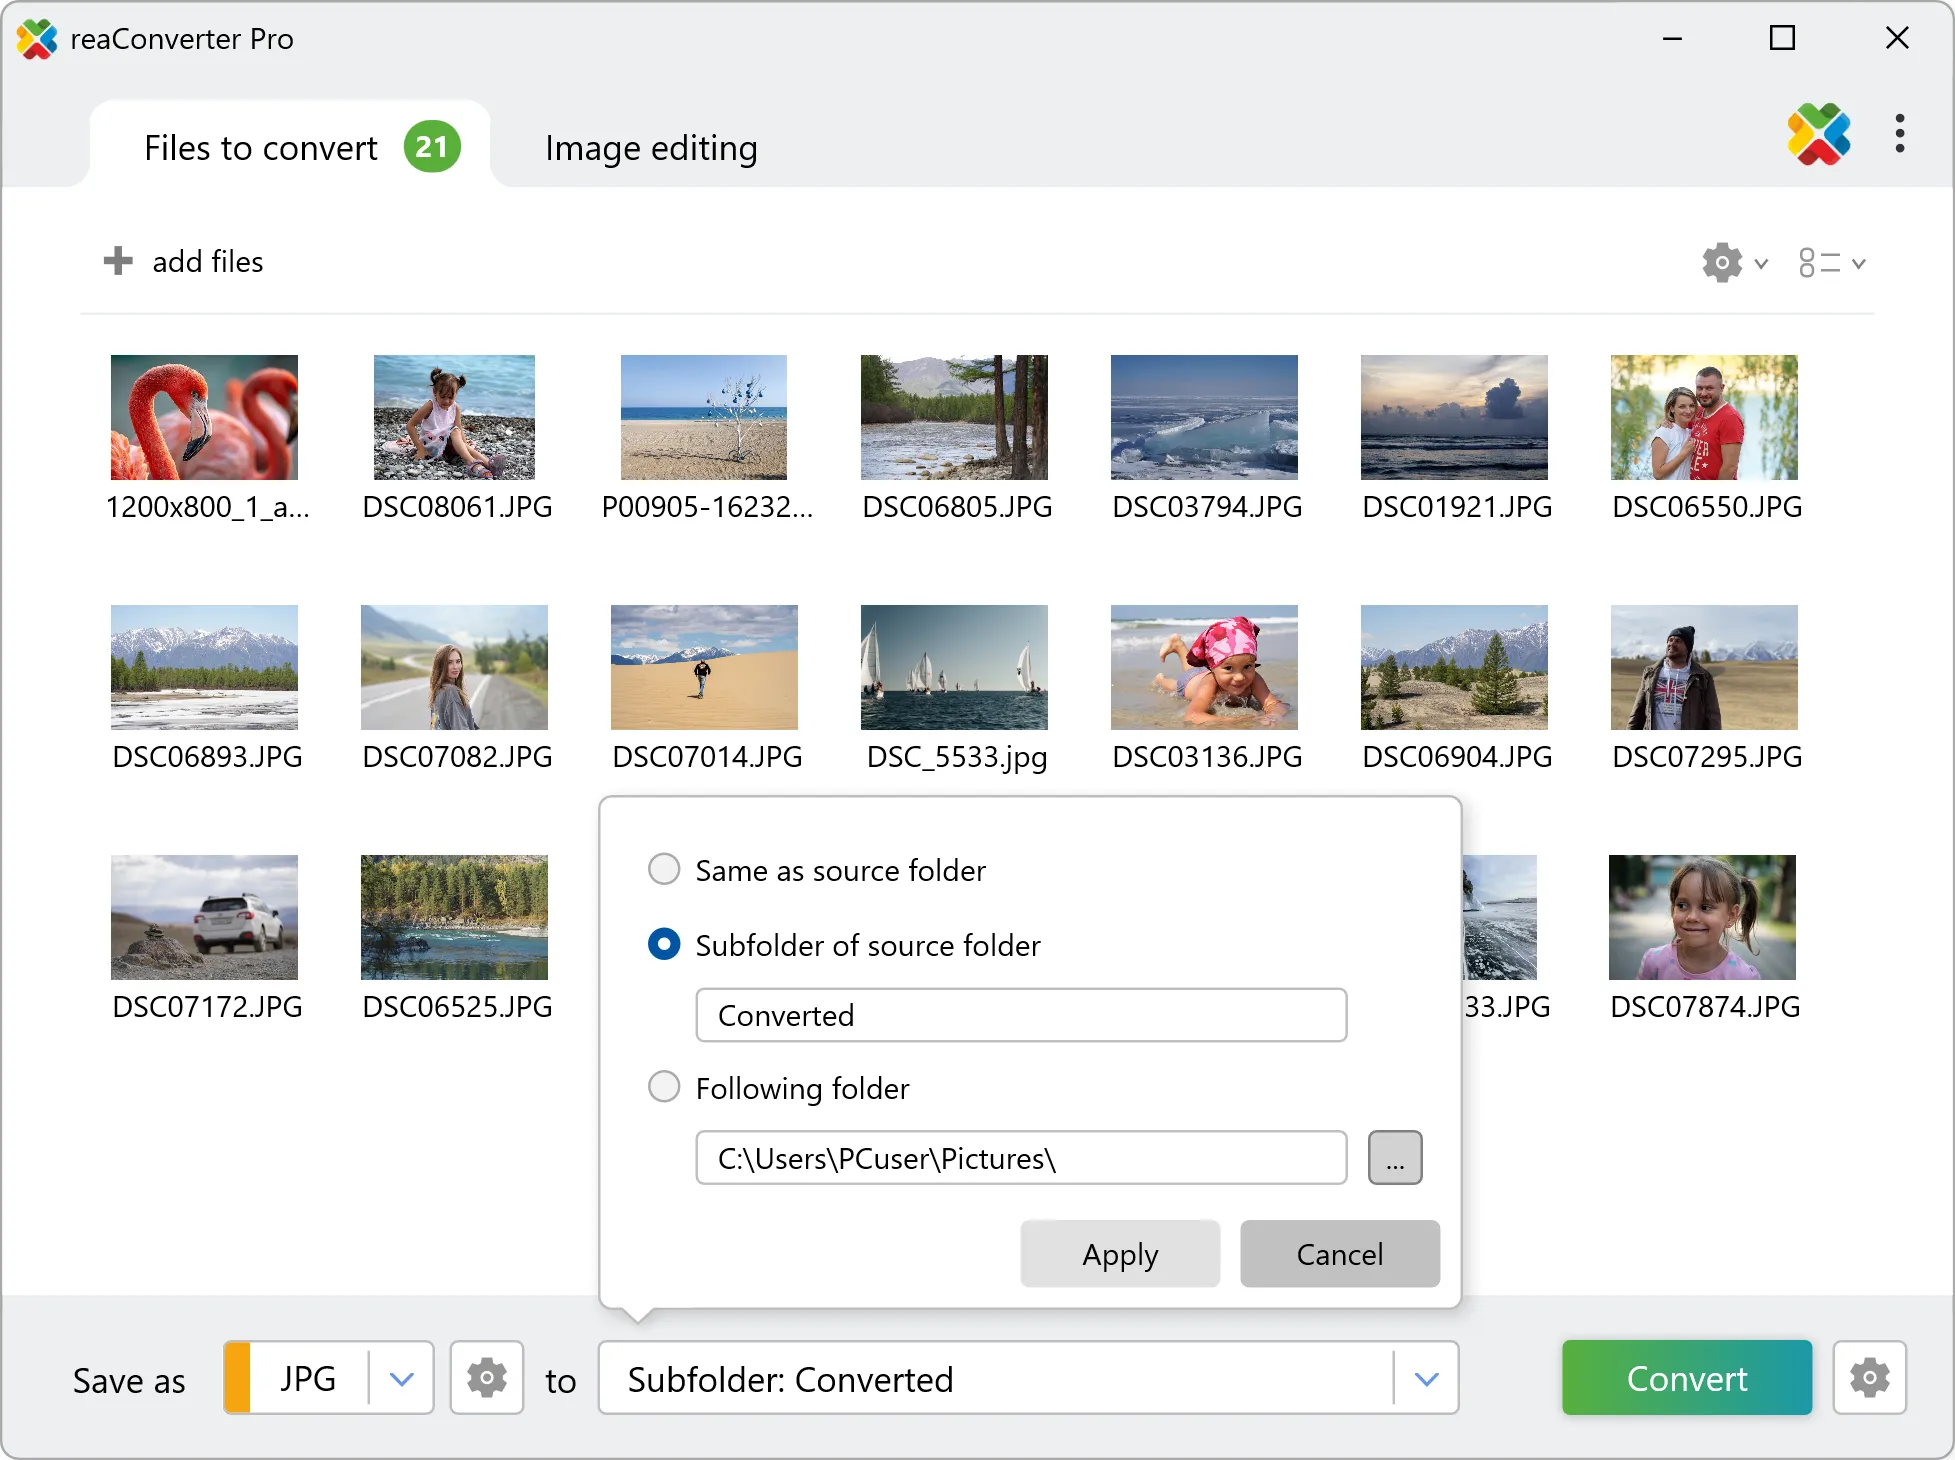
3. Save the Result
Select a location where the newly bordered images will be saved. reaConverter offers a full list of image formats available for conversion, including popular ones, such as JPG, PNG or WebP, but also archaic and rare ones.
After selecting the one you want, simply press Convert and your new images will be ready in a few moments!
Adding the same border to a bulk of images on your PC
A quick and easy way to add borders to multiple images on your computer is to use reaConverter. The software works completely offline, keeping your files safe and private.
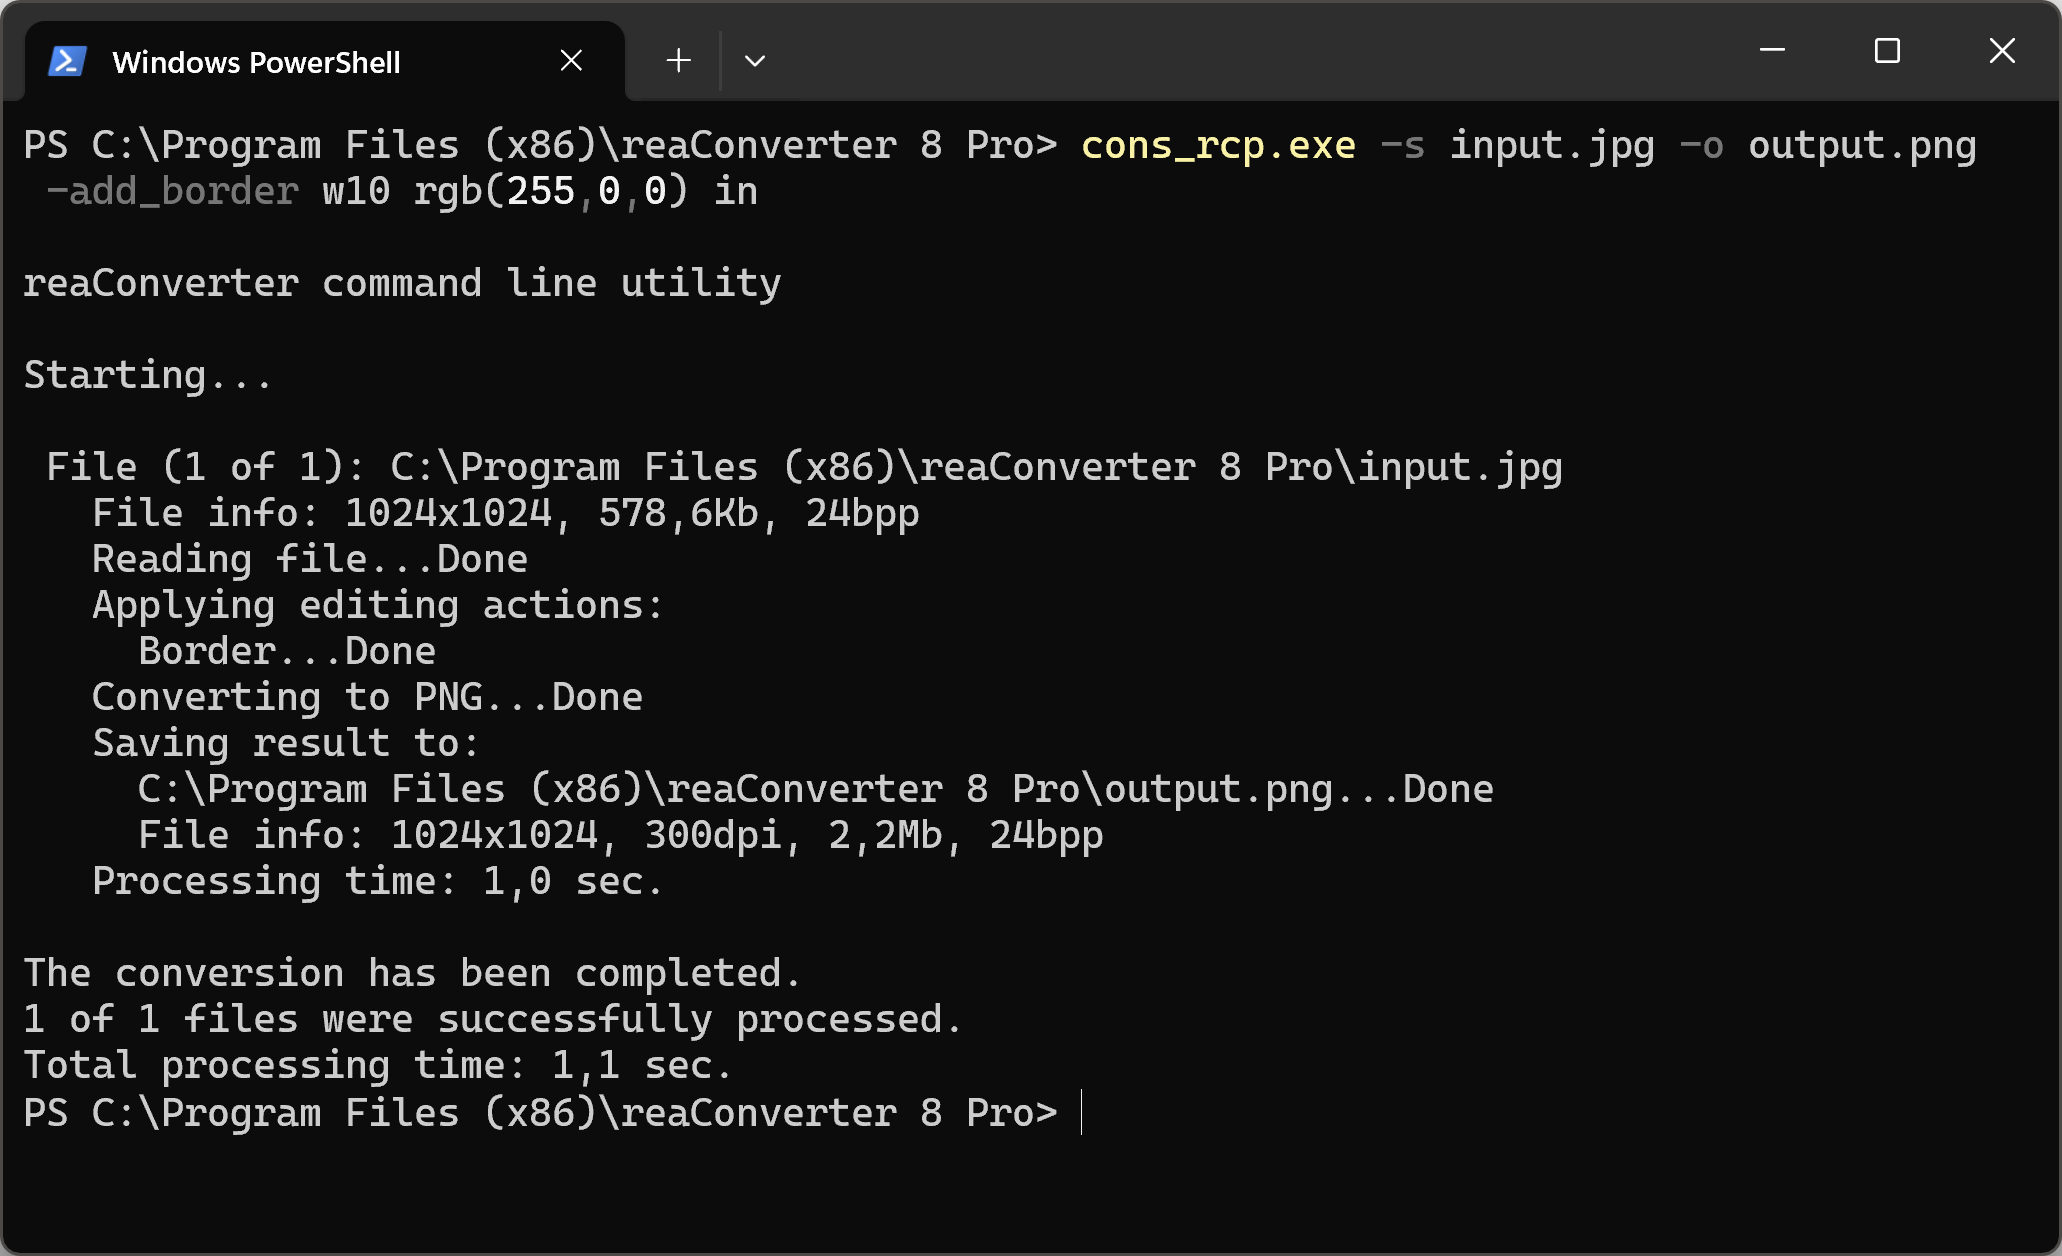
Border with command-line tool
You can also add border using command-line interface, either manually or through automated scripts. reaConverter Pro includes a command-line tool called cons_rcp.exe — an advanced feature designed for professional use, available exclusively in the Pro edition.
Border example:
cons_rcp.exe -s "C:\Path_to\input_file.jpg" -o "C:\Path_to\output_file.jpg" -add_border w10 rgb(255,0,0) in
Manual
-add_border (adds color border to an image)
  Optional parameters:
	  1. Border width in pixels (Syntax: w20, integer from 1)
	  2. Border color (Syntax: rgb(66,137,212), hex(4289d4))
	  3. Border position (Syntax: in, out)
	     where "in" and "out" mean inside and outside image.
  Example:
    -add_border w10 rgb(255,0,0) in
You are welcome to contact our technical support when you have any questions about reaConverter.
Discover more