Color Balance

How to Adjust Color Balance for a Group of Images?
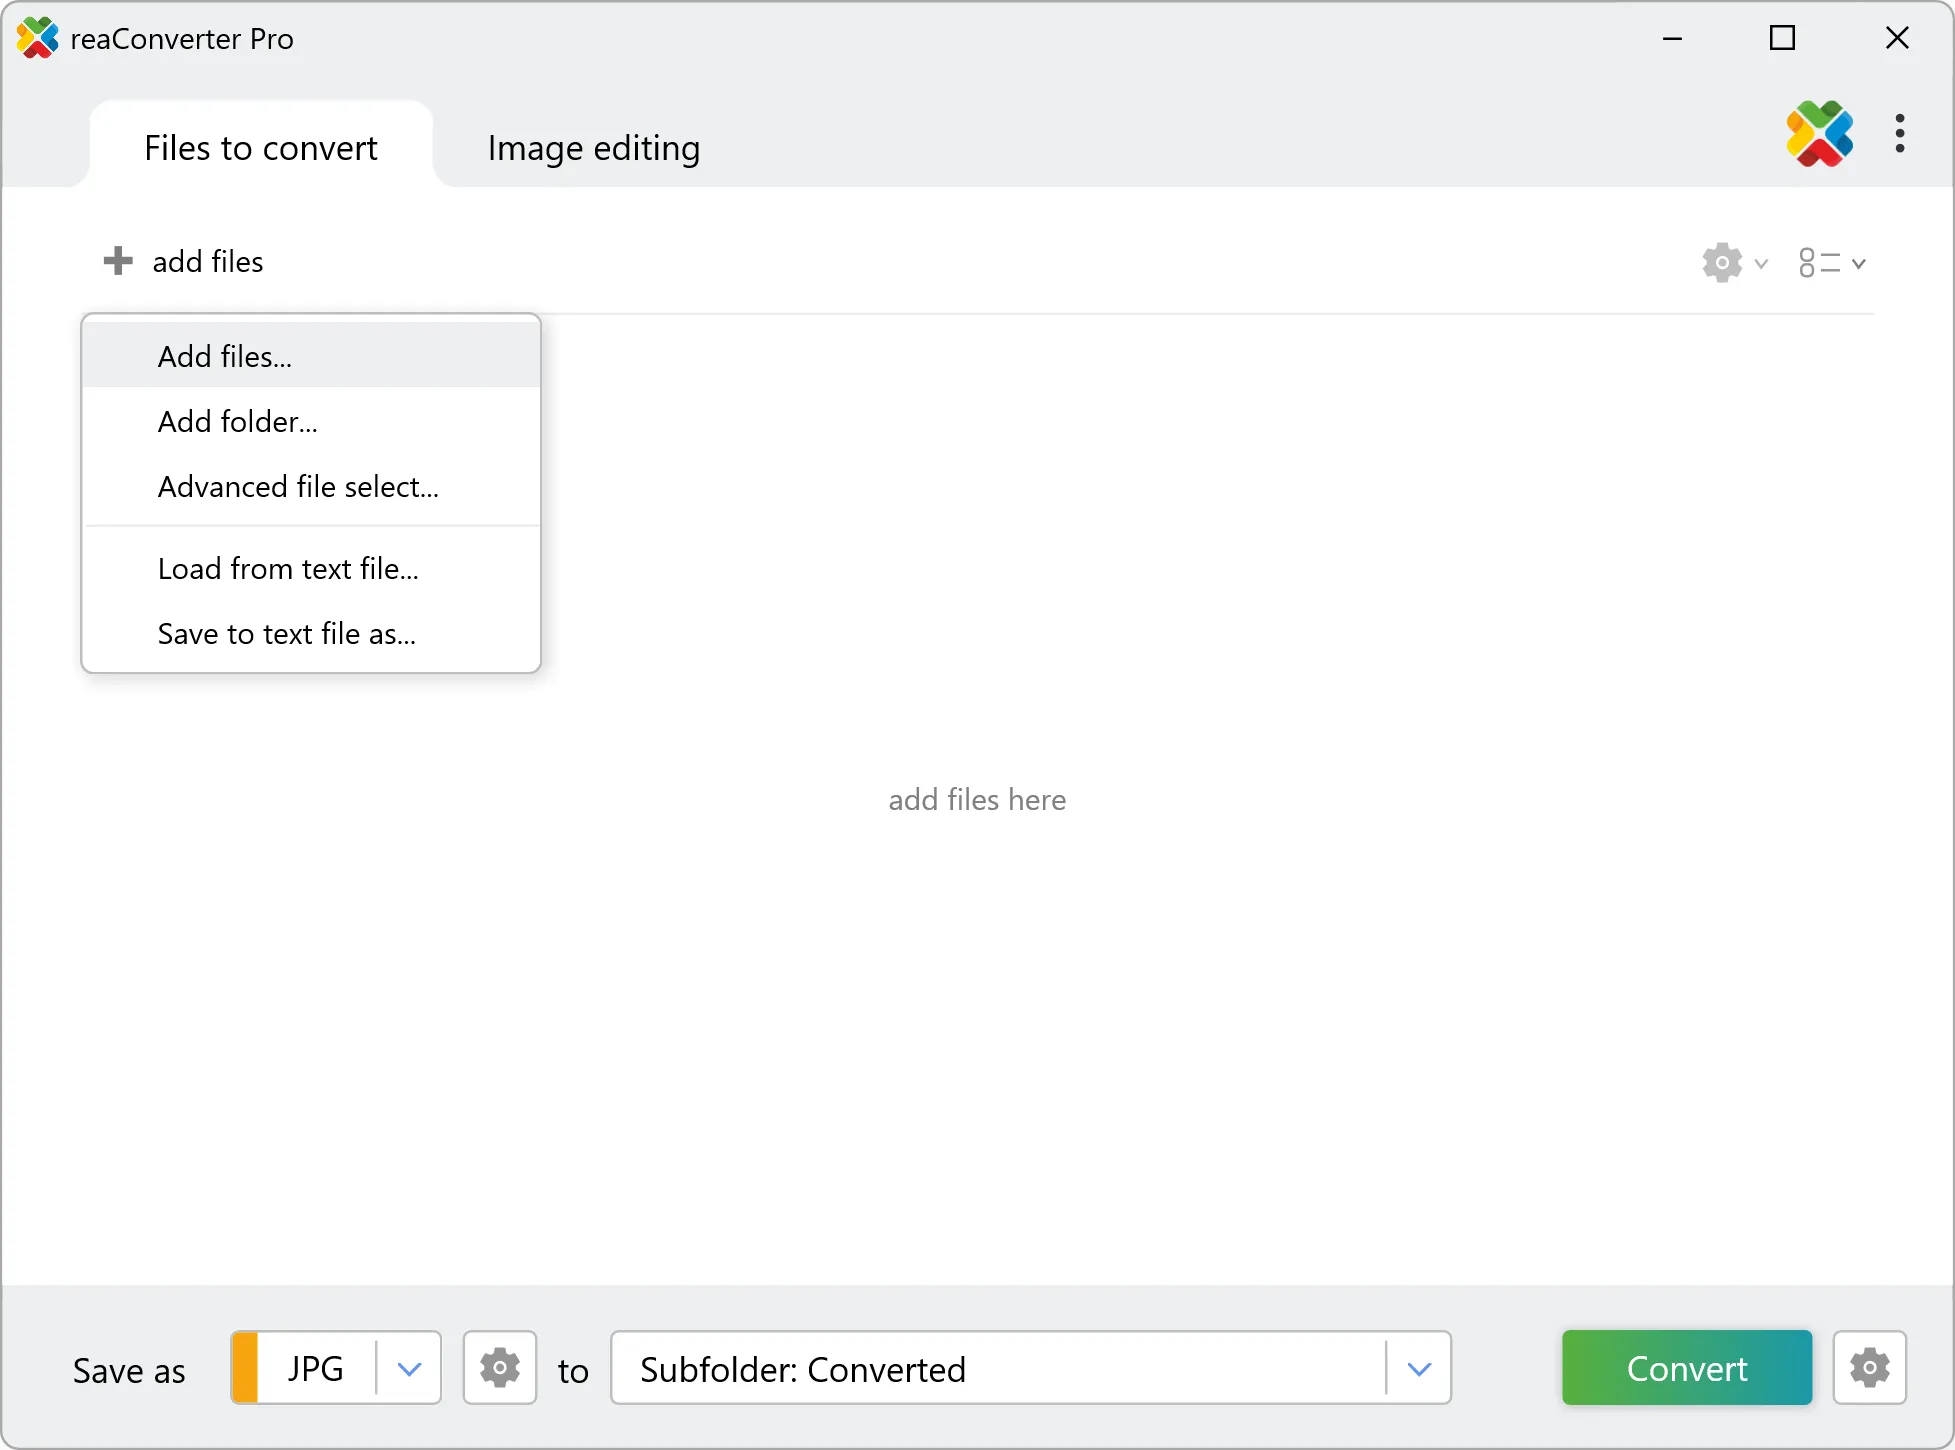
1. Open Images
Open one or more images that need color adjustments. You can easily drag-and-drop them into the reaConverter window, pick them one by one from your hard drive or add an entire folder.
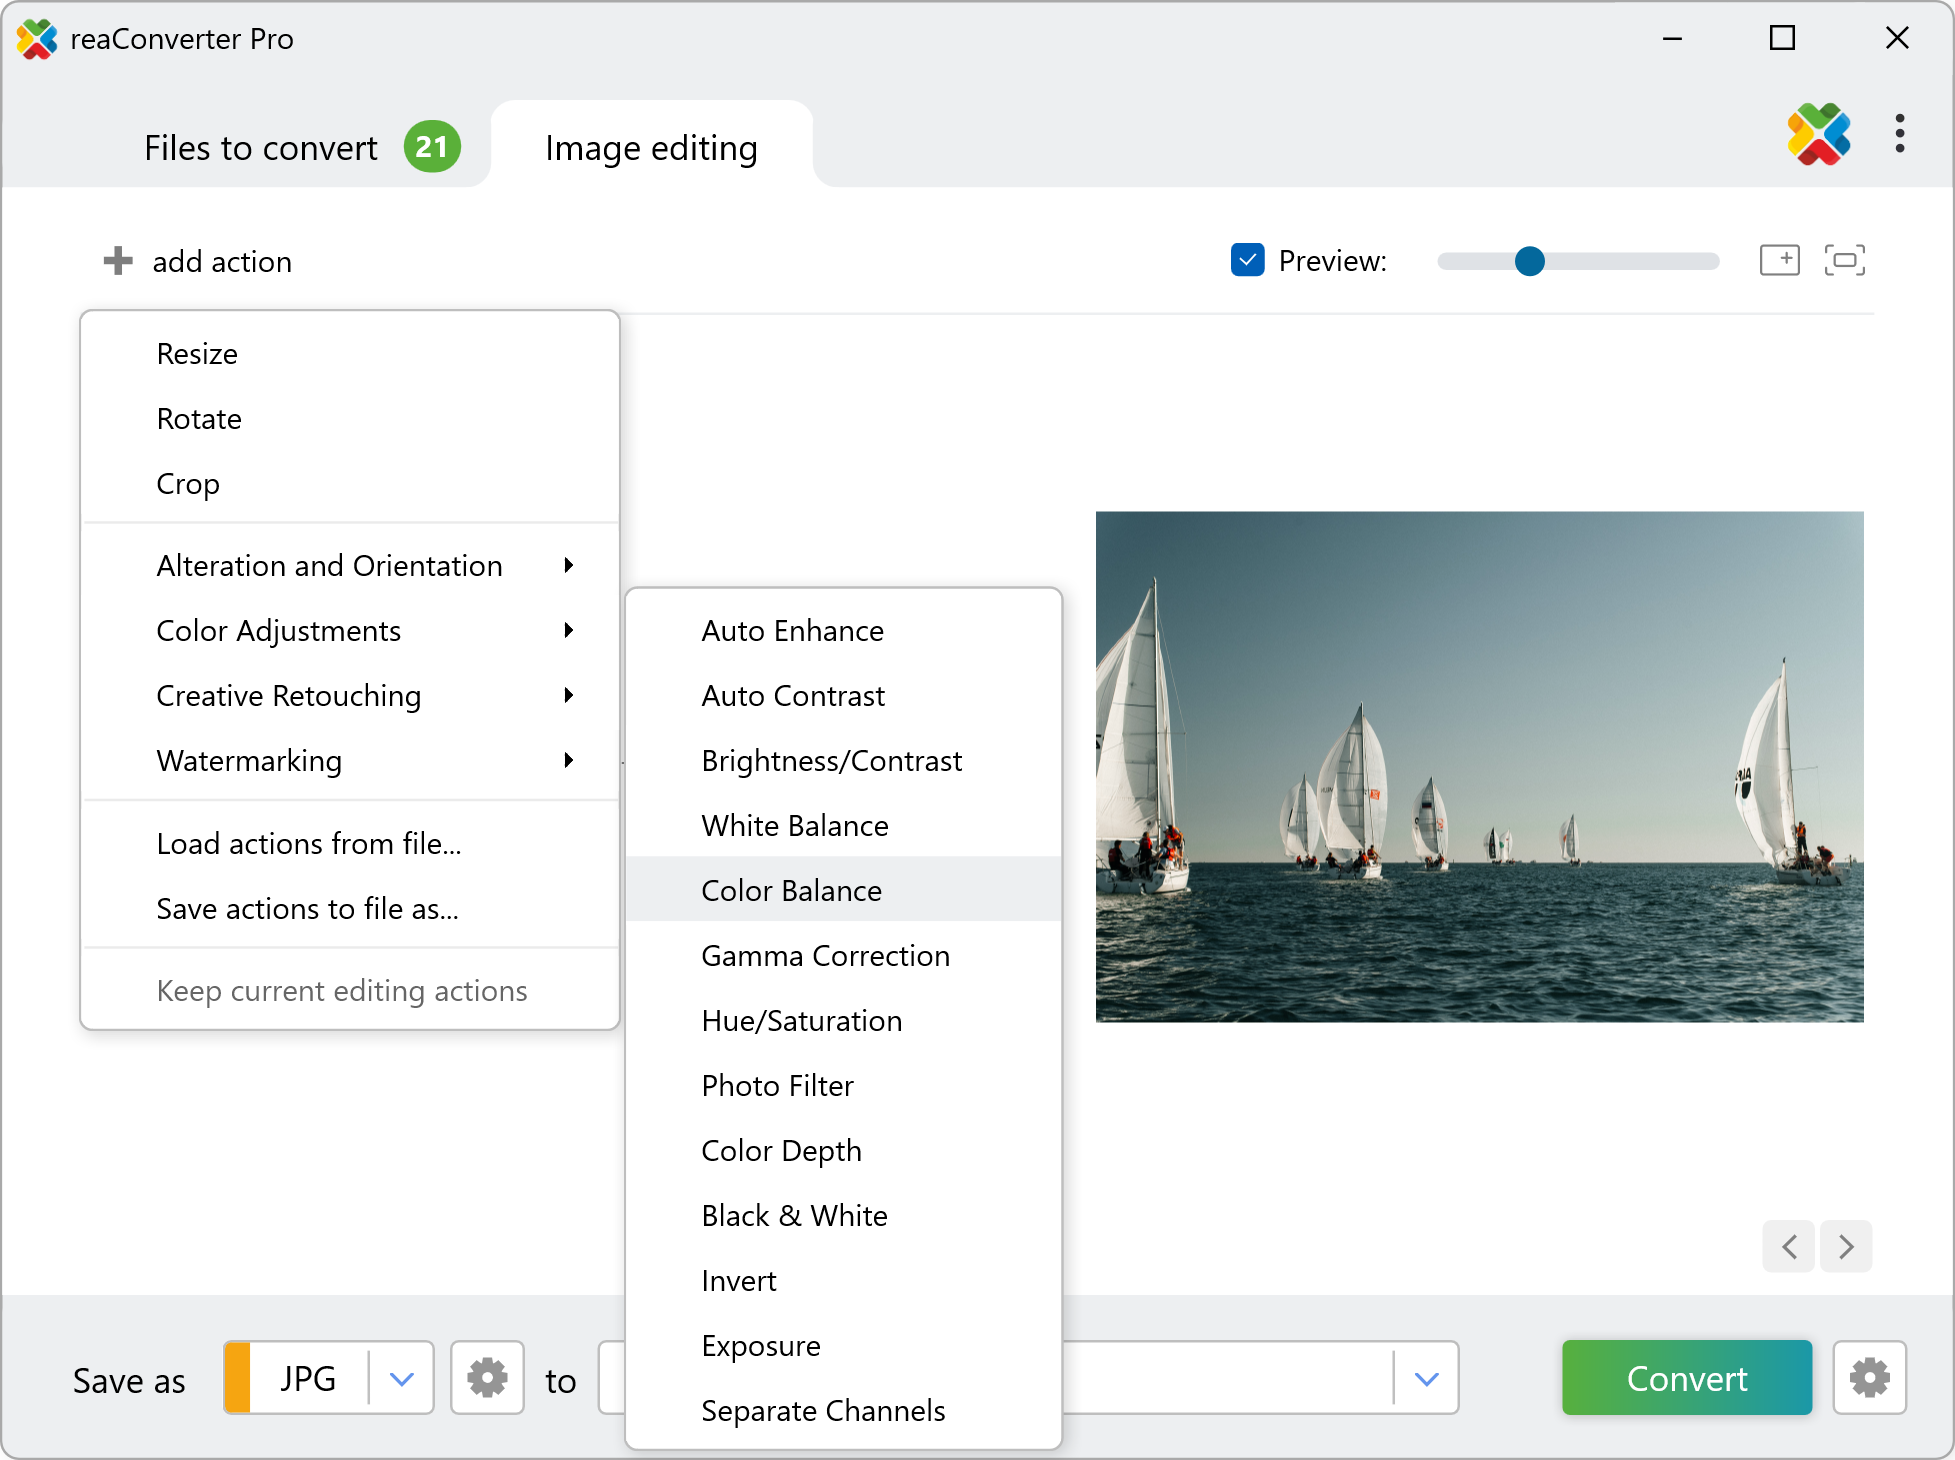
2. Add Color Balance Action
Go to the Image editing tab, click on Add action, and then on Color Adjustments and Color Balance.
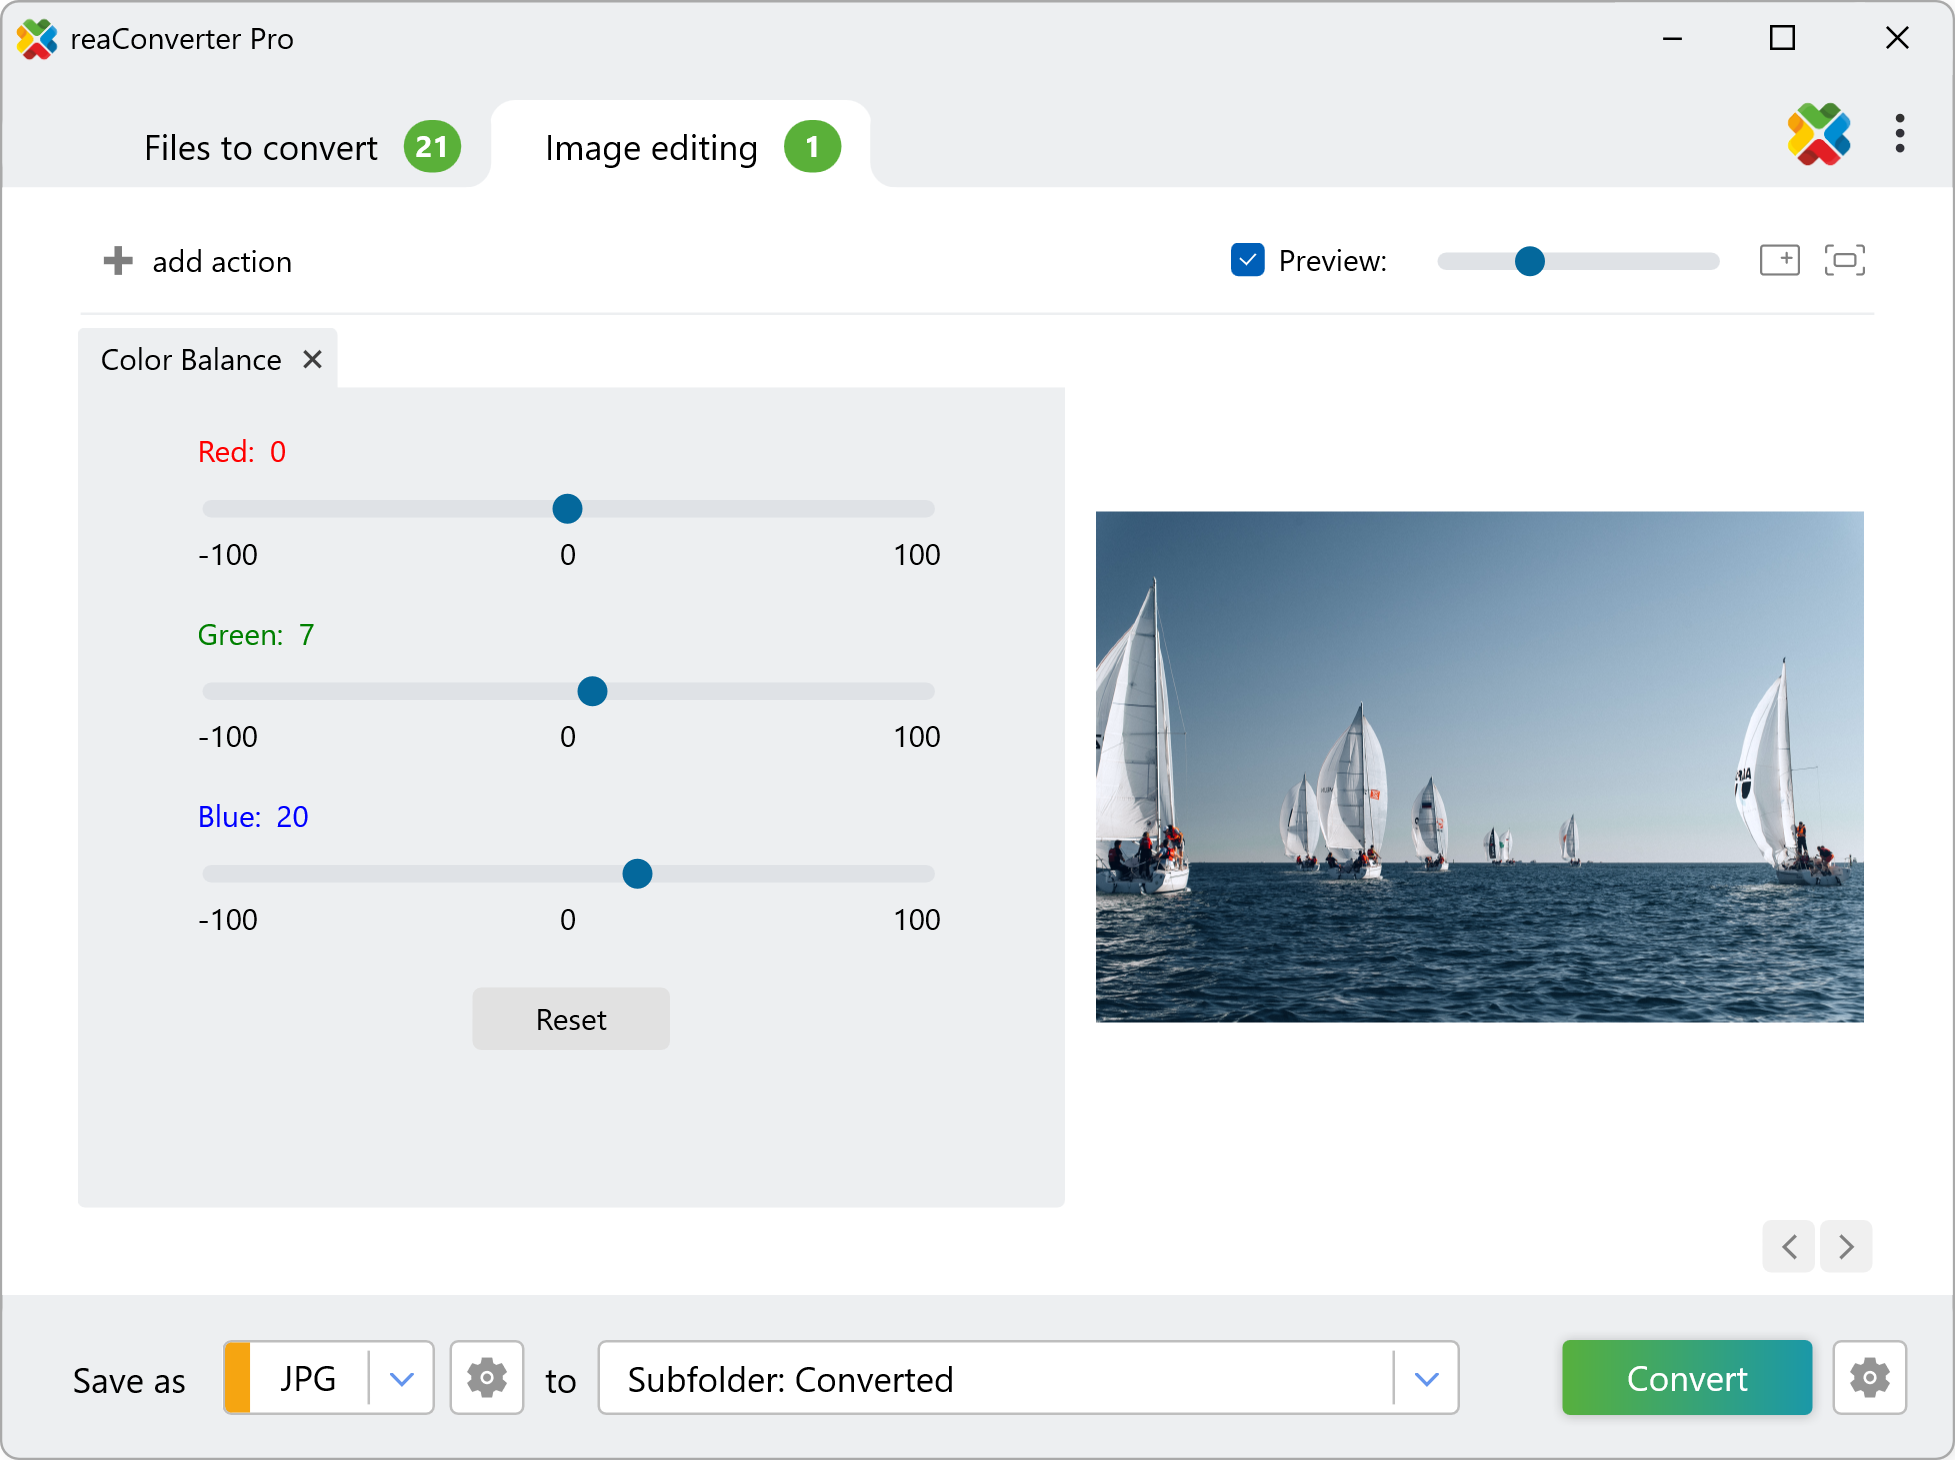
Now you can customize the amount of red, green and blue in the image in any way you like. The result can be easily seen on the right part of the window in real time, if you check the Preview button.
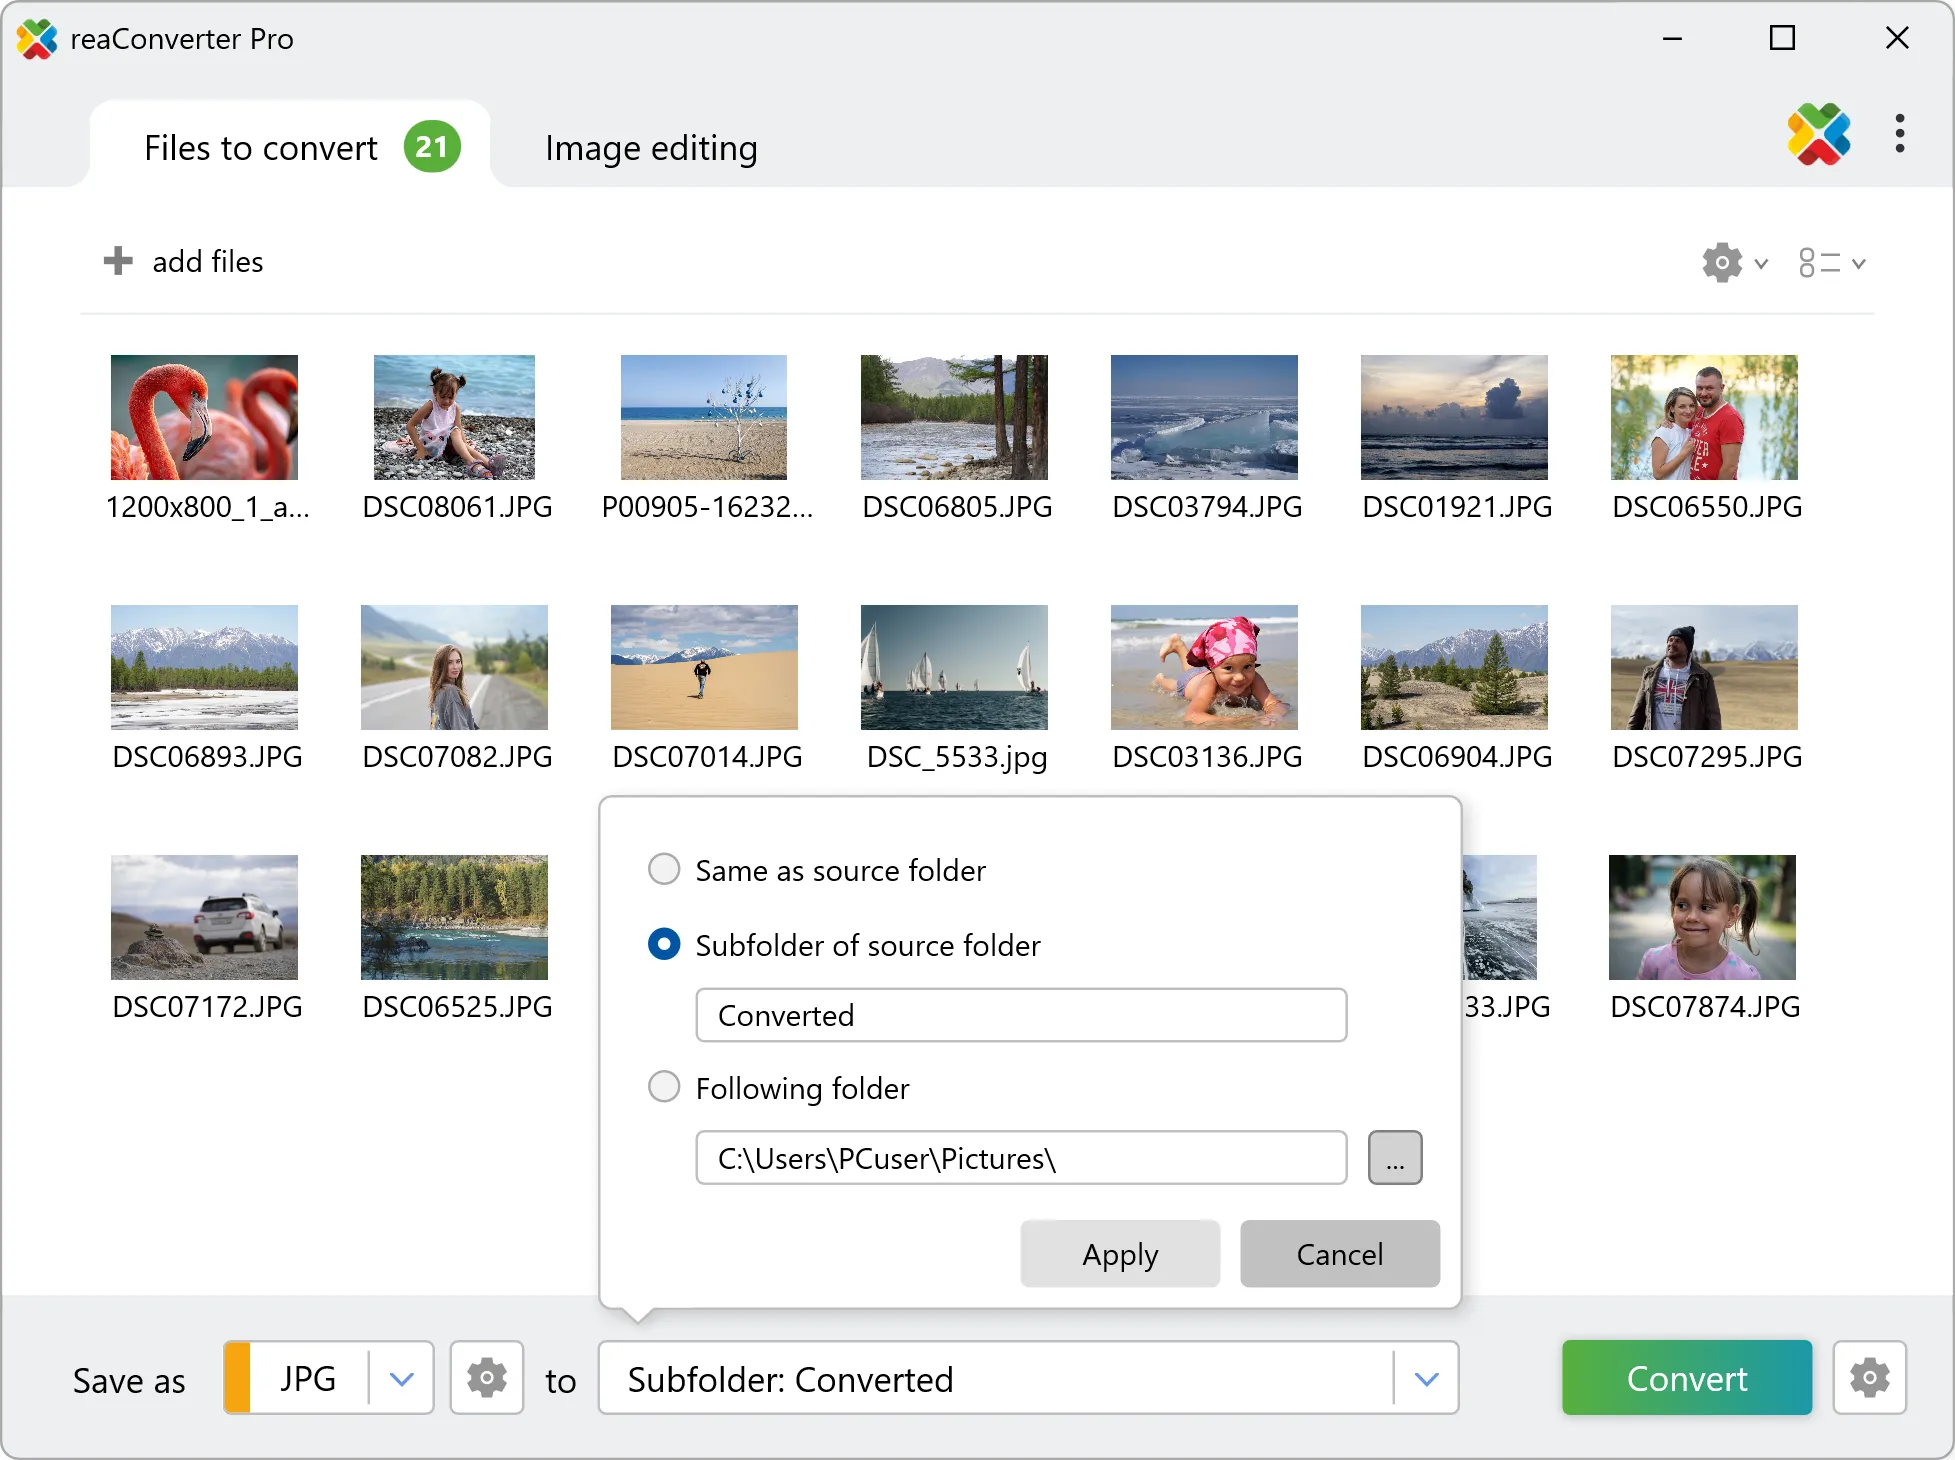
3. Save the Result
Review the Saving options you have and decide on the location of your corrected images. Before completing the operation, decide if you want to preserve or change the format of your images.
Finally, click the Convert button and your new images will be available in a few seconds.
Change color balance on your PC
The fast and easy way to edit color balance on your PC is to use reaConverter. The software runs completely offline, keeping your files safe and private.
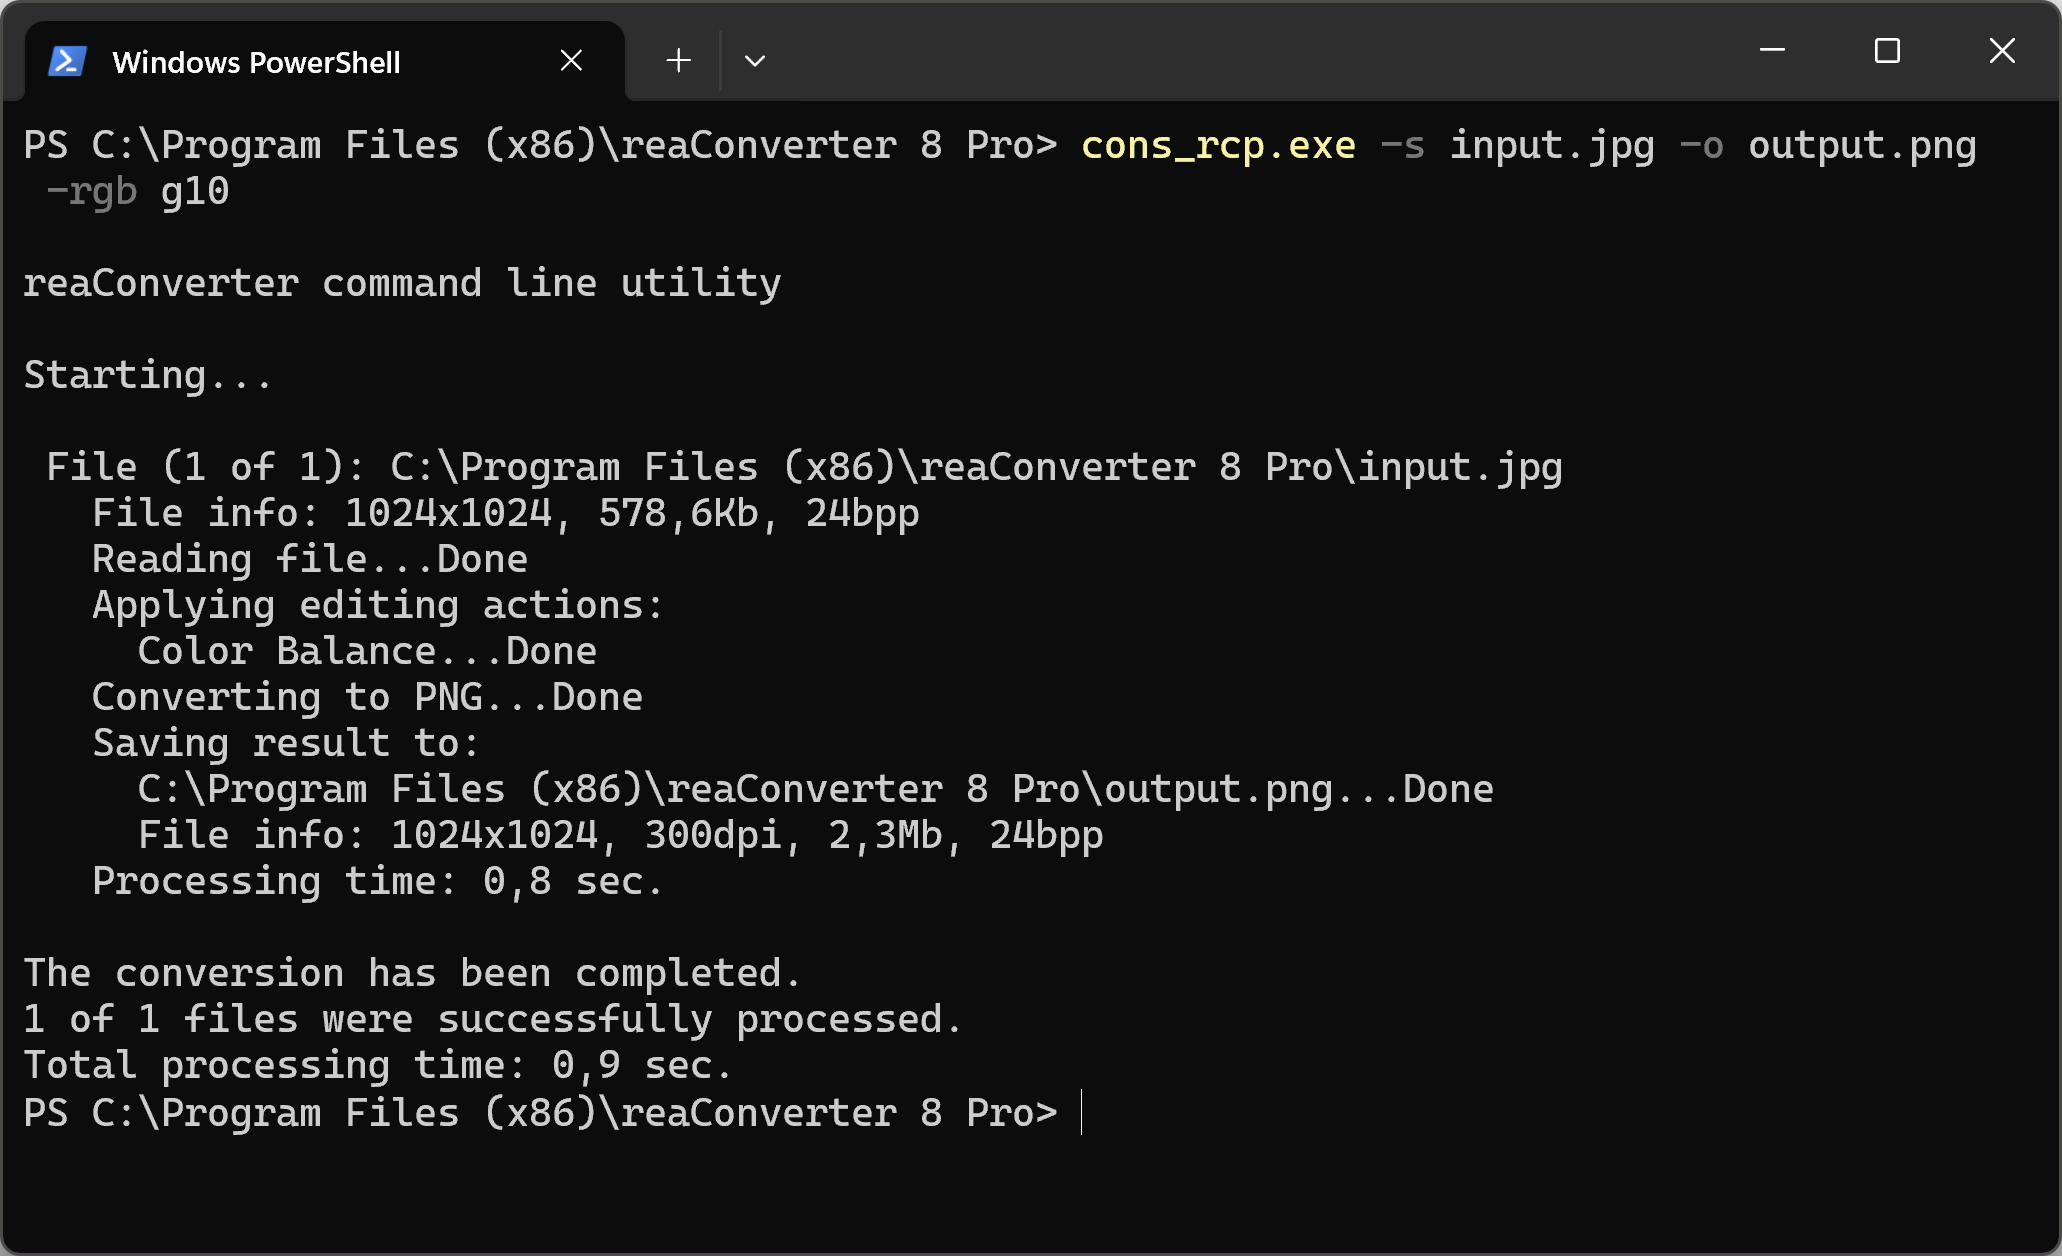
Change color balance with command-line interface
You can also edit color balance of images using command-line tool, either manually or through automated scripts. reaConverter Pro includes a command-line tool called cons_rcp.exe — an advanced feature designed for professional use, available exclusively in the Pro edition.
Color Balance example:
cons_rcp.exe -s "C:\Path_to\input_file.jpg" -o "C:\Path_to\output_file.jpg" -rgb g10
Manual
-rgb (changes Red, Green and Blue balance)
  Optional parameters:
	  1. Red change (Syntax: r50, integer from -100 to 100)
	  2. Green change (Syntax: g50, integer from -100 to 100)
	  3. Blue change (Syntax: b50, integer from -100 to 100)
  Example:
    -rgb r-50
You are welcome to contact our technical support when you have any questions about reaConverter.
Discover more