RAW Bitmap Loading Settings

How to Convert RAW Bitmap Files?
1. Open Files
Start by loading one or more RAW bitmap files into reaConverter. You can import them individually from your computer, add entire folders, or use the drag-and-drop tool for quick access.
2. RAW Bitmap Loading Settings
Click the Menu button, then go to Loading settings and RAW bitmap to access the configuration options.
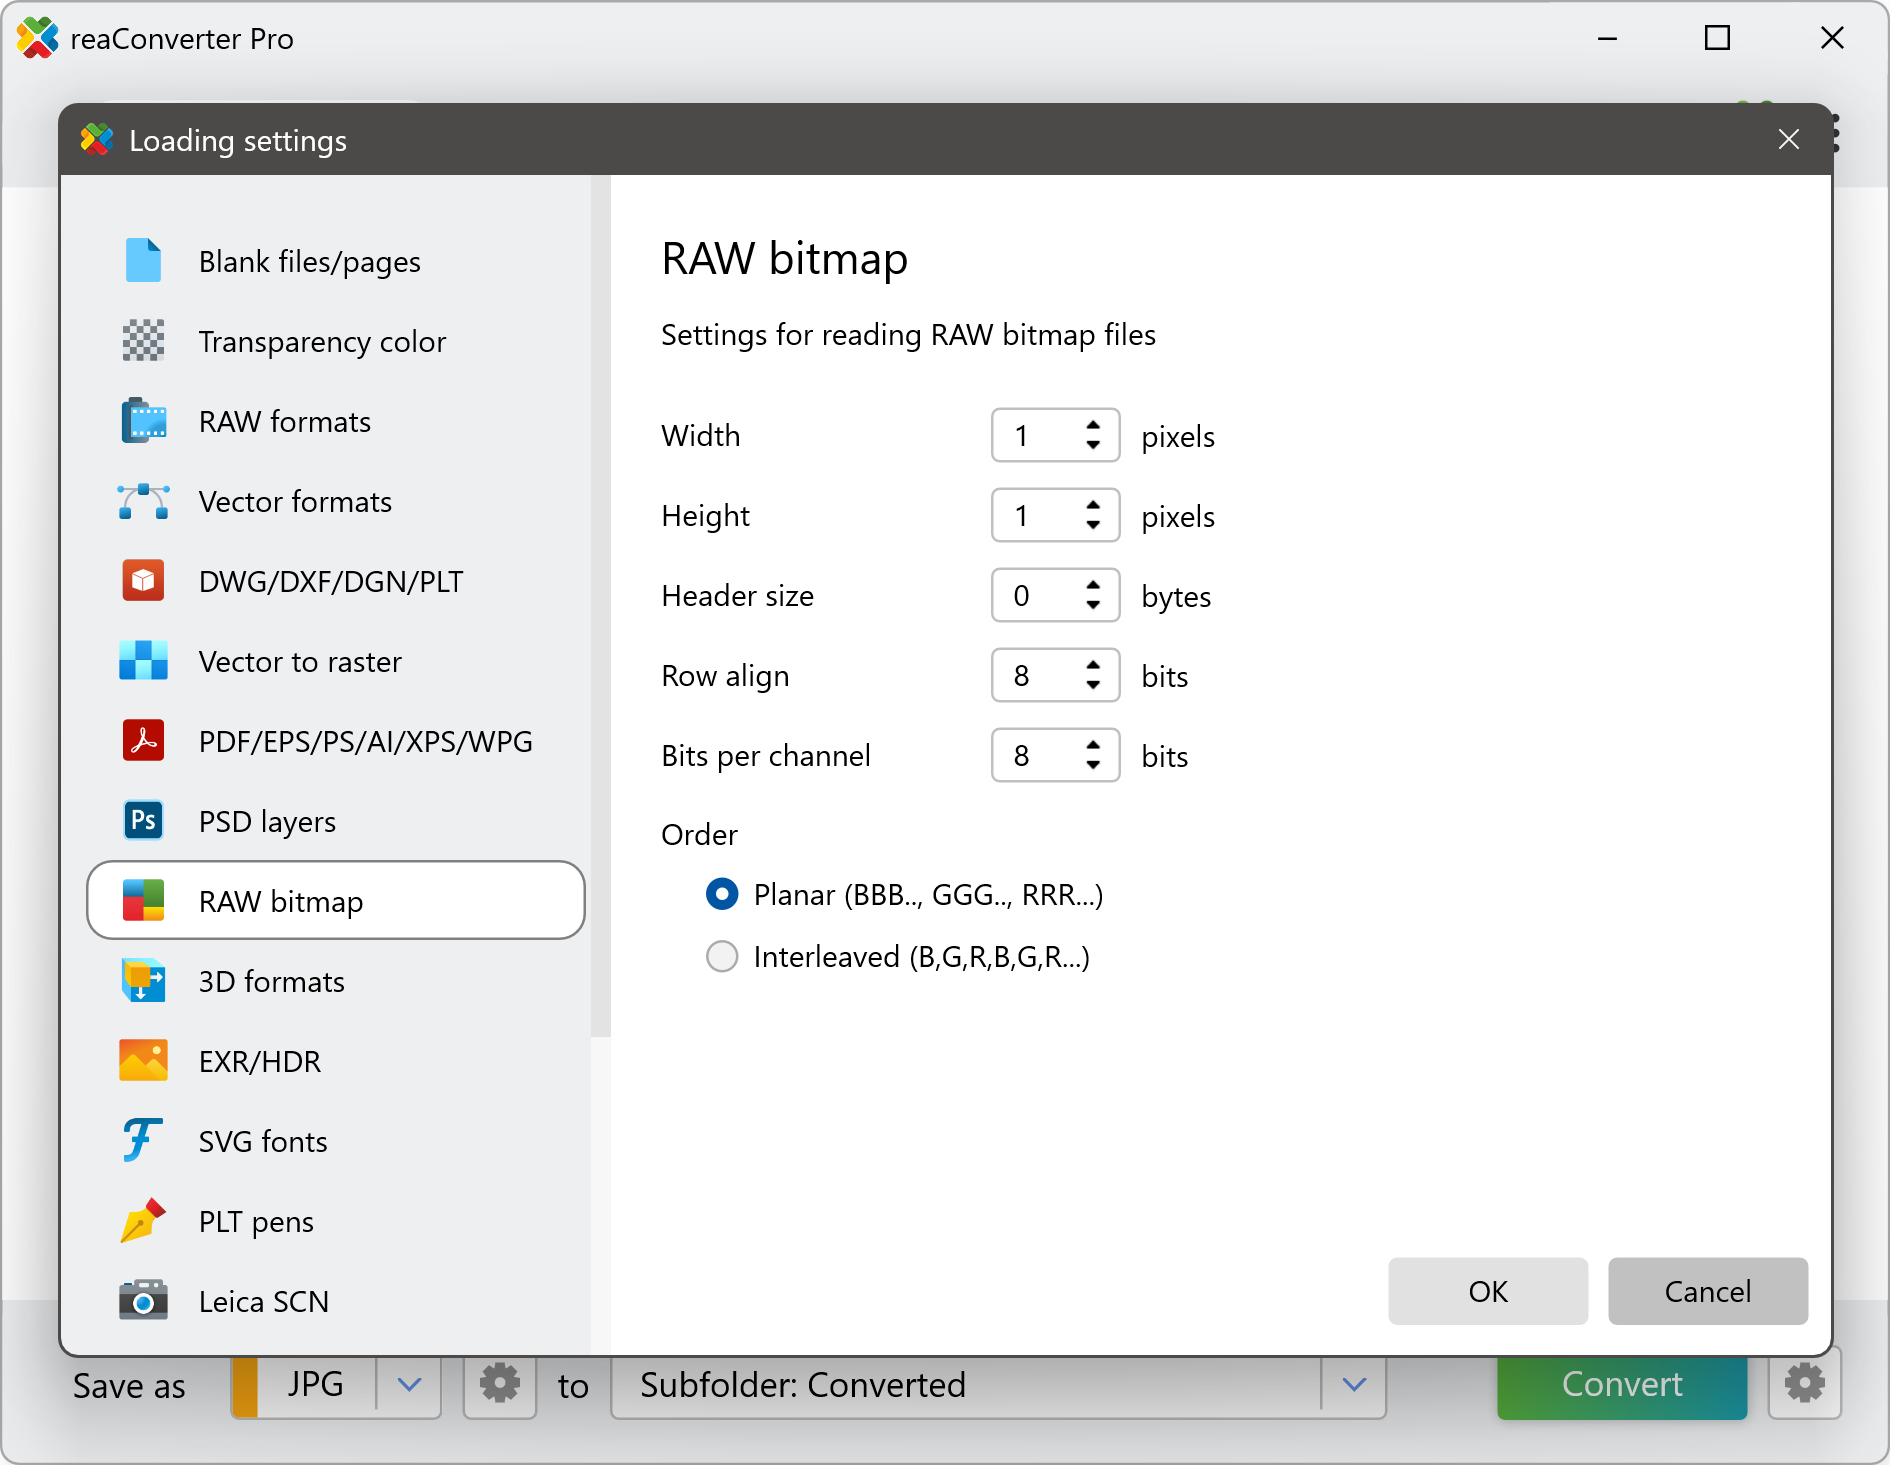
In this section, you can define essential parameters that tell reaConverter how to properly interpret your RAW bitmap files:
Width & Height
Enter the exact dimensions of the image in pixels. RAW files contain no header metadata, so manually specifying width and height ensures the file is reconstructed correctly.
Header Size
Set the number of bytes to skip before image data begins. This is useful for formats that include a header section before the actual pixel data.
Row Align
Define the number of bits used to align each row of pixels. This helps correctly interpret padded data, which is often present in hardware-generated RAW dumps.
Bits per Channel
Choose the color depth per channel — commonly 8 or 16 bits. Select the appropriate value based on how your source device captures image data for best color fidelity.
Order
Choose how pixel color data is stored:
- Planar (BBB..., GGG..., RRR...): Each color channel is stored in a separate block. This format is often used in scientific imaging and video systems.
- Interleaved (B, G, R, B, G, R...): Color data is stored pixel by pixel. This format is common in camera sensors and general-purpose applications.
For example, if you’re working with RAW image data exported from a scientific instrument that saves in 16-bit planar format with a 128-byte header, you can input the image size, set the bit depth, define the header size, and choose Planar order. reaConverter will then correctly interpret and load the image for conversion.
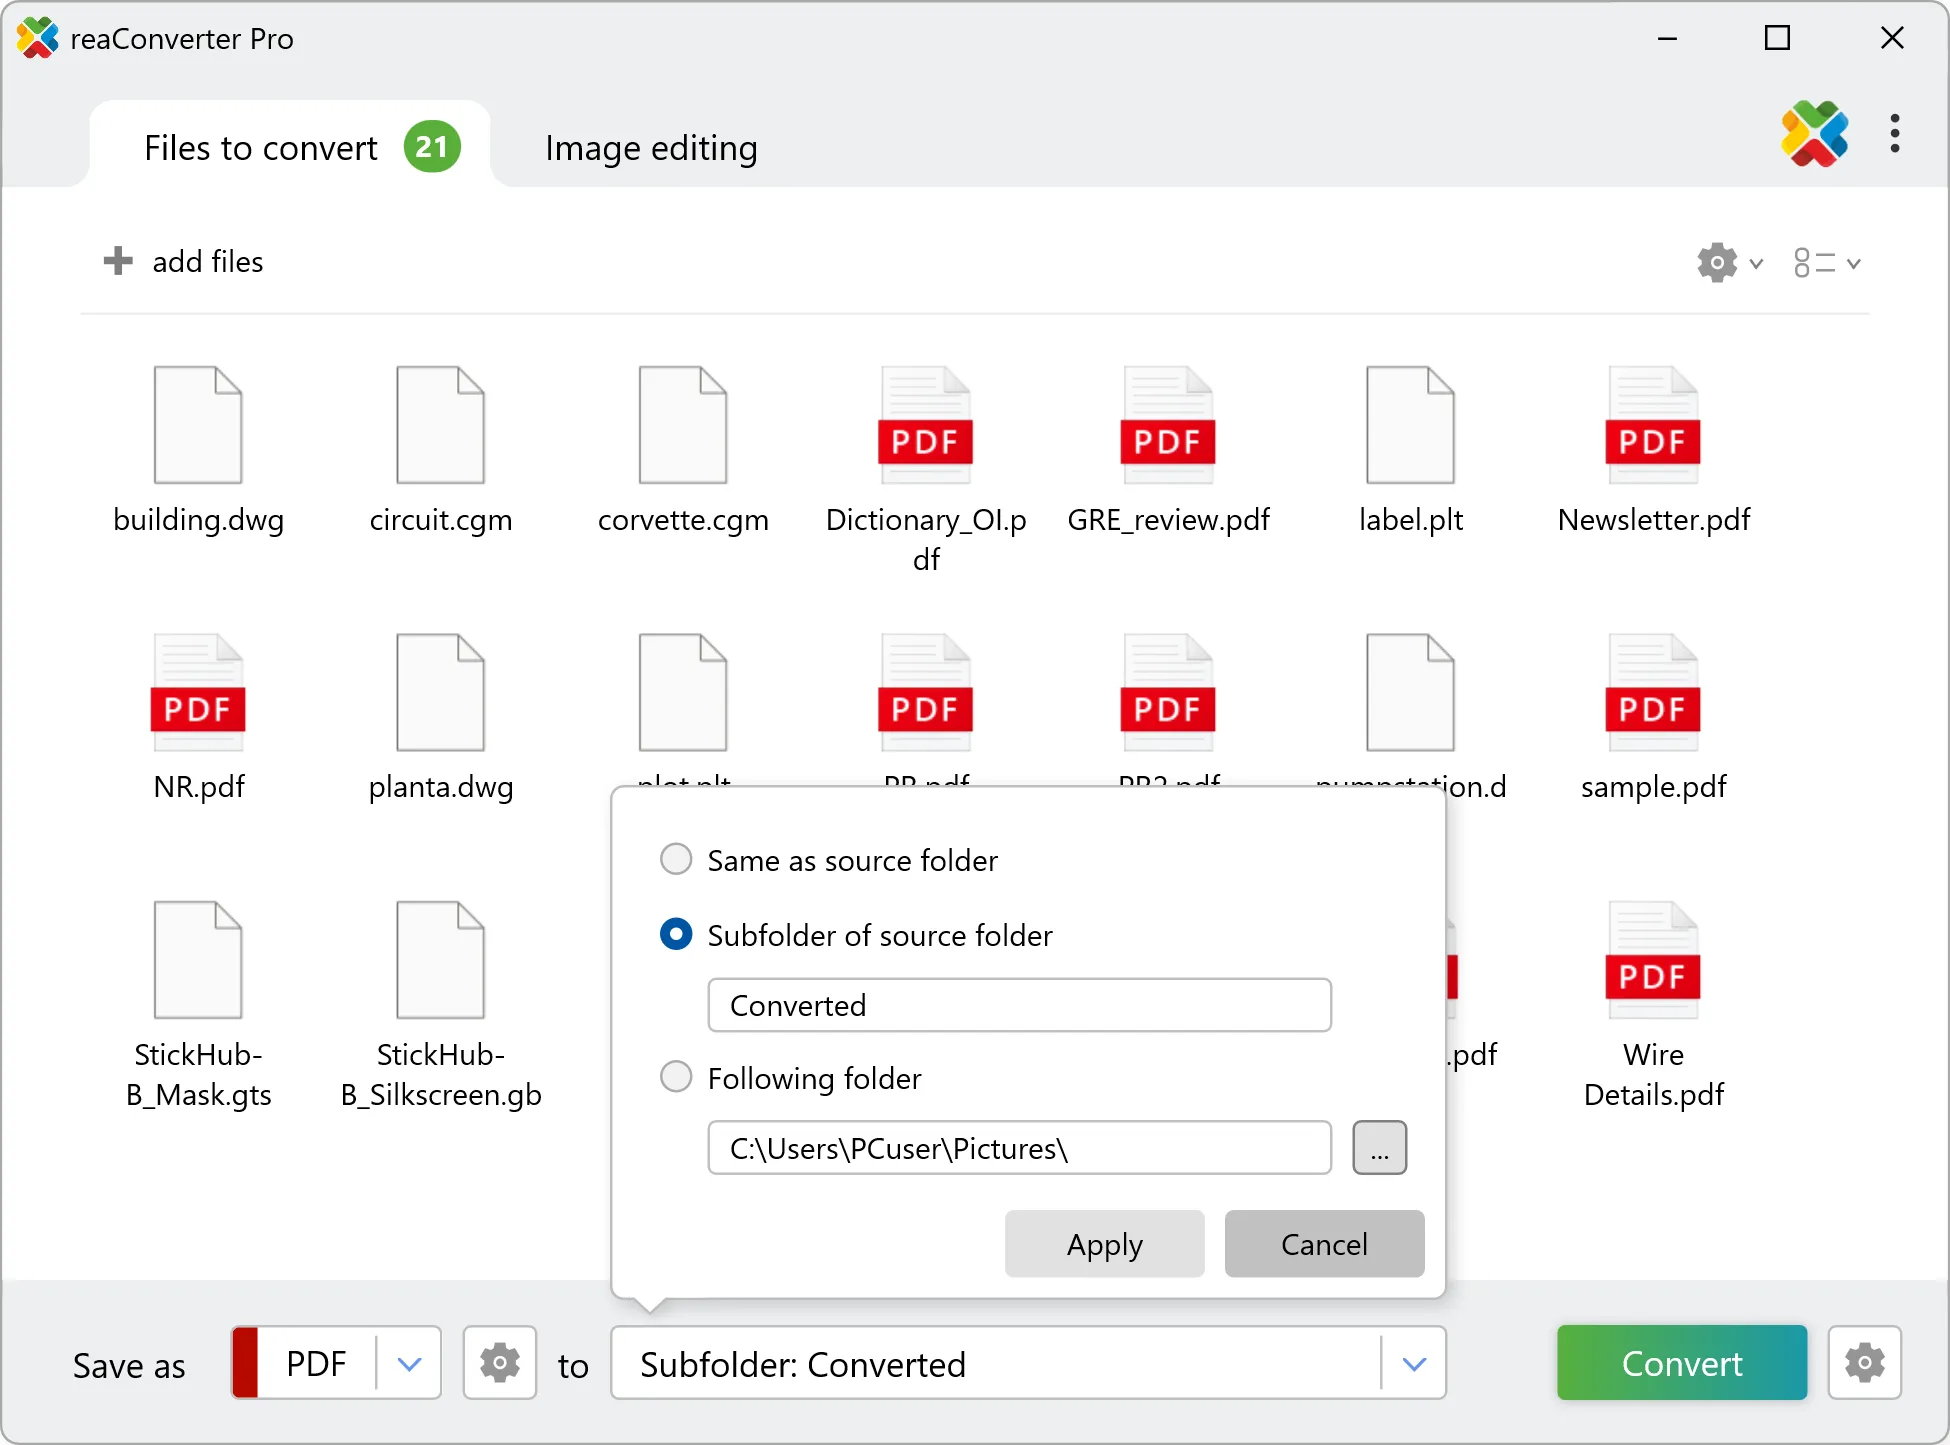
3. Save the Result
Once your RAW files are loaded correctly, head to the saving options. Choose your desired output format — JPEG, TIFF, PNG or any of the many supported types — and select where you want to save the converted images.
Click Convert, and reaConverter will process the RAW bitmap files using the settings you’ve specified, delivering clean, correctly rendered images in just moments.
Converting RAW Data Files on Your PC
The fast and easy way to convert custom or device-specific RAW data files is with reaConverter.
RAW Bitmap loading settings for command-line
You can convert raw bitmap data using command-line interface, either manually or in automated mode. reaConverter Pro includes a command-line tool called cons_rcp.exe — an advanced feature designed for professional use, available exclusively in the Pro edition.
RAW data conversion example:
cons_rcp.exe -s "C:\Path_to\input_file.dat" -dest_path "C:\Path_to\output_files\" -dest_ext png -raw_bmp_width 5000 -raw_bmp_height 5000 -raw_bmp_hsize 5 -raw_bmp_ralign 16 -raw_bmp_order 2
Manual
-raw_bmp_width
  where value = RAW bitmap width in pixels
-raw_bmp_height
  where value = RAW bitmap height in pixels
-raw_bmp_hsize
  where value = RAW bitmap header size in bytes
-raw_bmp_ralign
  where value = RAW bitmap row align in bits
-raw_bmp_bpc
  where value = RAW bitmap bits per channel
-raw_bmp_order
  where value = RAW bitmap byte order (1 - Planar (BBB.., GGG.., RRR..)), 2 - Interleaved (B,G,R,B,G,R,..)
You are welcome to contact our technical support when you have any questions about reaConverter.
Discover more