DPI Resolution
 for print or digital use")
How to Adjust DPI of Images During Bulk Image Conversion?
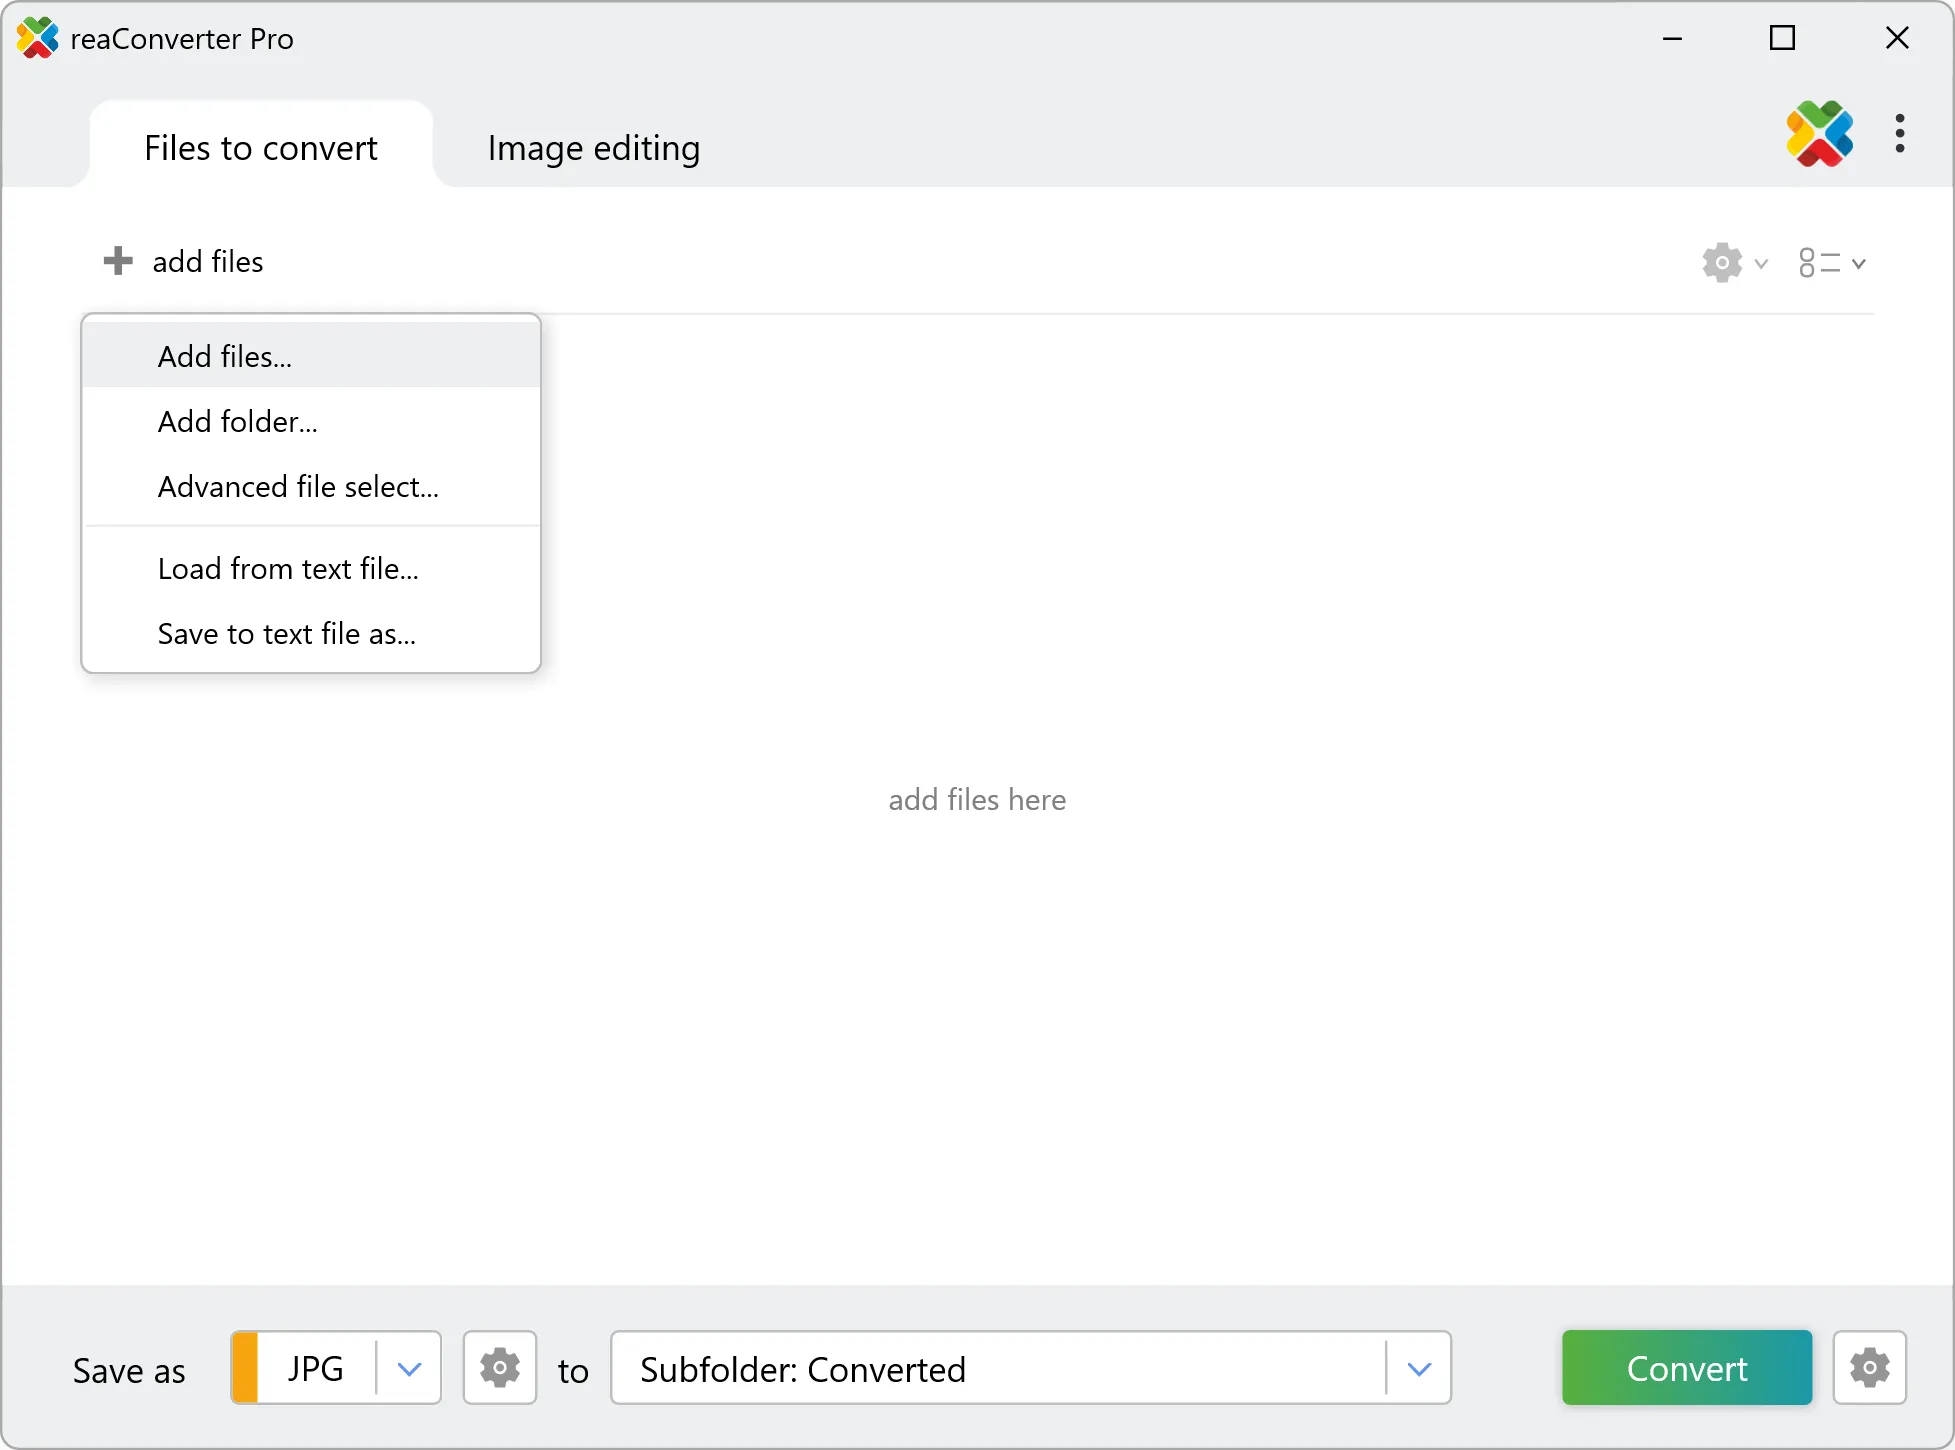
1. Open Images
Add all the image files you intend to convert or change the DPI to. You can insert them in the reaConverter window using the drag-and-drop tool or by manually selecting them from a local folder.
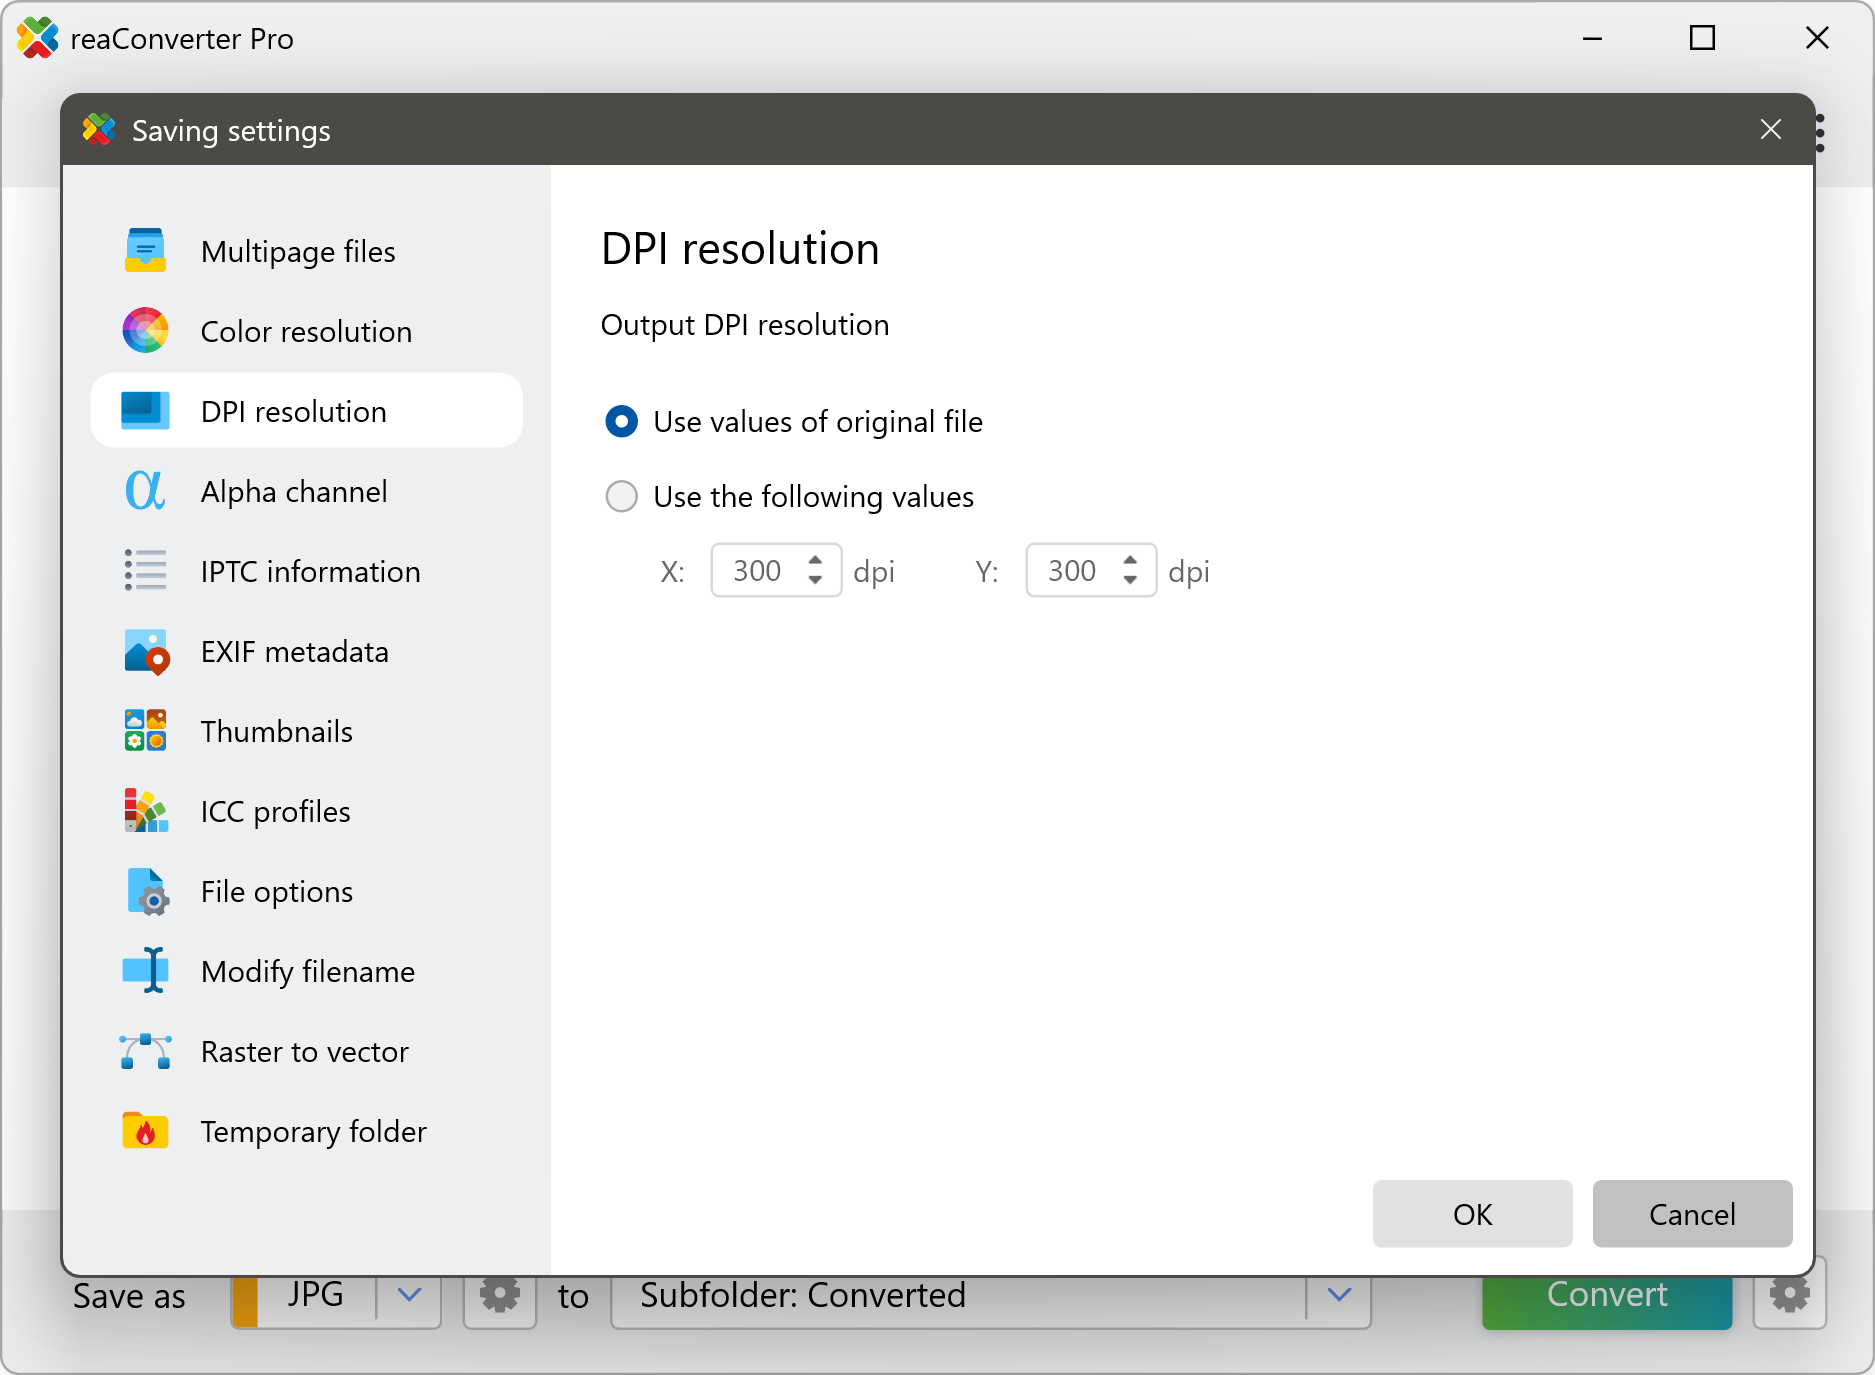
2. Set new DPI
Go to the Menu button and then press Saving settings → Additional saving settings
3. Save the Result
In the saving options, you can pick the location for your newly edited images.
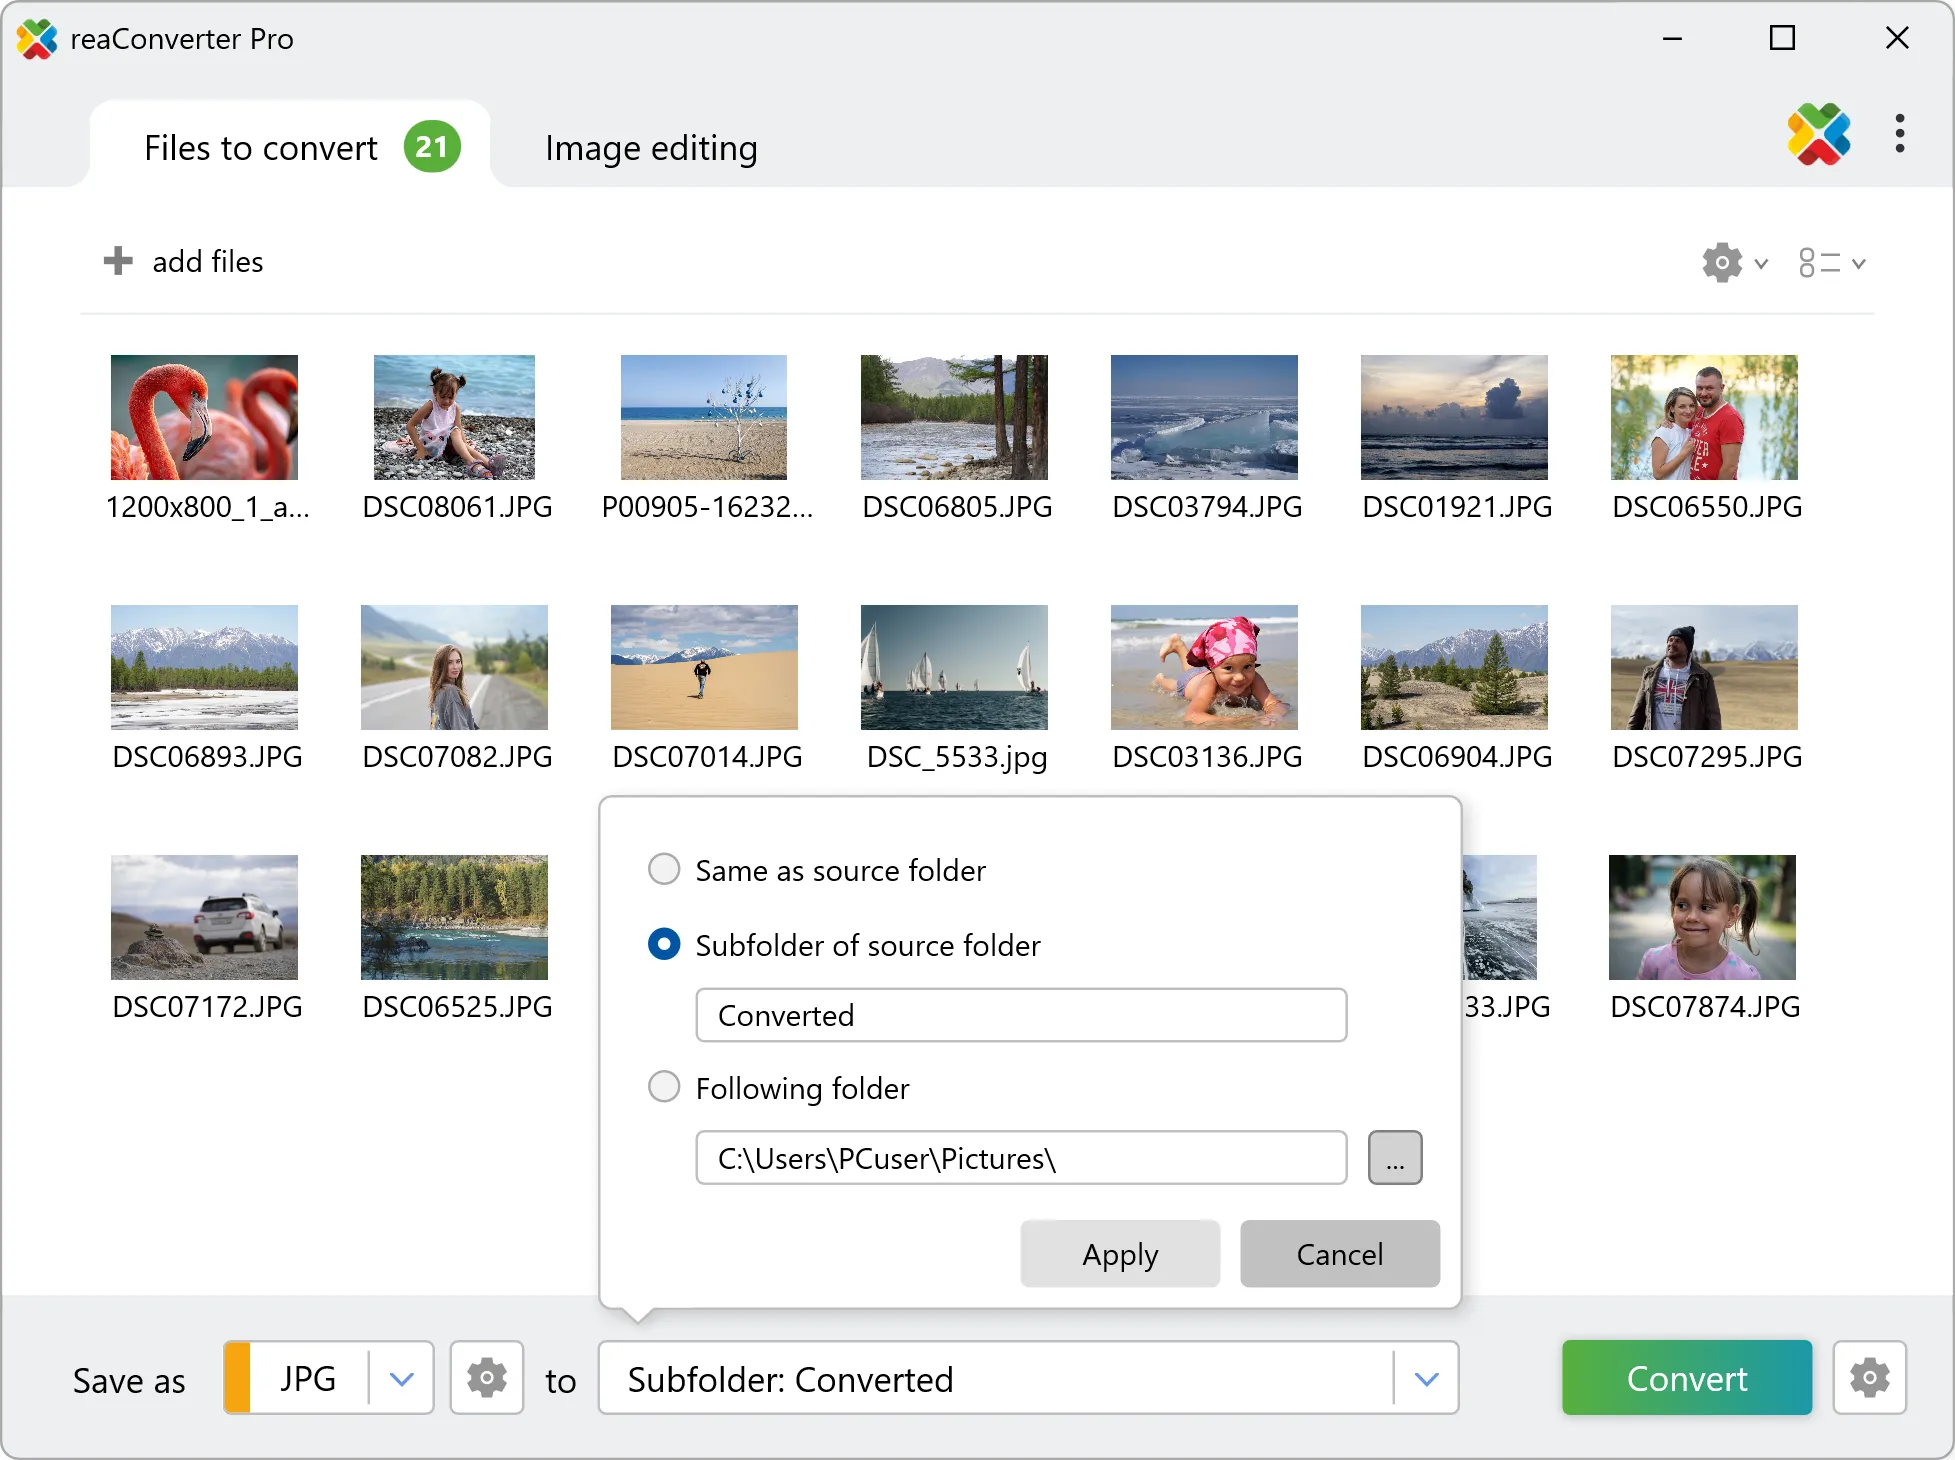
Then click the Convert button and your new images will soon be ready to use.
Video Tutorial
With reaConverter preserving or changing the DPI only takes a few seconds when you do batch image conversion.
Set new DPI with command-line tool
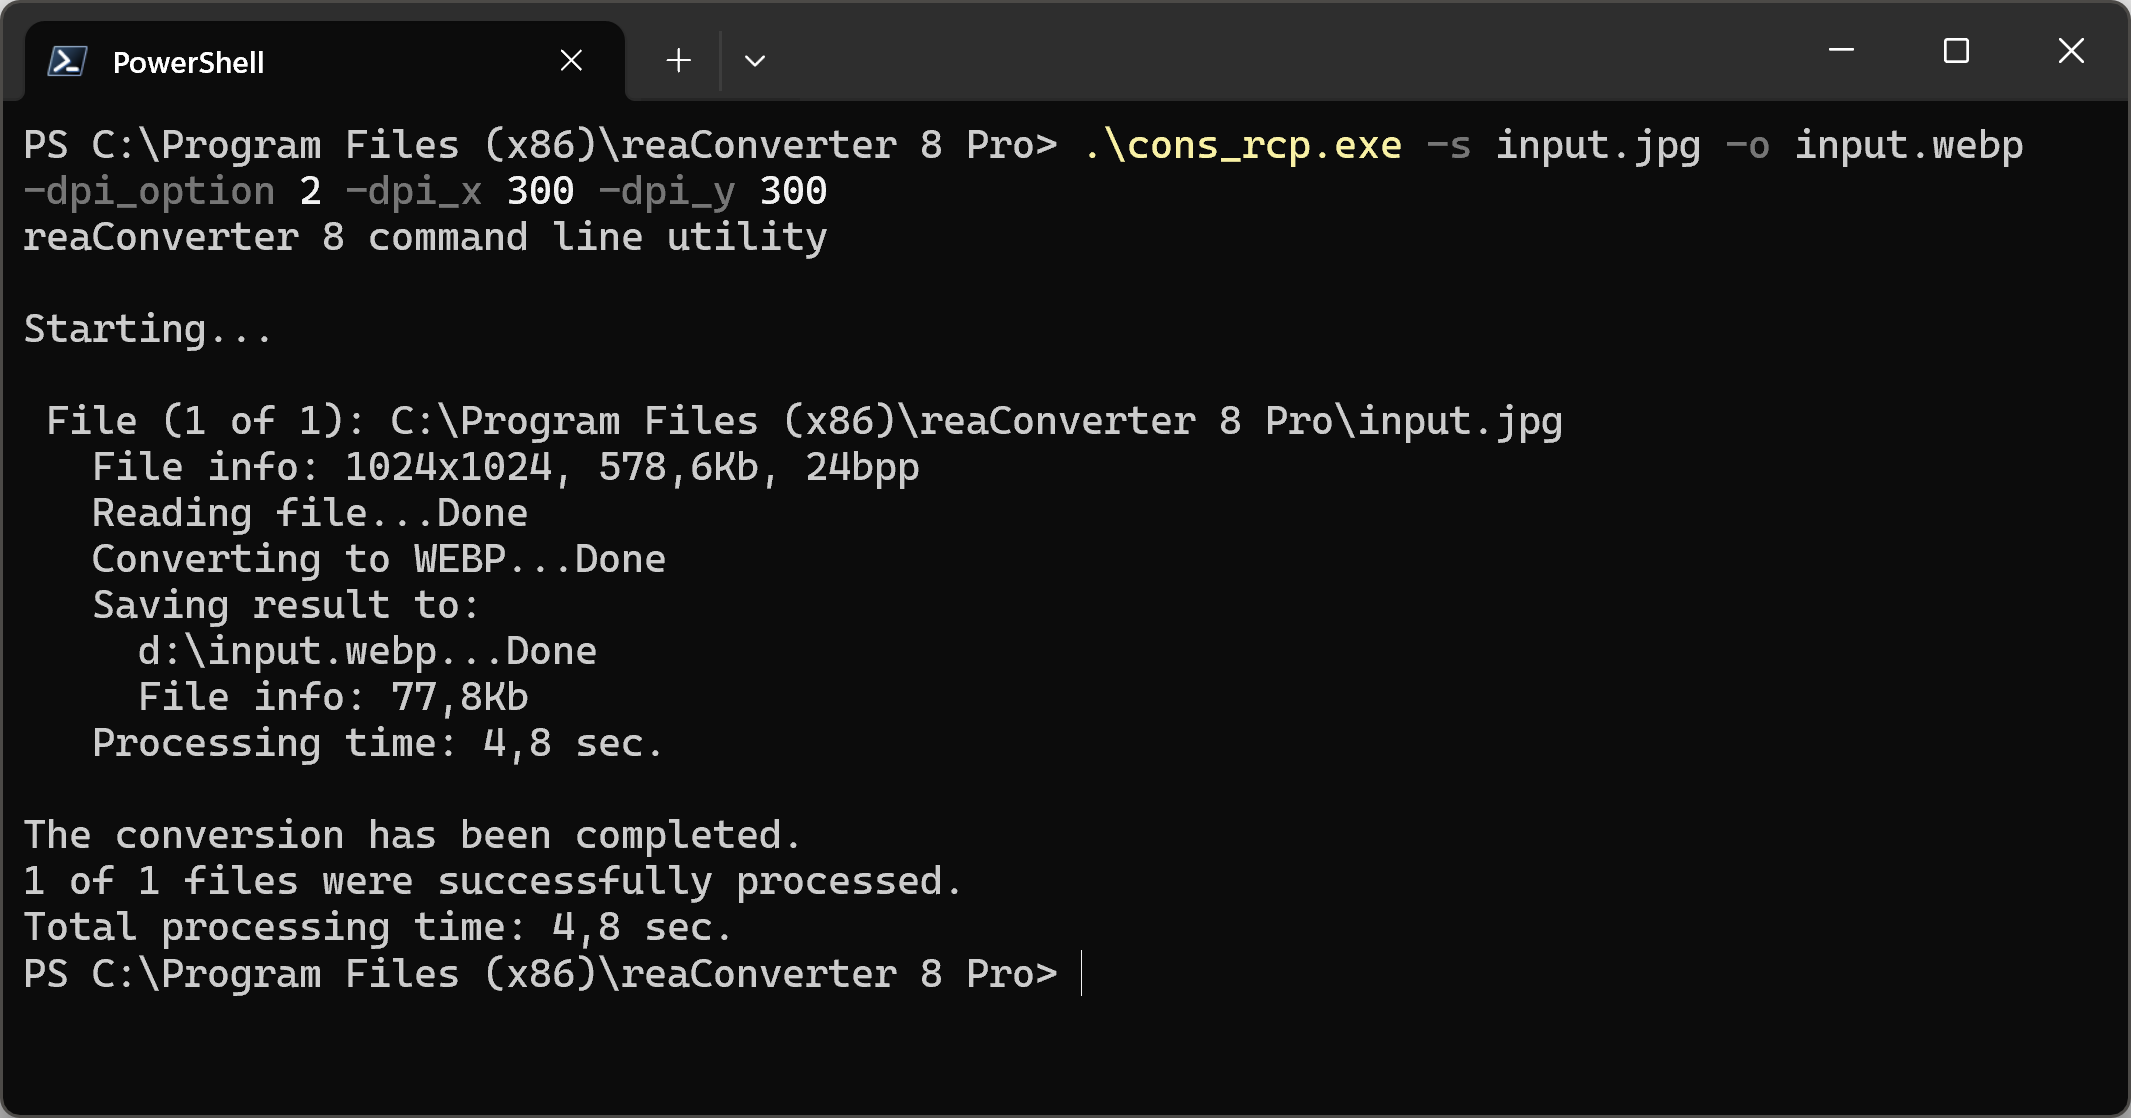
You can also change DPI using command-line interface, either manually or through automated scripts. reaConverter Pro includes a command-line tool called cons_rcp.exe — an advanced feature designed for professional use, available exclusively in the Pro edition.
Changing DPI example:
cons_rcp.exe -s "C:\Path_to\input_file.jpg" -o "C:\Path_to\output_file.jpg" -dpi_option 2 -dpi_x 300 -dpi_y 300
Manual
-dpi_option
  where value = 1 if you want to copy information about dpi resolution from original file, = 2 if you want to set your own values for dpi resolution
-dpi_x
  where value = horizontal resolution for converted files (from 1 to 10000 dpi)
-dpi_y
  where value = vertical resolution for converted files (from 1 to 10000 dpi)
You are welcome to contact our technical support when you have any questions about reaConverter.
Discover more