Color Resolution

How to Change Bit Depth During Image Conversion?
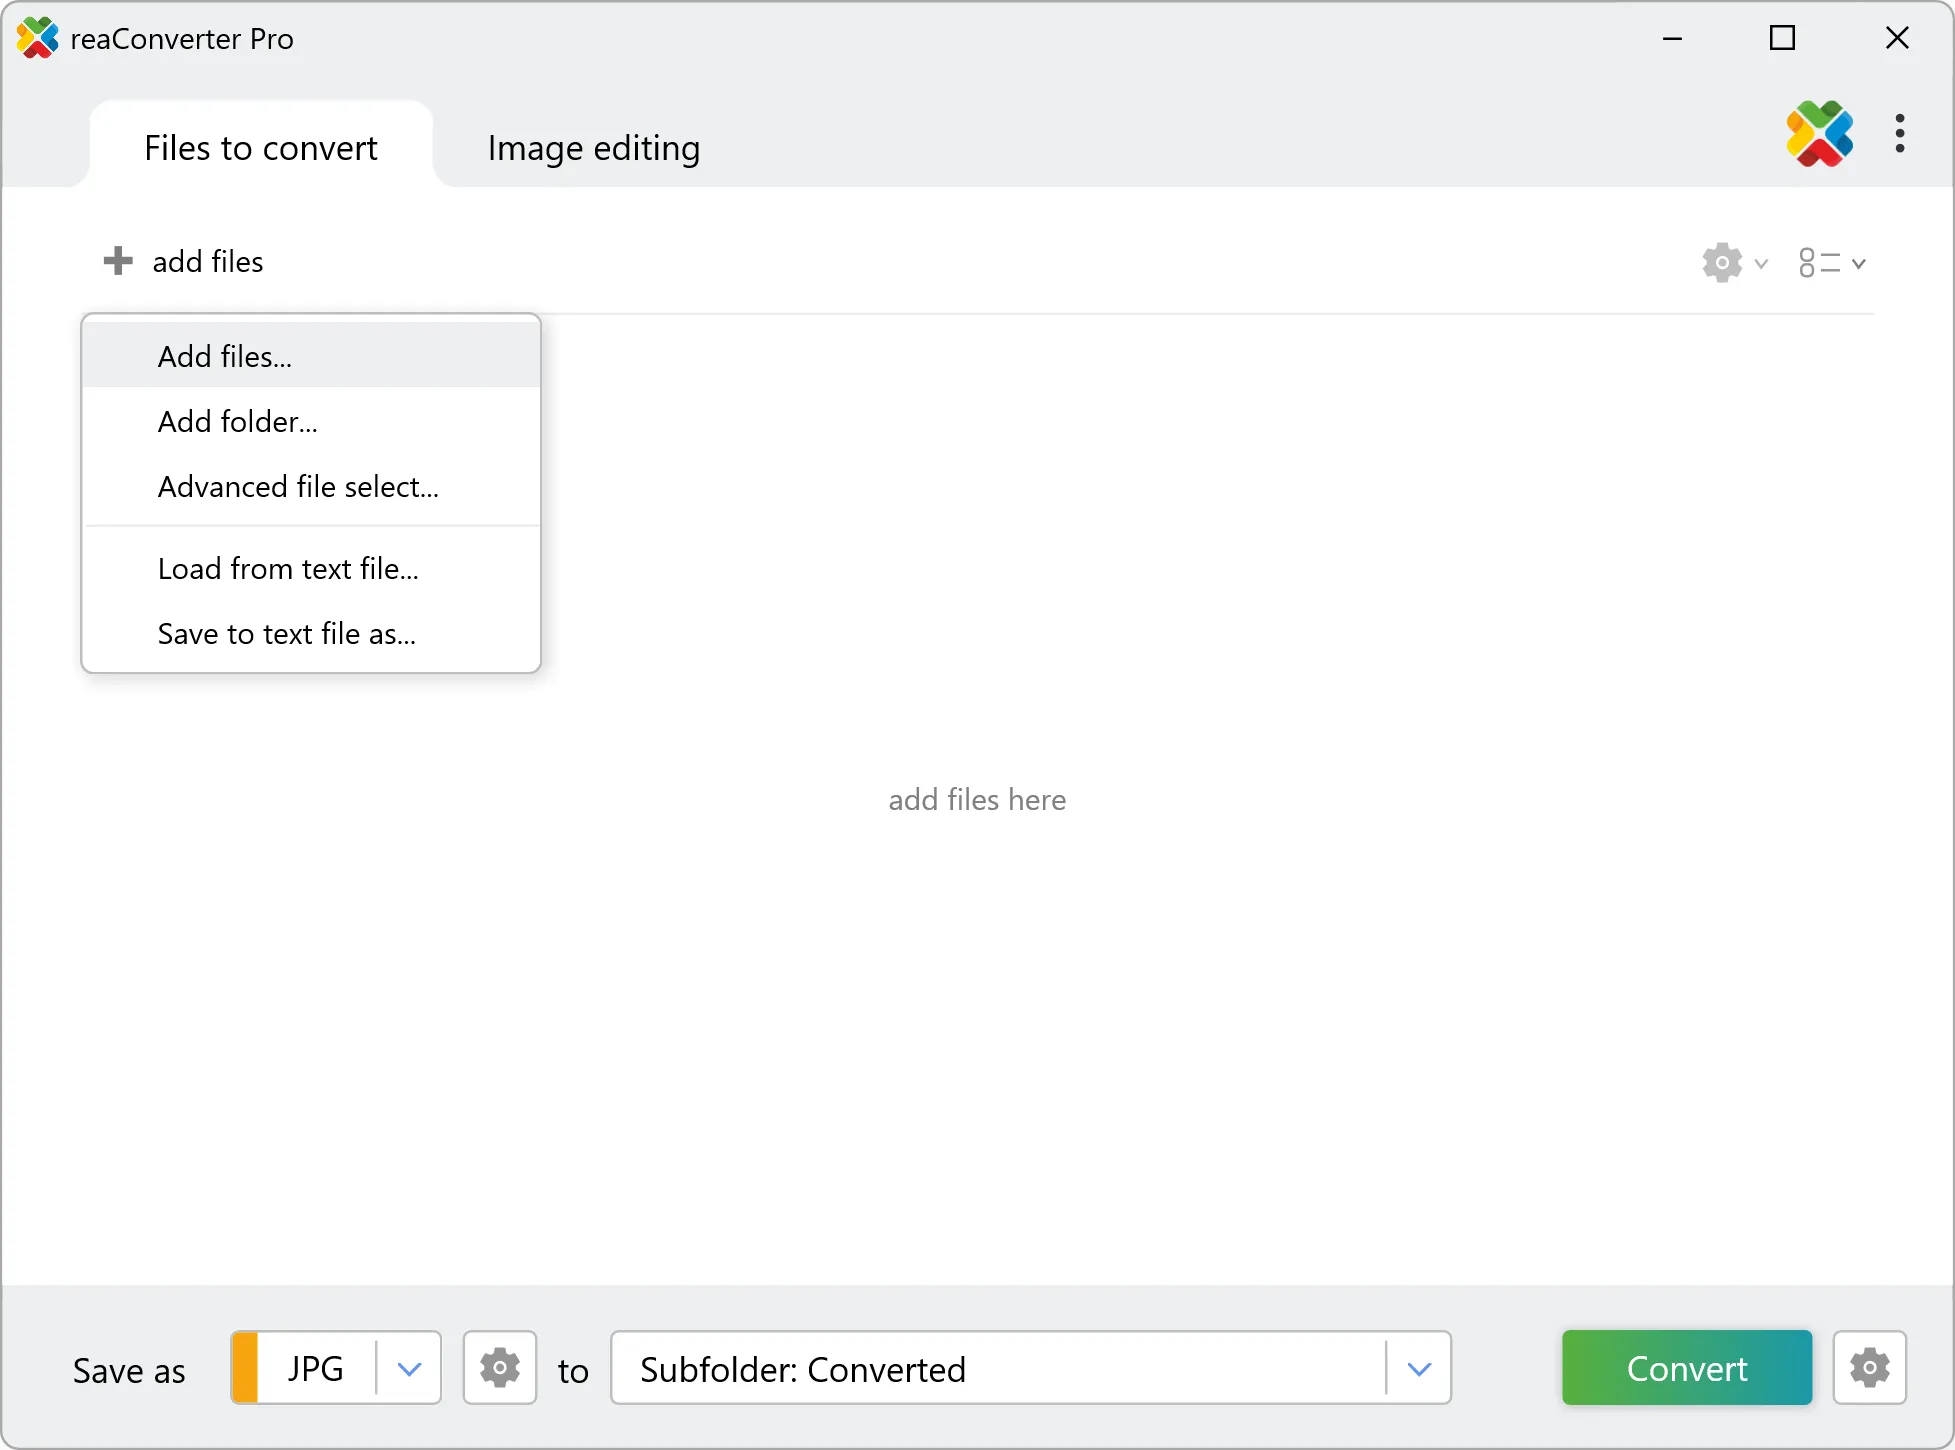
1. Open Images
Load one or more images you intend to convert. Add them one by one, add entire folders or use the handy drag-and-drop tool.
2. Set new Bit Depth
Go to the Menu button and then press Saving settings → Color resolution

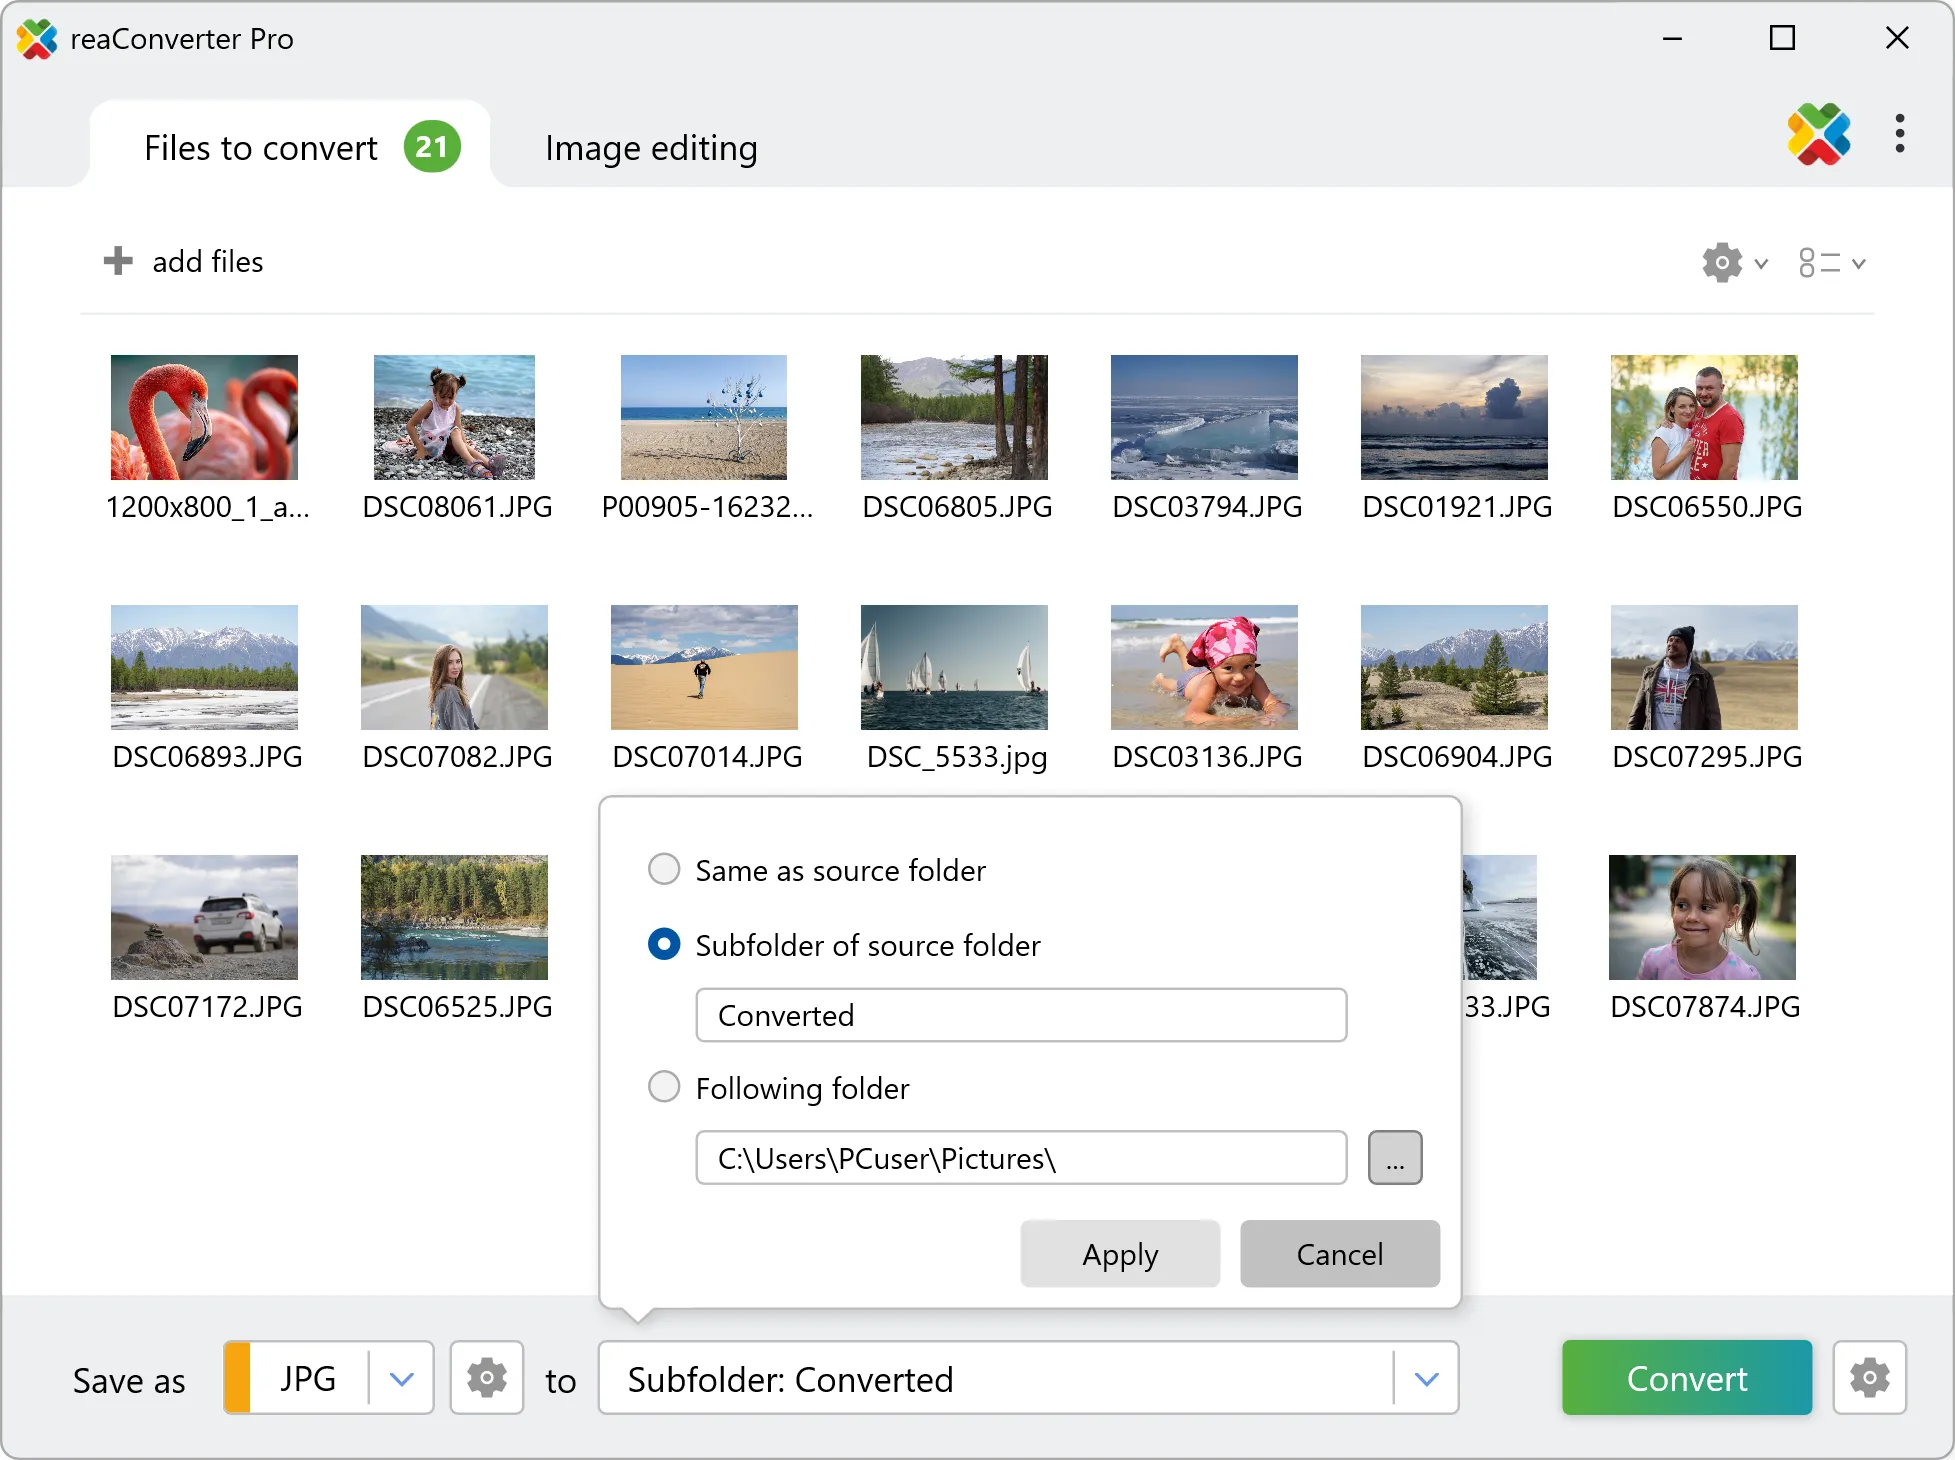
3. Save the Result
In case you want to apply additional image editing, such as resizing, auto rotating or auto croping the image, go to the Edit images tab. If not, just pick a location for your output images.
Finally, pick the output format of the image files by selecting it in the lower part of the screen, and push the Convert button to complete the conversion.
Video Tutorial
With reaConverter you can choose to optimize the bit depth of an image when converting, or to preserve the same values from the input to the output image.
Set new bit depth with command-line tool
You can also change color resolution using command-line interface, either manually or through automated scripts. reaConverter Pro includes a command-line tool called cons_rcp.exe — an advanced feature designed for professional use, available exclusively in the Pro edition.
Changing color resolution example:
cons_rcp.exe -s "C:\Path_to\input_file.jpg" -o "C:\Path_to\output_file.jpg" -colors_option 3 -colors_bits_per_sample 8
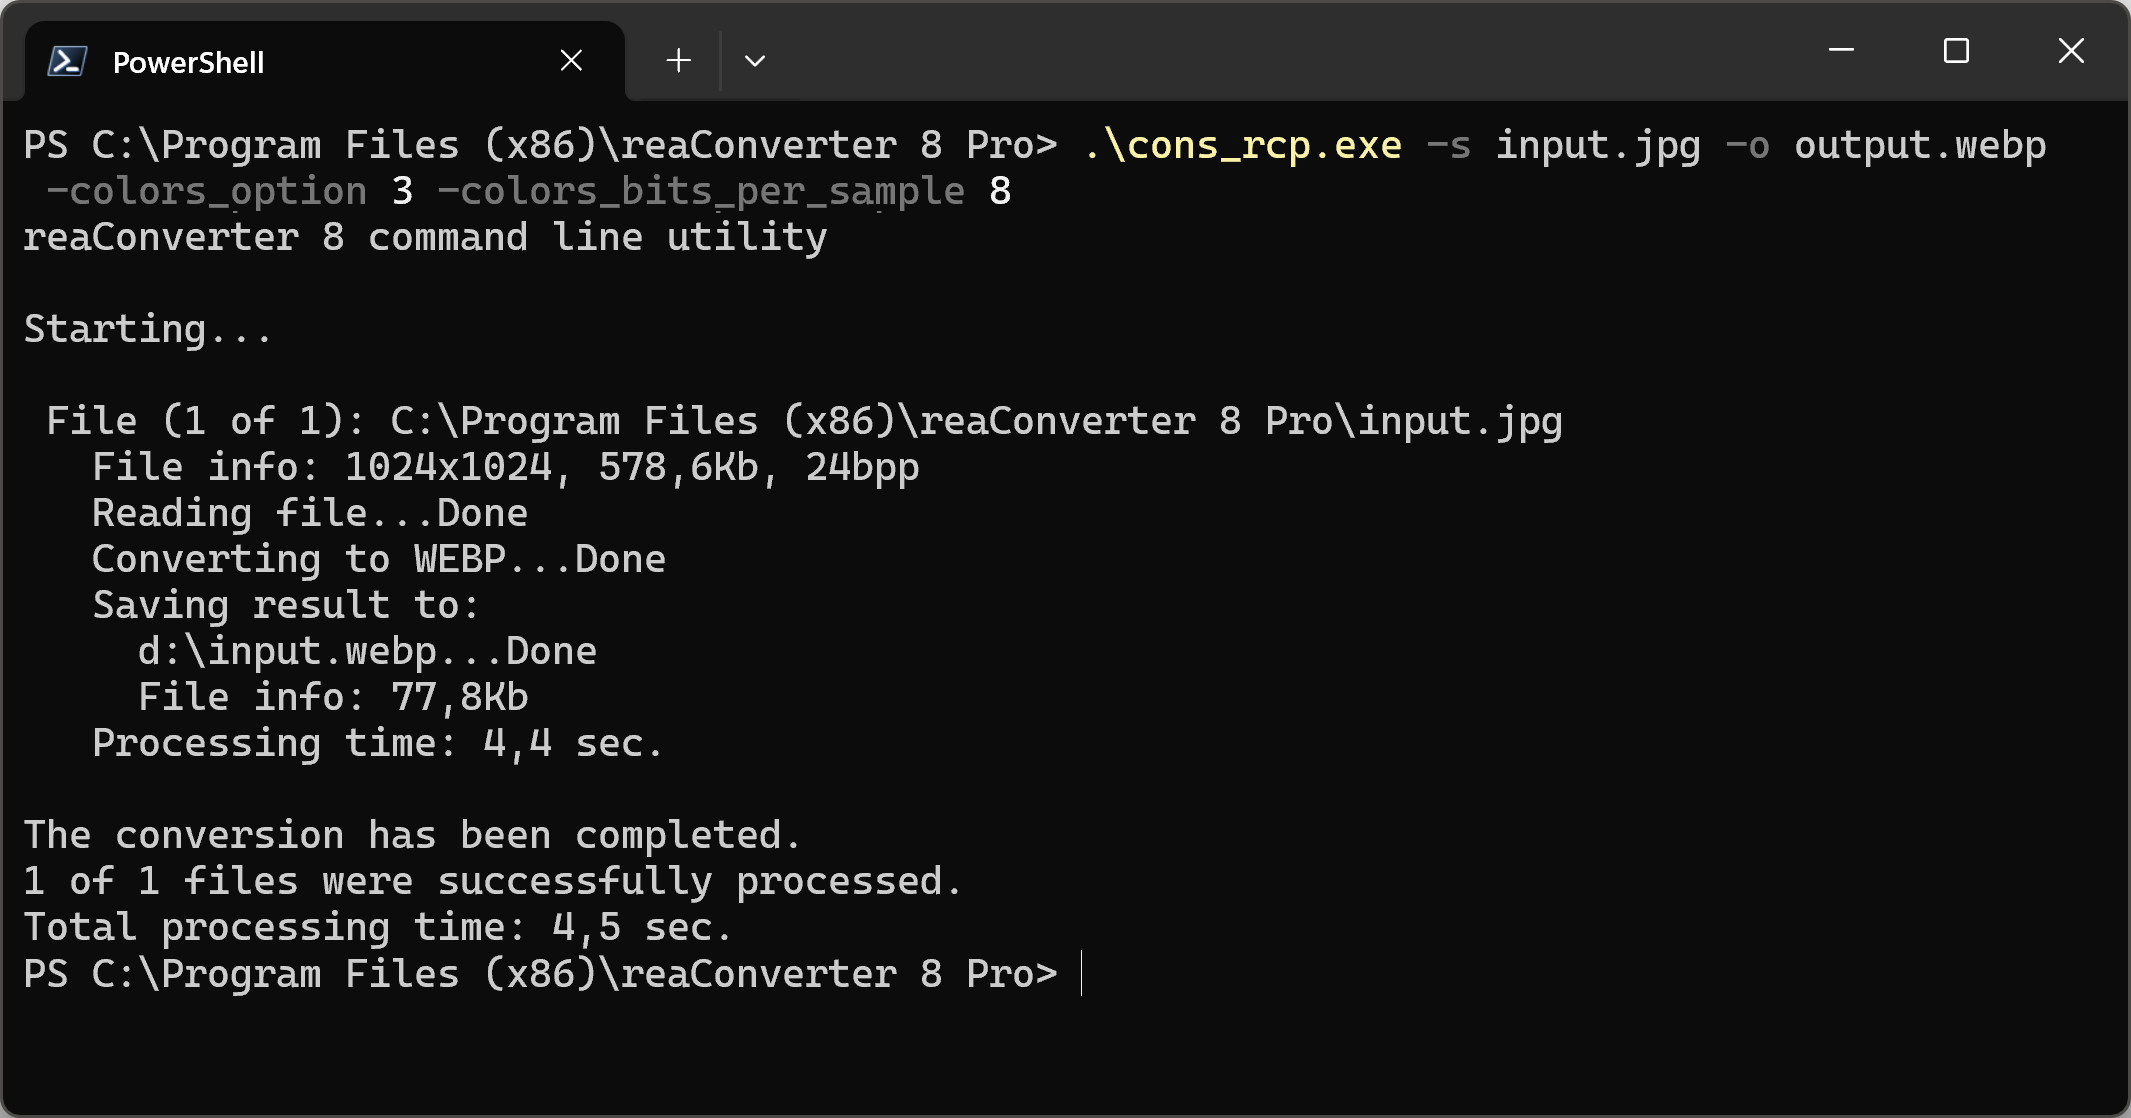
Manual
-colors_option
  where value = 1 to use output "Bits per sample" and "Sample per pixel" values from original file, = 2 to use optimum values which will be calculated for each converted file, = 3 to define the output color resolution values yourself
-colors_bits_per_sample
  where value = number of bits used to store information about each color channel (from 1 to 8)
-colors_samples_per_pixel
  where value = number of color channels used to store information about one pixel (can be 1 or 3)
You are welcome to contact our technical support when you have any questions about reaConverter.
Discover more